Got a mint plant (or two) that’s going crazy? Not sure what to do with it?
I hear ya! Mint is famous for flourishing whether or not you want it to, which can be good (Hey, it’s yummy! And good for you!) and bad (There’s only so much mint one person can handle at a time.). It’s kind of tricky trying to find different ways to use fresh mint when it’s coming out of your ears. I’ve done all the usual things with my fresh mint so far:
- flavored my water with it
- added it to iced tea and lemonade
- chopped it up and added it to fruit salads (it’s especially yummy with melon!
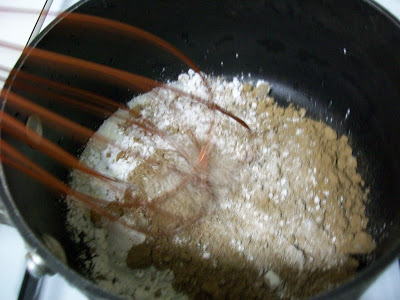
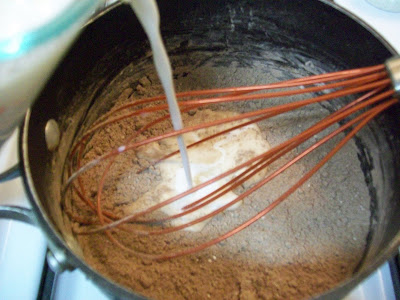
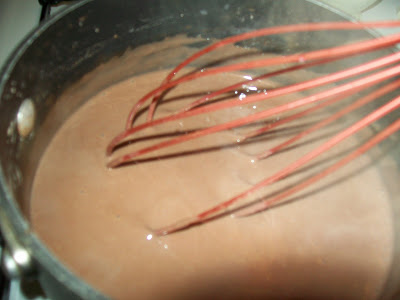
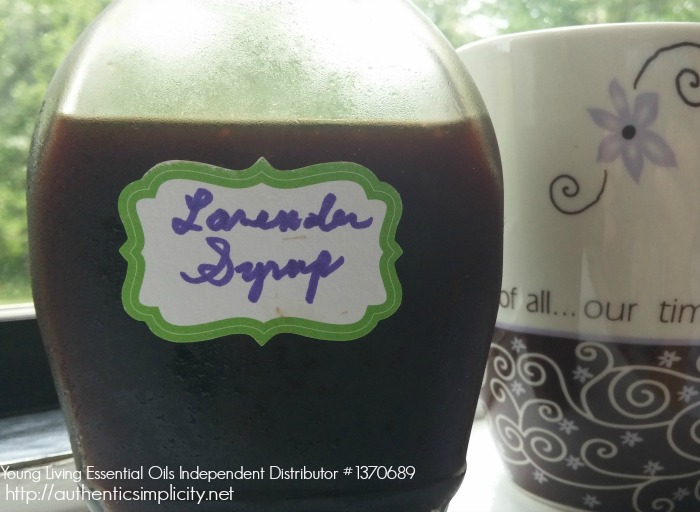
- made mint syrup
- put it in smoothies
All of those things get old, though, after a while, so I put myself on a mission to find some fun and creative ways to use my mint plant. I’m looking forward to trying out these five fresh ideas for my fresh mint!
5 Unexpected Ways to Use Fresh Mint
- Fresh Mint Iced Coffee - You know me, I’m always up for a good cuppa joe. So much the better if it’s made with an unexpected twist and an unusual ingredient. (Remember my Lavender Iced Coffee?)
- I never in my life would have thought to put fresh mint into cookies or cupcakes, but these bloggers totally went there! I’d like to try some Fresh Mint Chocolate Chip Cookies or Fresh Mint Chocolate Cupcakes!
- And while I’m baking, I think I shall have to whip up some Cranberry Mint Scones, which not only use fresh mint, but fresh cranberries, too! My mouth is watering just thinking about it.
- It’s admittedly not that odd for baked goods to incorporate a fresh mint flavor, but savory foods? This Moroccan Spiced Potato Pizza doesn’t have any cheese… but it does have fresh mint!
- Another yummy-sounding savory option is this Honey Mint Glazed Chicken. I’m sort of wishing I hadn’t already prepped all my chicken in marinades before putting it in the freezer!