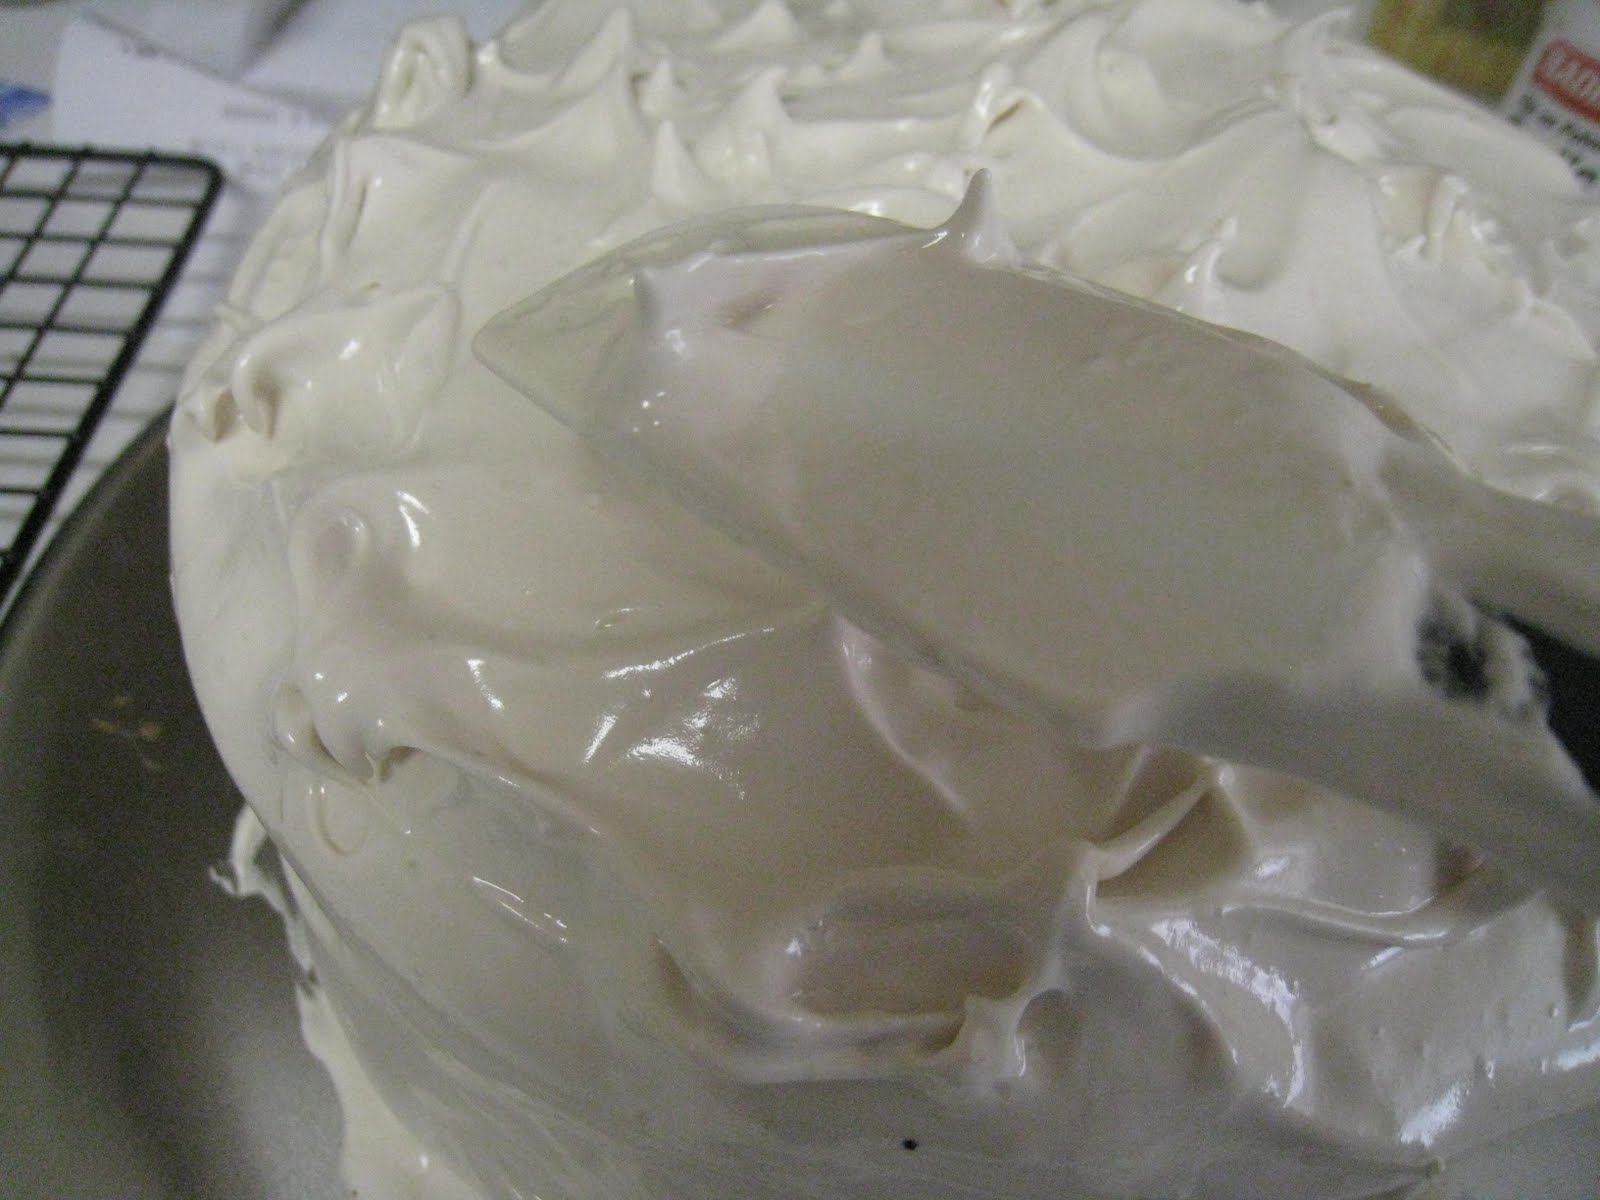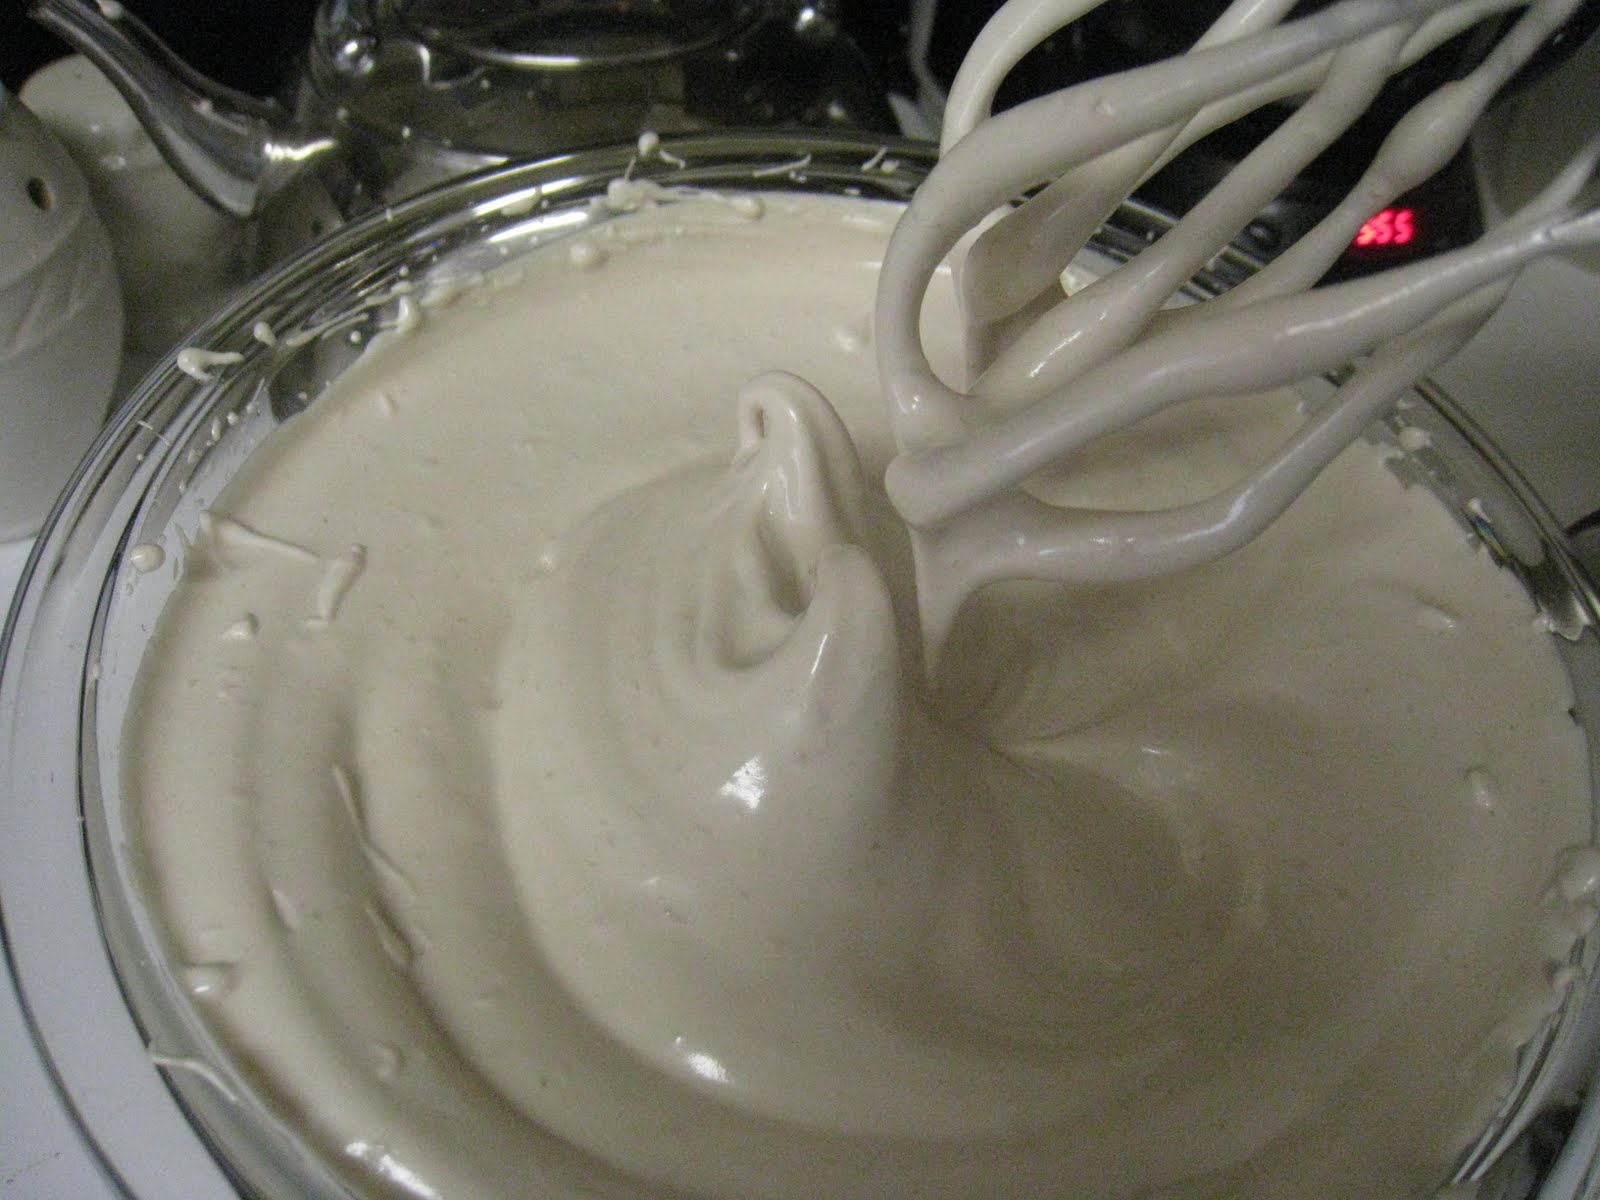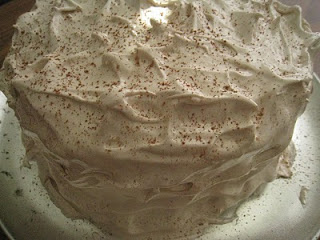
This latest frosting recipe is really giving me fits, I tell you! I tweaked it… and made it worse than ever! Like I said, epic fail. I promise you, one of these days I will get it right and share it with you, but today is not the day.
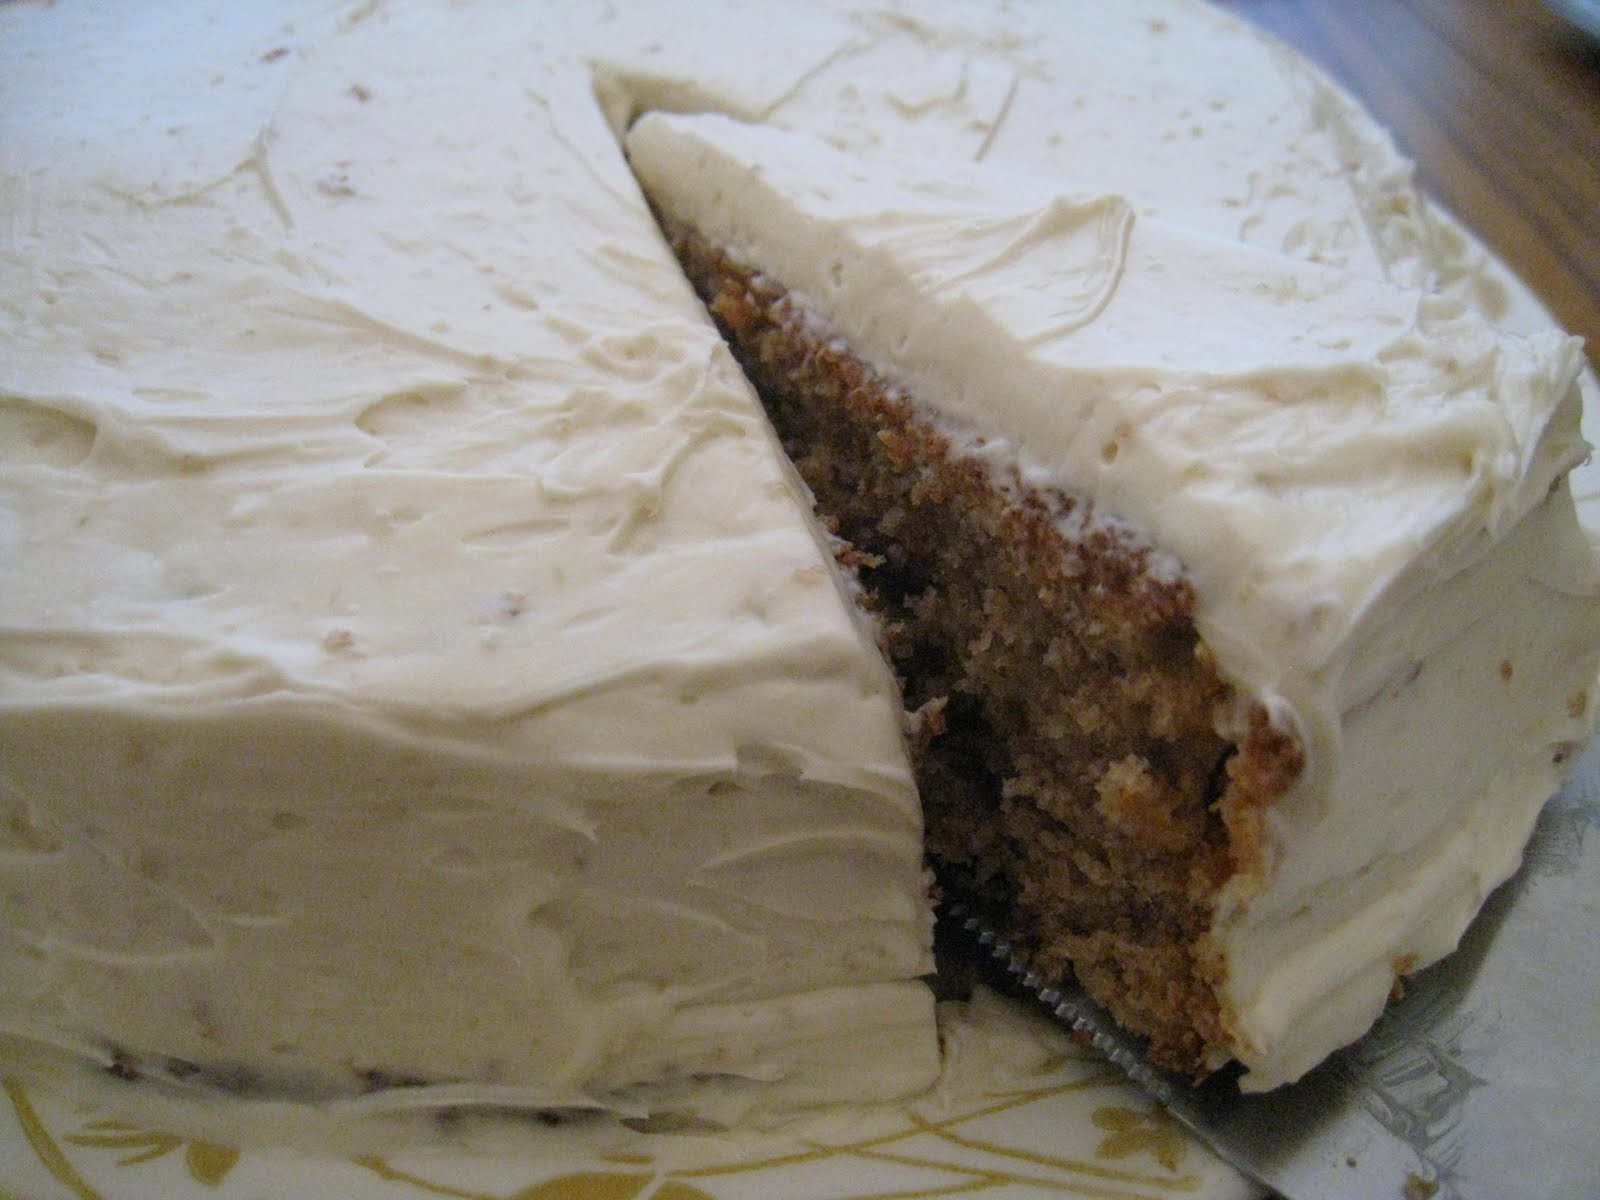
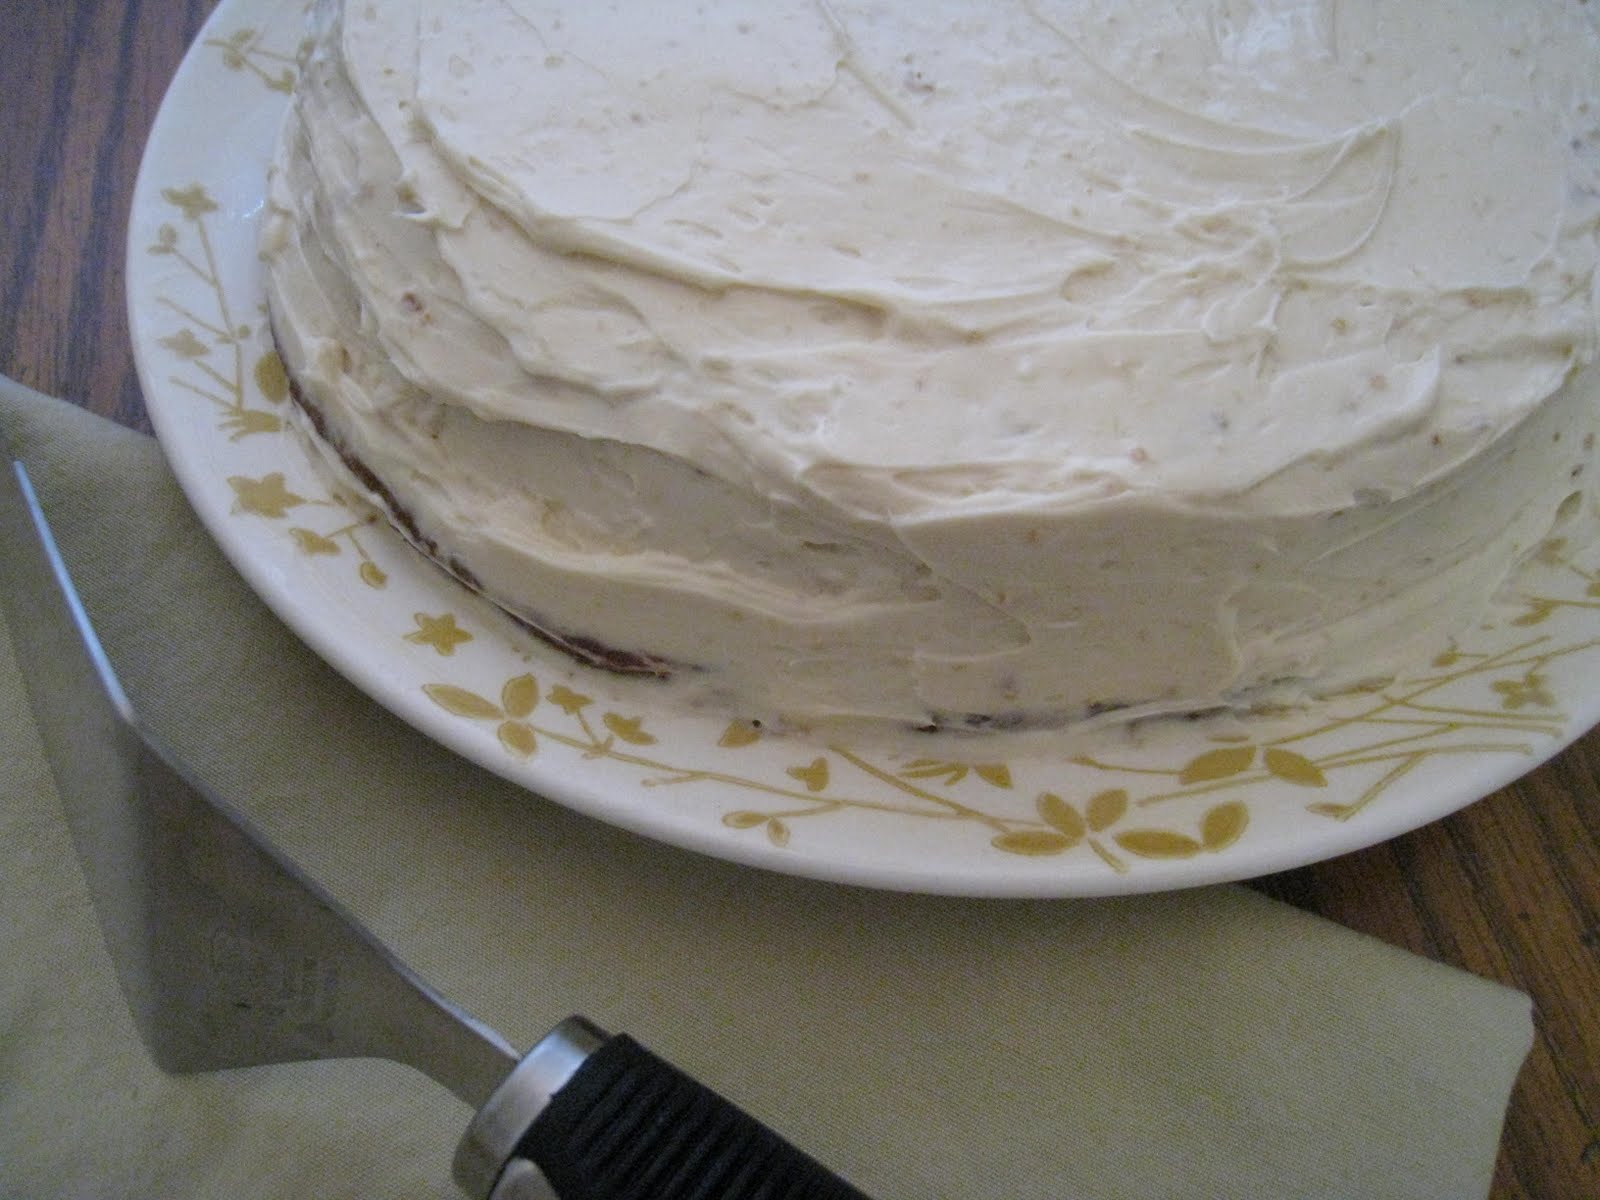
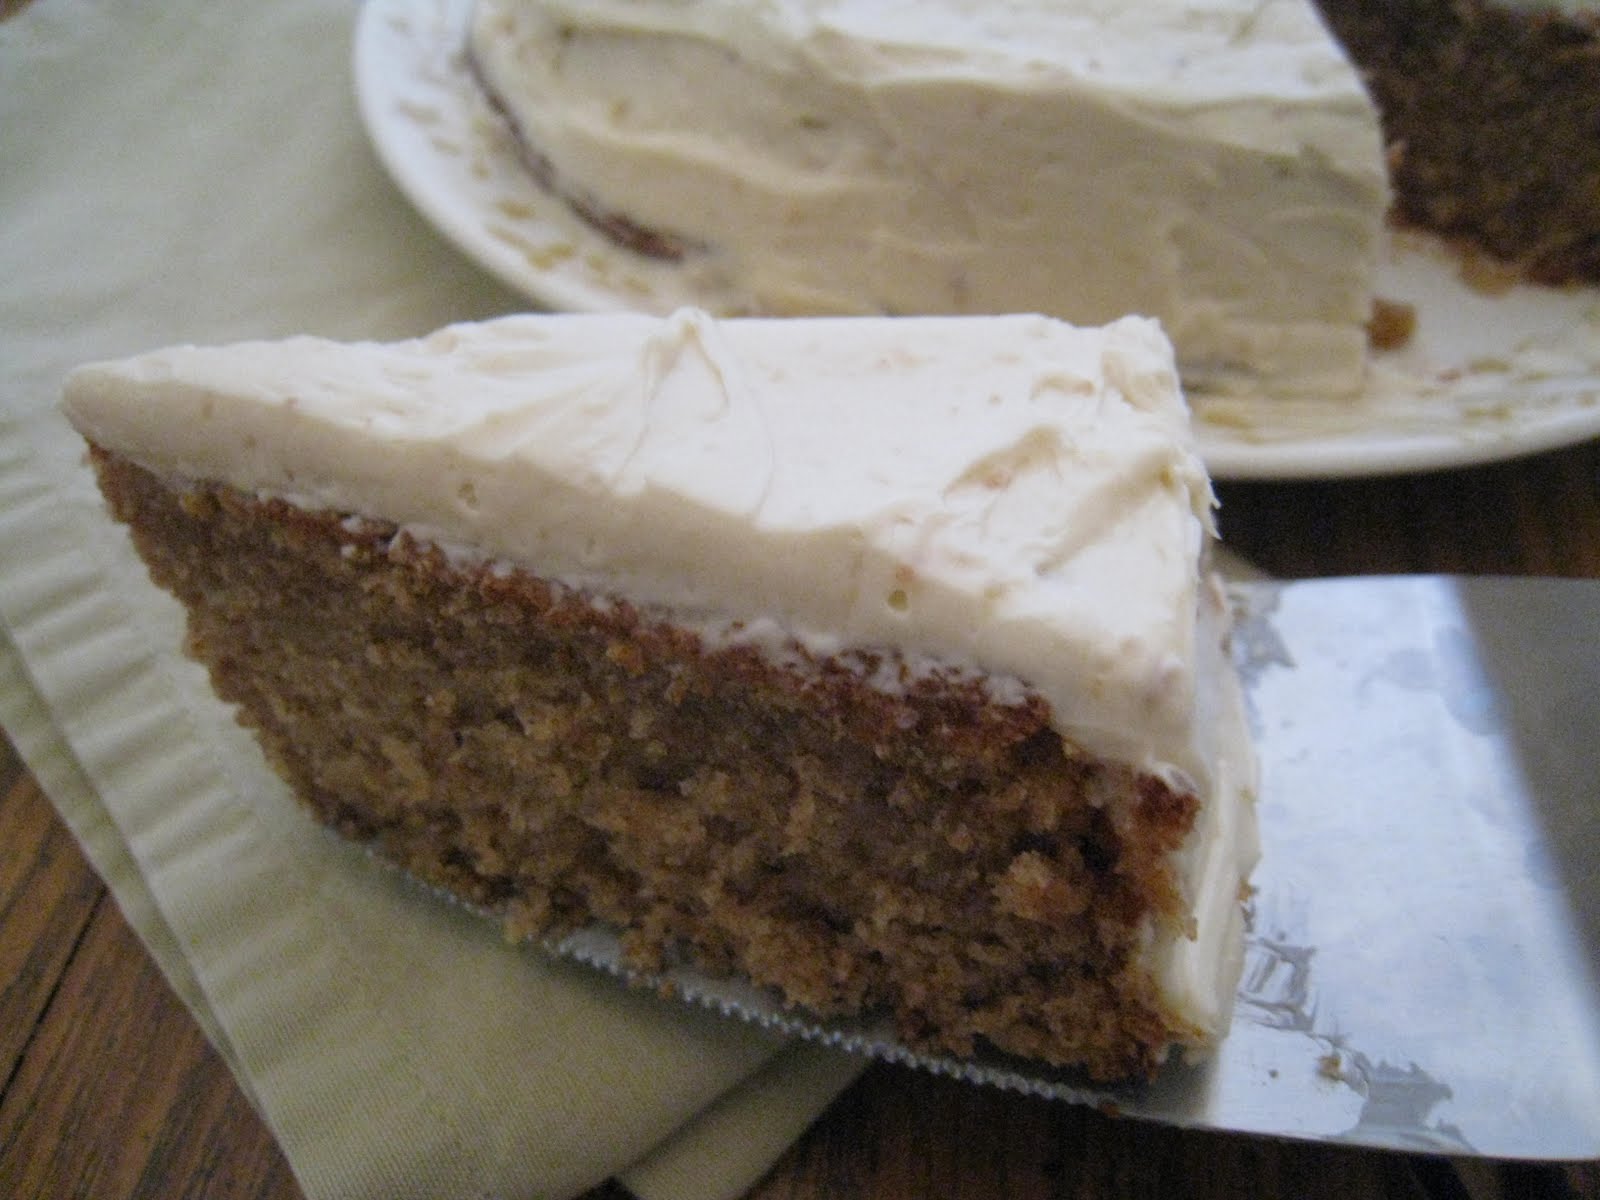
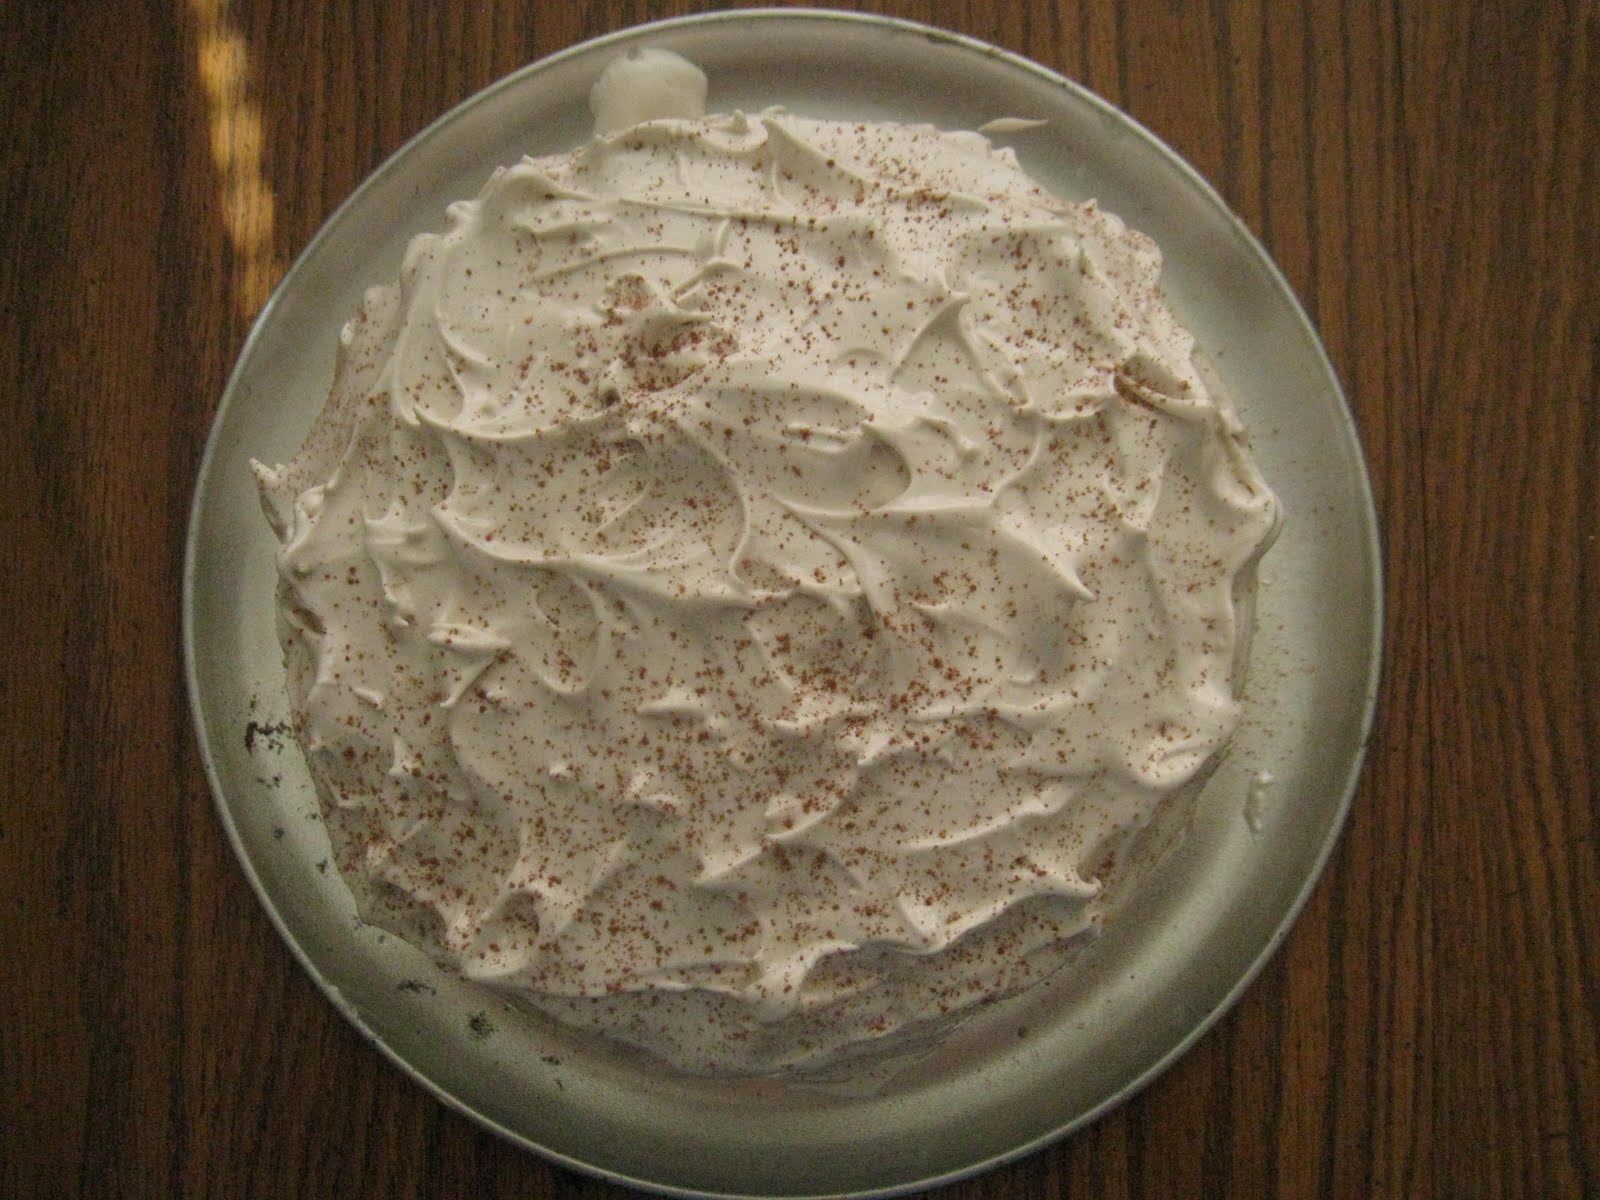
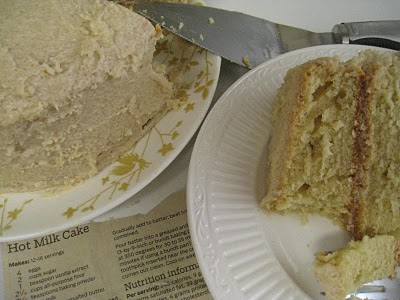
On a happier note (like maybe B flat, I think it might be my favorite), I also tried a new cake recipe, and Bingo! A hit! And a new favorite, as well. I found the recipe in the newspaper, oddly enough (who even reads a paper anymore? Not me… excepting, of course, the all important Food section), in a feature called Recipe Finder, where readers write in seeking long-lost recipes. This particular one that attracted my interest, was a vintage recipe for “Hot Milk Cake”. Apparently, the woman who contributed the recipe had been baking it for 50 years or more. That is a well-tested recipe!
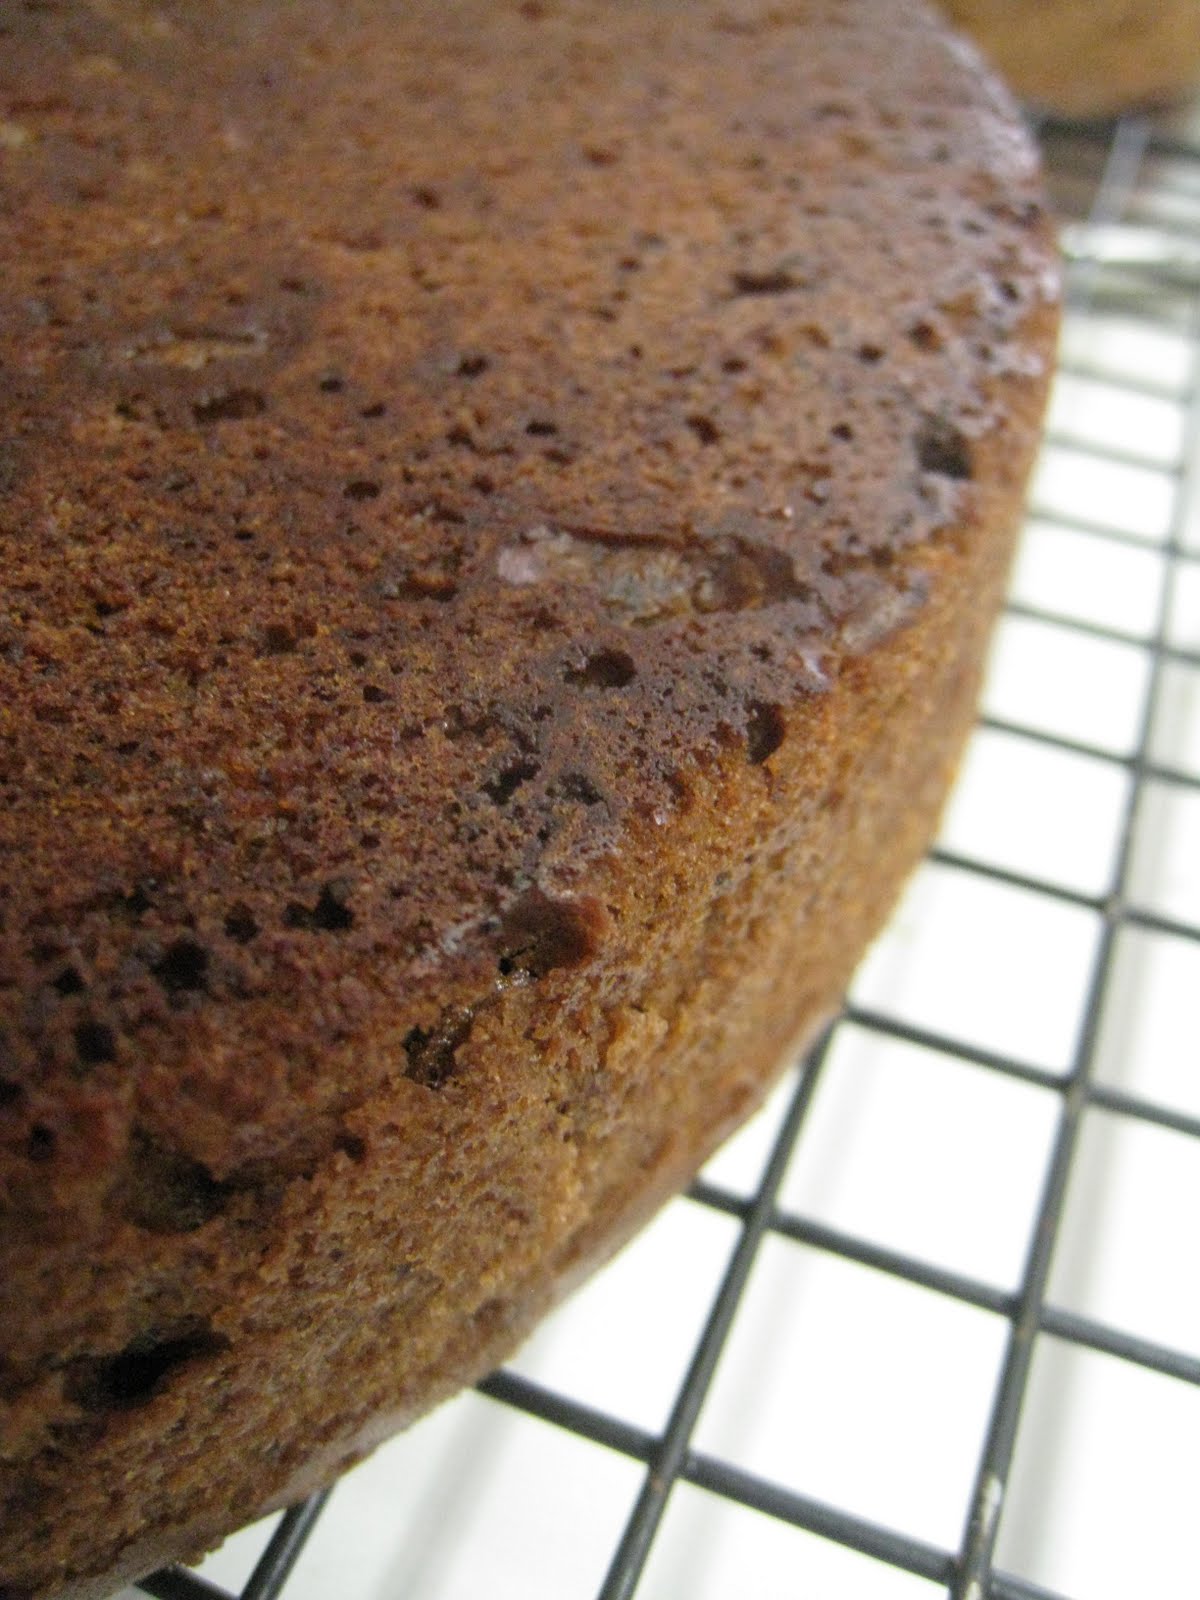
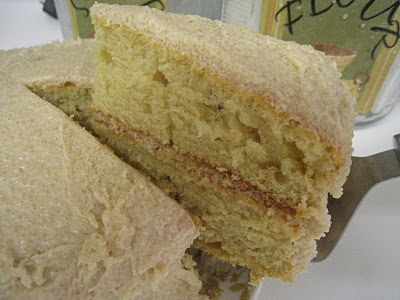
I’ve only made it once, but that was enough to convince me: this recipe’s a keeper! It made nice high, sturdy layers with a rich flavor. It’s not a light and fluffy cake (I believe there is a similar recipe called Hot Milk Sponge Cake that would probably yield a fluffier version), but I love the moist density it offers instead. “Light and Fluffy” often means “Lacking in Flavor” - not so with this cake, which is bursting with sweet - but not too sweet - richness.
The best thing is that I cut the sugar in half and it still turned out perfectly! Sometimes cutting the sugar in cake recipes results in disaster, but not with this one. I love a cake that can withstand a little tweaking.
Without further ado, then, here’s the recipe:
Hot Milk Cake
4 eggs
1 cup raw sugar
1 tsp vanilla
2 1/4 cups flour
2 1/4 tsp baking powder
1 1/4 cup milk
10 TBSP butter, cubed
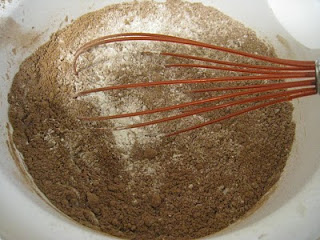
Beat eggs on high speed until thick and lemon-colored, about 5 minutes. While they are beating, whisk together flour and baking powder in a separate bowl; set aside. In a microwave-safe container, heat milk and butter together until butter is melted;set aside. When eggs are finished beating, gradually add sugar, beating until light and fluffy. Beat in vanilla.Slowly add flour mixture to egg mixture, on low speed. Gradually add the milk mixture to batter, stirring just until combined. Pour batter into greased and floured cake pans (I used 2 8″ layer pans - you can use a 9×13 or bundt pan as well) and bake at 350F for 30-35 minutes.

This may not be as quick as a cake mix, but it’s still pretty QUICK. Using your time wisely by heating the milk and butter, and mixing the dry ingredients while the eggs are beating makes it come together a little faster.
I’ve only made it once so far, but my gut feeling is that this is an EASY recipe, one I like to think of as “sturdy” or fool-proof. Fail safe! Time and future efforts may prove me wrong, but for now I’m going to say it’s one of the easier cake recipes I’ve tried.
It does have a lot of eggs, milk and butter, so in that sense it isn’t exactly CHEAP. However, cake is generally a “special occasion” kind of thing, so it’s a fairly inexpensive extravagance. (How’s that for an oxymoron?!)
Cake is never HEALTHY. OK, maybe somebody out there in the blogosphere has made a truly healthy cake, but I bet you anything it doesn’t taste all that great. Two things make cake an unhealthy diet choice: sugar and white flour. I feel good about reducing the sugar in this recipe by half, but it’s still largely based on white flour. Even if I did use some whole wheat flour, it would still be an extravagance (there’s that word again). So enjoy sparingly.