Archives for January 2011

Three More Steps Up the Ladder

Several years ago, a friend gave me a copy of “The Maker’s Diet” to read. After reading it, I felt a strong desire to throw everything out of my cupboards, go to the grocery store - the organic health foods grocery store - and start all over again. Wiser minds (not to mention tight grocery budgets) prevailed, and instead I began to change my diet and my kitchen habits with incremental steps.

It would have been a shock to our system and our budget to completely overhaul our grocery shopping and eating habits. Taking a slower, more gradual approach has really helped me take the time to evaluate what is really important to me when it comes to healthy eating. That helps me to prioritize the grocery budget monies, and has also allowed time for the grocery budget to absorb the changes.

The grocery budget has essentially remained the same since that time, in fact money is tighter now than it was then! But with this gradual approach, I’ve been able to slowly work in healthy switches without affecting the overall spending. In the past few years, I’ve made the following switches:

  • to less refined sugars, like raw sugar and raw honey
  • to coconut and olive oil
  • to sea salt
  • to a blend of whole wheat and white flours
I’ve also removed a lot of things from my diet, like non-dairy coffee creamers and powdered sugar. Now it’s time for me to take 3 more steps up the healthy food ladder. This year, I’m hoping to make the following 3 healthy changes to my diet and food shopping habits:
1. Drink more hot tea.
The health benefits of tea are undisputed. I like hot tea. There are a lot of yummy flavors and blends of hot tea, and it’s a relatively inexpensive drink. So why don’t I drink it more often? I don’t know. I do know that in the evenings, especially this time of year, I like to relax with a hot drink, but I usually choose decaf coffee or hot chocolate.However, it’s the perfect opportunity to take advantage of the nutritional qualities of hot tea, so this year, I’m going to do just that. When I start to unwind in the evening, and a soothing hot mug is calling my name, I’m choosing tea. Once I make that choice consistently for a few weeks, hopefully it will be a habit!
2. Purchase local eggs from pastured hens.
Eggs are good for you, but local pasture-raised eggs are even better. I’ve known this for a long time, but the price has always held me back. Whenever Eggland’s Best eggs are on sale and I have a coupon (which is fairly frequent), I buy them because they are at least marginally better than other brands. I’m going to go a step further this year, and actually shell out the bucks (5 of them to be exact!) to buy eggs that come from pastured chickens raised on a local farm. Currently, I find these at a local organic market, but I’m going to see if I can find a less expensive source. In the meantime, I will offset the costs by doing the following:
  • using eggs less often in baking, either by finding recipes without eggs, or using healthy egg substitutes (such as flax gel, made with flax seed and water)
  • using the good eggs mostly when we eat them straight, as in scrambled, in an omelet, in egg salad, deviled eggs and the like. That way we get the most bang for our buck - i.e., the most nutrition!
  • consider purchasing lesser eggs, like Eggland’s Best, for baking purposes.

3. Use arrowroot starch instead of cornstarch.
They’re both starches, but arrowroot has an edge over cornstarch in that it is not nearly as processed, and it actually contains some nutrients. I’ll probably still keep some cornstarch or perhaps just use my Certain Little Someone’s tapioca starch) for some things, particularly dairy based sauces and desserts, since arrowroot is not good for those dishes.
So what changes are you implementing in your diet this year?

A Slice of Life… or Maybe Just Pizza

This was just a last minute quick dinner idea, one that I fall back on frequently, and I had no intention of blogging about it when I started putting it together. It turned out so beautifully, though, I had to photograph it and share it with you. Would you like a slice?


I wish I could share it with you in person; that would be so much fun, wouldn’t it? But since we’ve already eaten most of it, I can’t do that, so I’ll just share it virtually instead.

You can take it from virtual reality to actual reality by making it yourself. Here’s how:


Chicken Bacon Ranch Pizza
1 recipe Honey Whole Wheat Pizza Dough (or any other pizza dough)
1/4 cup Ranch dressing (try this healthy homemade version)
1/2 lb boneless skinless chicken breasts, sliced thin
1 TBSP olive oil
2-3 slices bacon, cooked and crumbled
2 cups shredded mozzarella cheese
handful of fresh chopped parsley

Roll the pizza dough out onto the pan. Bake at 375F for about 10 minutes or so. Remove from oven and allow to cool slightly. While it’s cooling, cut the chicken into 1″ or 2″ pieces. Heat olive oil in a frying pan over medium high heat, and fry chicken pieces until golden brown on the edges. Spread Ranch dressing over surface of pizza crust. Evenly distribute chicken and bacon pieces on top. Sprinkle with cheese. Bake for 5-10 minutes, or until cheese is melted completely and crust is done. Remove from oven and top with parsley. Allow to cool slightly before slicing and serving.

I think some chopped red onions would be delicious on this pizza, and grated or finely chopped zucchini would add a nice crunch and some fresh garden flavor.

This is a great QUICK dinner for weeknights. I schedule pizza on the menu pretty frequently for this very reason.

It’s also very EASY! It’s hard to mess up pizza. If you’re nervous about the dough, Trader Joe’s sells a great ready-to-bake pizza dough that’s worth a try. But really, pizza dough is not difficult to make - most recipes don’t even require rising, or kneading or anything like that. And the flavor of homemade pizza crust is hard to beat!

The fact that it’s CHEAP is another reason why it appears on my menu rotation frequently. Pizzas, like casseroles, are a great place to use up leftover meats, vegetables, and even fruits, depending on your tastes. You can even use leftover sauces or dips. The biggest expense is the cheese, but it’s totally worth it.

Because it’s made of wholesome ingredients, I consider it a HEALTHY meal option. Beware, though, that it packs a hefty calorie punch and is rather carb-heavy. Take that into consideration for your food intake during the day. And I would recommend eating 2 slices or less, and supplementing with a green salad.

Two for One: Chocolate Banana Cake and another Powdered-Sugar-Free Frosting!

My intention was to have two separate blog posts, one with the chocolate cake, one with the frosting, but the days just keep going by in a blur of diapers, feedings and naps and I haven’t had a chance to sit down and write one post, let alone two. So here we are, with a two-fer!

First of all, the cake.

It’s more than chocolate cake, it’s chocolate banana cake. My sister thinks that’s disgusting, but both my DH and I thought it was delicious. The use of the banana makes it so moist and adds another layer of sweet flavor. We normally never finish a cake before it goes bad, but we’ve already almost polished off this one!

Another plus is that it is egg-free, which is great if you avoid them or have allergies. Or if you don’t have eggs on hand, which happens!

Aside from the extra step of mashing the bananas and melting the butter (neither of which takes longer than a minute), it’s just as QUICK as a box mix.

It’s also just as EASY as a box mix. Mix the dry ingredients, add the wet ingredients, stir, bake. What could be easier?

It’s CHEAPer than many cakes because it doesn’t require eggs. Doesn’t save you much, but hey, every little bit helps, right?

It’s pretty HEALTHY as cakes go, with the use of partially whole wheat flour, as well as the addition of bananas. It uses the minimum amount of sugar for a recipe like this.

Now for the frosting….

Knowing of my quest for powdered-sugar-free frostings (apparently, a quest shared by many of you as it is one of my most popular features ever), a friend alerted me to Flour Frosting. I had never heard of such a thing, but a quick google search led me to some great blogs and recipe sites that convinced me i definitely needed to try it.

I’ll admit it’s still a work in progress. Don’t get me wrong; it tasted amazing, and the texture was so light and fluffy. It was like whipped cream frosting but… better! However, it looked a little grainy and slightly separated, and as I read more about it, I realized I should have beat it longer (which is contrary to what I would think, but that seems to be what everybody said would do the trick. So next time, I’ll beat it longer! Also, I saw a couple different variations, and I think I will try them all and see which one I like best.

It’s perfectly delicious as is, though, so I’m going to share it with you now. Now go eat some cake… without any powdered sugar!


This is not as QUICK as other frosting recipes, but the extra bit of time is definitely worth it.

Other frostings may be EASY-er and less finicky, but they probably don’t taste as good.

This recipe uses basic pantry ingredients so it’s fairly CHEAP. It does take a whole cup of butter, which can be pricey unless you get it on sale (I was stuck without enough butter, so I had to pay full price. I hate that!).

Frosting recipes aren’t really HEALTHY, but this one’s not bad. It’s definitely a lot better than the frostings that come in the little cans, and because it doesn’t have tons of powdered sugar, it’s healthier in that respect as well.

Winter Warmth in a Mug

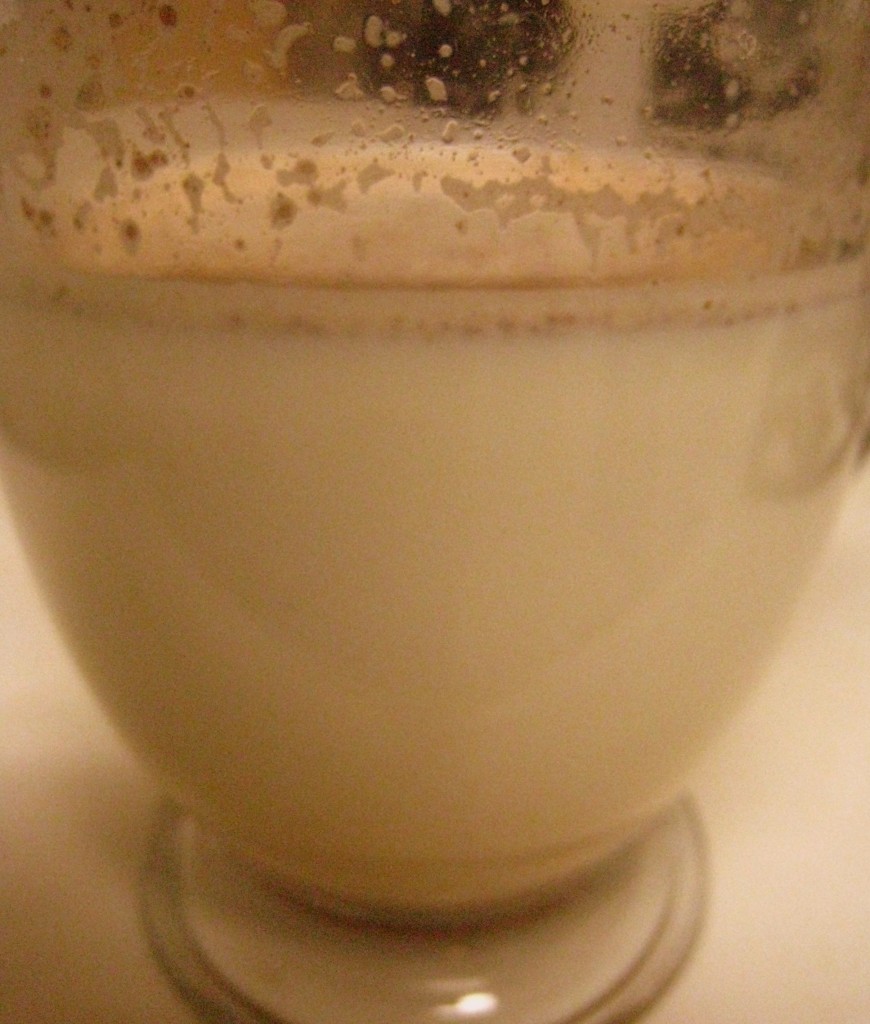
Hot Milk

Usually, my go-to hot drink is coffee, followed very closely this time of year by hot chocolate. Hot tea is a distant third and the occasional hot simmering cider is always a nice treat. Hot milk, though, has never been in my repertoire of hot drinks.

Until now.

Now it’s one of my favorites, right up there with hot chocolate. Easier, though, to make from scratch (although making hot chocolate from scratch is not super difficult) and in a jiffy. And soooo soothing… you might fall asleep immediately after imbibing!

If you are one of the (un)lucky ones who have been dumped on liberally by snow this year (I’m one of the very lucky ones who has managed to miss it all for the most part!), you will want to keep this recipe handy and make sure you have plenty of milk in your fridge for the next snow storm. After a round of romping through the white stuff, this hot white stuff will hit the spot!

This is one of the QUICKest homemade hot drinks, just as quick as a packet of hot chocolate or hot tea.

It’s also super EASY! Can’t go wrong with this one!

It’s just as CHEAP as making hot chocolate from scratch (which requires milk), but not as cheap as hot tea or coffee because it’s mostly milk. If you don’t mind buying a little extra milk, or cutting back your milk consumption in other areas, this is not a bad deal.

It’s very HEALTHY! You can’t get too much more straight-forward than these ingredients, all very beneficial each in their own way. Honey is still a sweetener, so it’s important to remember that, as healthy as it is, you should still limit your consumption of it. However, in my opinion, it’s the healthiest sweetener possible, and ideal for hot drinks.

Labor and Delivery, the “QECH” Way

My DH, my Certain Little Someone, and Baby Boy - aren’t they precious?

So I know that the words “Quick, Easy, Cheap and Healthy” are rarely used in combination with the words “Labor and Delivery”, but stick with me for a minute. Just last week I went through my second labor and delivery experience, and while both were very different from each other, one thing was the same: I chose not to have an epidural. 

Some of you are probably nodding your heads and saying “Good for you!”. The rest of you are probably scratching your heads, rolling your eyes and saying, “Why the heck not?!”

Oh, I’m glad you asked!

Believe it or not, the reasons behind my decision not to have an epidural fall within the same principles that govern my overall approach to food, nutrition and health: what is QUICK, EASY, CHEAP and HEALTHY (with as NATURAL as possible thrown in there for good measure).

Note: I am no doctor and no midwife; all the information I share below was gleaned from the multitude of books and articles I read prior to the delivery of my first child, my own experience, and the experience as shared to me by many other moms, some who had an epidural and some who did not. 


So why in the world would I consider a non-medicated labor to be “QECH”?


Studies have confirmed over and over again that non-medicated labors generally proceed more QUICKly than those treated with pain medication, especially those where the epidural is given before active labor has really begun. I know so many moms whose labors were progressing in a normal time frame, but stalled as soon as the epidural was given. Most of the time, oxytocin is required to re-start the labor, and in worst case scenarios, the delivery ends in a C-section.  On top of that, depending on the strength of the epidural and the skill of the anesthesiologist, a mother may not feel the natural urge to push, which will considerably lengthen the pushing stage.

From my own personal experience, my first labor lasted less than 14 hours start to finish, and the sum total of pushing time was 30 minutes. With my second, the entire labor (excluding the lengthy week of pre-labor that I endured before active labor finally started) was less than 8 hours, and only 9 minutes of pushing. This is not the experience of all women, of course. Sometimes unmedicated active labor can last so long that the mother is exhausted, and in those cases, it can be helpful to have an epidural just so she can relax and regain her strength.

Based on what the nurses were telling me during my postpartum care, recovery from a natural delivery is also QUICKer than that of a medicated one. Because I had no epidural, I needed very little intervention even immediately after the birth, mostly because I could move around of my own accord. There were also other precautions and measures the nurses realized they didn’t have to take when they saw I had not had an epidural.

No labor is ever EASY, medicated or not! It’s certainly not a walk in the park. However, there are a host of medical interventions that have to take place whenever the mom is given anesthesia, and all of them can complicate the birthing process:

  • possible catheterization
  • additional monitoring
  • the mother’s position restricted
  • prohibition of food or drink, and the use of IV instead
Each of these things is a complication in and of itself and can lead to further complications both during and after the birth. 
Depending on how your insurance is structured, foregoing the epidural can be much CHEAPer. In our case, we pay 20% of whatever the insurance company pays, which means that if they paid $1500 for the epidural and the anesthesiologist, we would pay $300, a hefty sum for a medically unnecessary treatment. 
The use of the epidural in and of itself is not likely any more or less HEALTHY than going without. It’s all the accompanying measures I spoke of before that can create an unhealthy situation either during or after delivery. For example, catheterization can lead to UTIs. The use of an IV can create excessive swelling. A mother’s position being restricted and/or additional monitoring can inhibit the natural progress of labor, resulting in more and more medical interventions. 
There do seem to be some HEALTH benefits for the baby when anesthesia is not involved in the labor process. For one thing, in unmedicated labors, endorphins can be found in the placenta and umbilical cord, which helps the baby through the delivery process as well. And because the medication in an epidural reaches the baby as well, unmedicated babies are more alert and active immediately after the delivery, which helps with bonding and learning to suck and eat (important survival skills!).