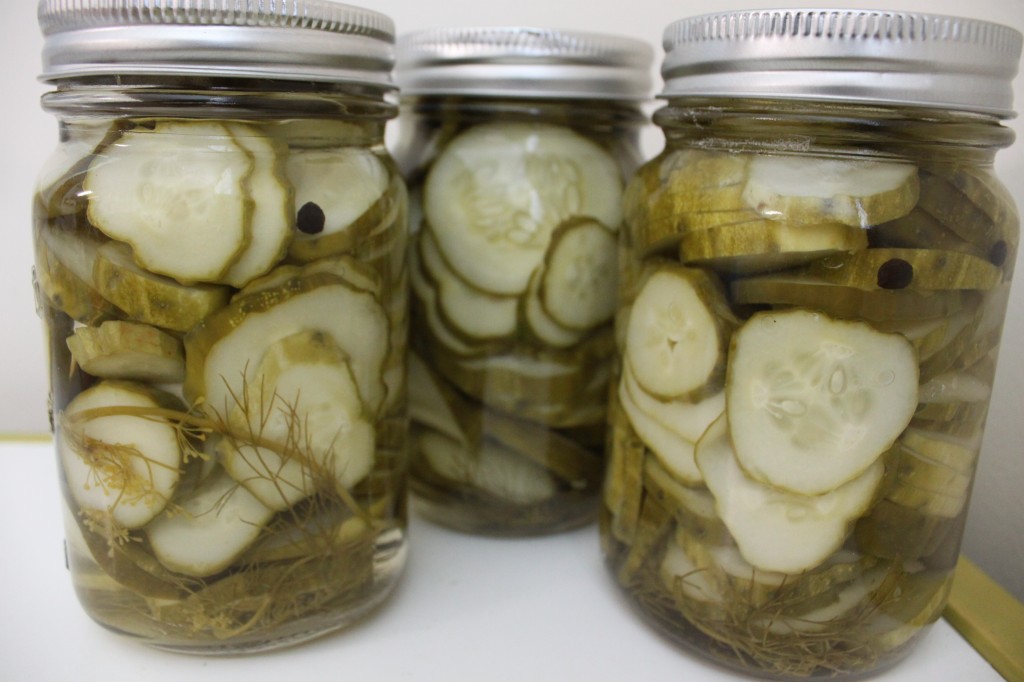
Canned pickles are the first kind that I attempted, and I was pleasantly surprised at how easy they were. In fact, I’ve discovered in the past few years that canning in general is not as great a mystery or even as overwhelming an undertaking as it always seemed to be. It’s quite simple and can be done with the most basic equipment. And it doesn’t take a whole lot of time, especially if you’re working in small batches, like I usually do.
Of the 3 pickling methods I’m describing, canned pickles last the longest, so are the best for long-term storage. In terms of taste and texture, unfortunately, they’re my least favorite. However, when you stack them up against store-bought pickles, they still win in the taste department, so it’s still worth it to can them if you want pickles to last through the winter.
As with any canning endeavor, a little prep is essential. Before you can start pickling, you need to get your equipment ready:
Sterilize the jars and lids.
I like to use pint-size jars, because they fit in my stock pot for processing, and because we don’t go through pickles fast enough to warrant a larger jar. You can use any size you want, of course, but before you use them, you do need to be sure they are sterilized. You can run them through the dishwasher, but if your dishwasher is like mine, it is never empty! I usually set them in a pot of water and bring it to a slow boil. I do the same thing with the lids, but in a small pot; and I don’t boil them, just simmer gently.
Bring a large pot of water to boil.
This is the processing “bath”. If you have a canning pot, it’s useful, but right now I’m just using a plain old stock pot. I do put a hot pad in the bottom to provide a surface for the jars, but it’s kind of a pain.
Get your supplies ready.
The funnel and jar grabber in this canning kit are incredibly useful, and should be at the ready near the stove.
Prep your cukes.
It goes without saying that they should be thoroughly washed (I like to soak mine for a little bit.). Then you need to slice off the ends. After that, you can leave them whole, slice them into “spears” or rounds or whatever you want. The brine in the recipe below is enough to fill 6 or 7 quart jars, and each quart jar will fit 5-8 pickling cucumbers, so that will give you an indication of how many cucumbers you will need (or adjust brine amounts accordingly).
Now you’re ready to do some pickling!
Fresh Pack Canned Pickles
Ingredients
- Pickling Cucumbers, ends chopped off
- Dill Weed
- Garlic Cloves, peeled
- Black Peppercorns
- For the Brine:
- 8 cups water
- 2 cups vinegar
- 1/2 cup sea salt
Instructions
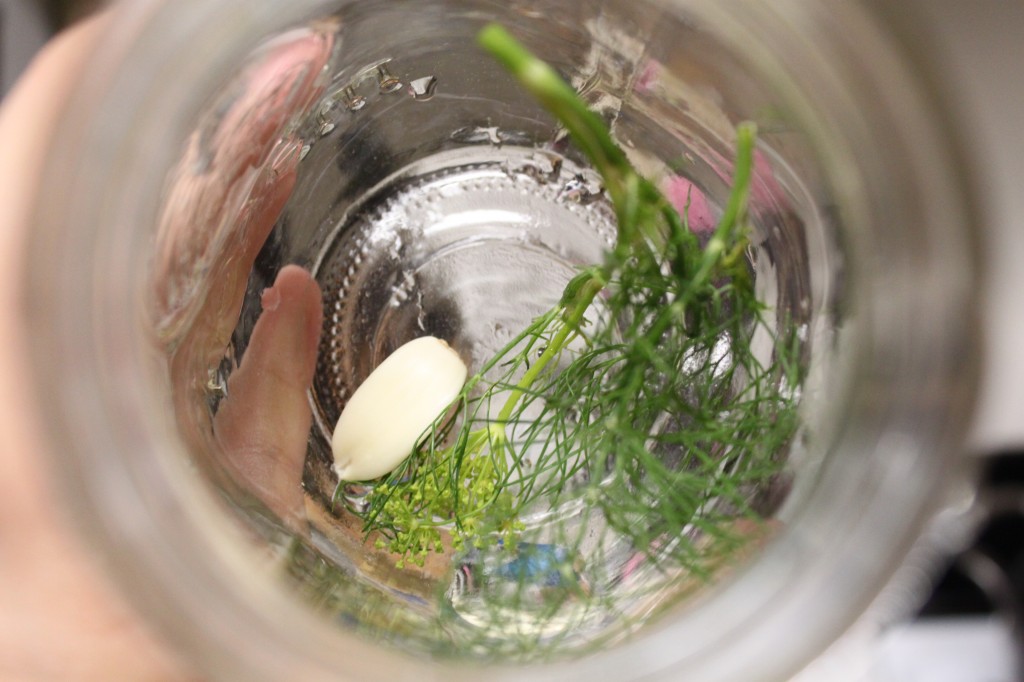
- Place a large sprig of dill weed (including flowering heads if possible), a clove of garlic and a few peppercorns into the bottom of a canning jar.
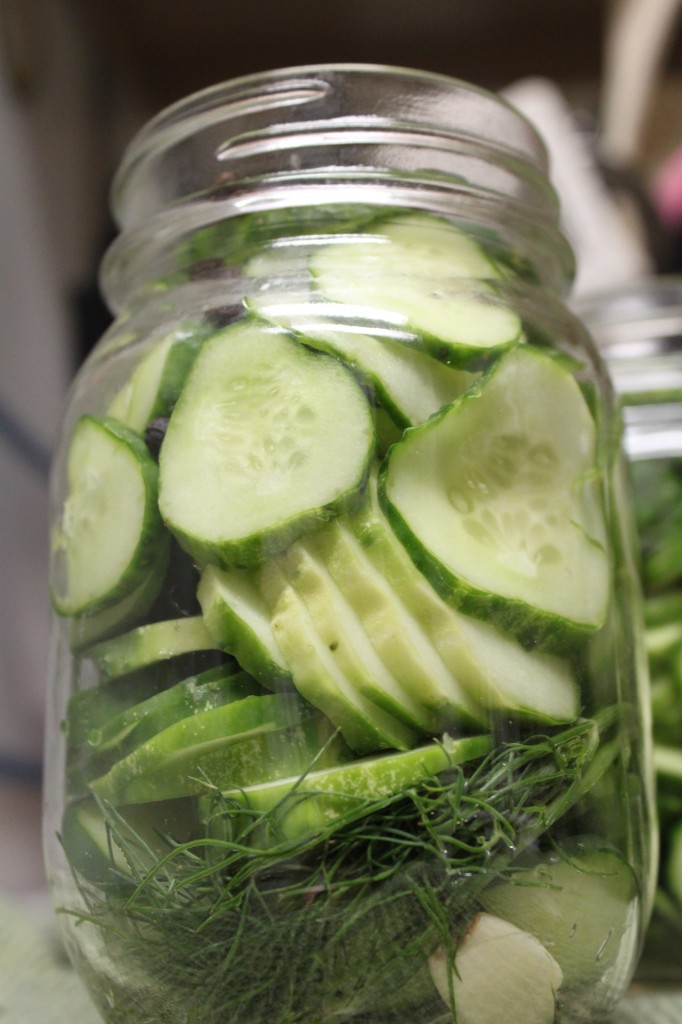
- Slice the pickles if desired and pack as tightly as possible into the jar, up to the neck. Top with just a bit more dill.
- Mix together the water, vinegar and salt in a large pot and bring to a boil, stirring to dissolve the salt.
- Pour the brine into the jars, leaving 1/2″ head space at the top. Place lid on top, and screw lightly in place.
- Gently place lids into canning pot filled with boiling water, and process (boil) for 10 minutes (15 minutes for quart jars). Remove from pot and allow to cool undisturbed for 12-24 hours. The flavors should blend for at least a week before enjoying.
I guess the whole process takes about an hour, depending on how many cucumbers you have and if you slice them or not, and in my opinion that’s pretty QUICK for a winter’s supply of pickles!
Pickles are one of the EASY-est things to can, as well, as there really isn’t any cooking involved.
I paid $10 for a 1/2 peck of pickling cucumbers, and $3 for the dill plants, plus $0.50 for the garlic. From that, I got 5 pint jars of canned pickles, 3 jars of refrigerator pickles, and I would have had several more jars of freezer pickles… but that’s a story for another day. My point being that I paid a little over a $1 for each jar of pickles, which is really CHEAP, especially considering I canned them the day I got them from the farmer’s market. That is about how much I’m willing to pay for store-bought pickles, and the quality - and taste - of homemade is infinitely better.
These are pretty HEALTHY. Of the 3 methods I tried, canning is probably the healthiest because it doesn’t use any sugar at all. However, there is a fermented method that would be even more nutritious, and if I can adequately get my nerve up, I might try it some time.
Have you ever pickled cucumbers? Have you ever tried the fermented (crock) method?
Read all the posts in this series:
Pickling 101
Fresh Pack Canned Pickles
Refrigerator Pickles
Freezer Pickles


I had fun pickling cucumbers last year! Great recipe.
It is fun, isn’t it?!
Oh my goodness!! Your website is the only one I have found that makes these look easy to do! Thank you so much for posting. I work with a farm that does CSA’s (Community Support Agriculture boxes) and instead of paying me in cash, they pay me in food - BONUS!! I think I’m going to pickle cukes like crazy then do my normal 50 pints of Salsa!
I think they’re VERY easy! I’ve only made one batch this year so far, but hope to make more. Enjoy!
Do you store these on the shelf? If so,are you sure that is a safe ratio of vinegar to water? It seems rather low compared to others I’ve seen. I just made your recipe today.
Hi Kevin, Yes I do store these on the shelf, after processing in a water bath. I’ve only ever used this recipe and I never have trouble, but you can certainly increase the vinegar if that would make you more comfortable. It’s been a while since I first made this recipe, so I can’t remember exactly where I got the ratios from, but it was compiled from a number of different pickle recipes from different blogs and books.
Thanks for the great info!!