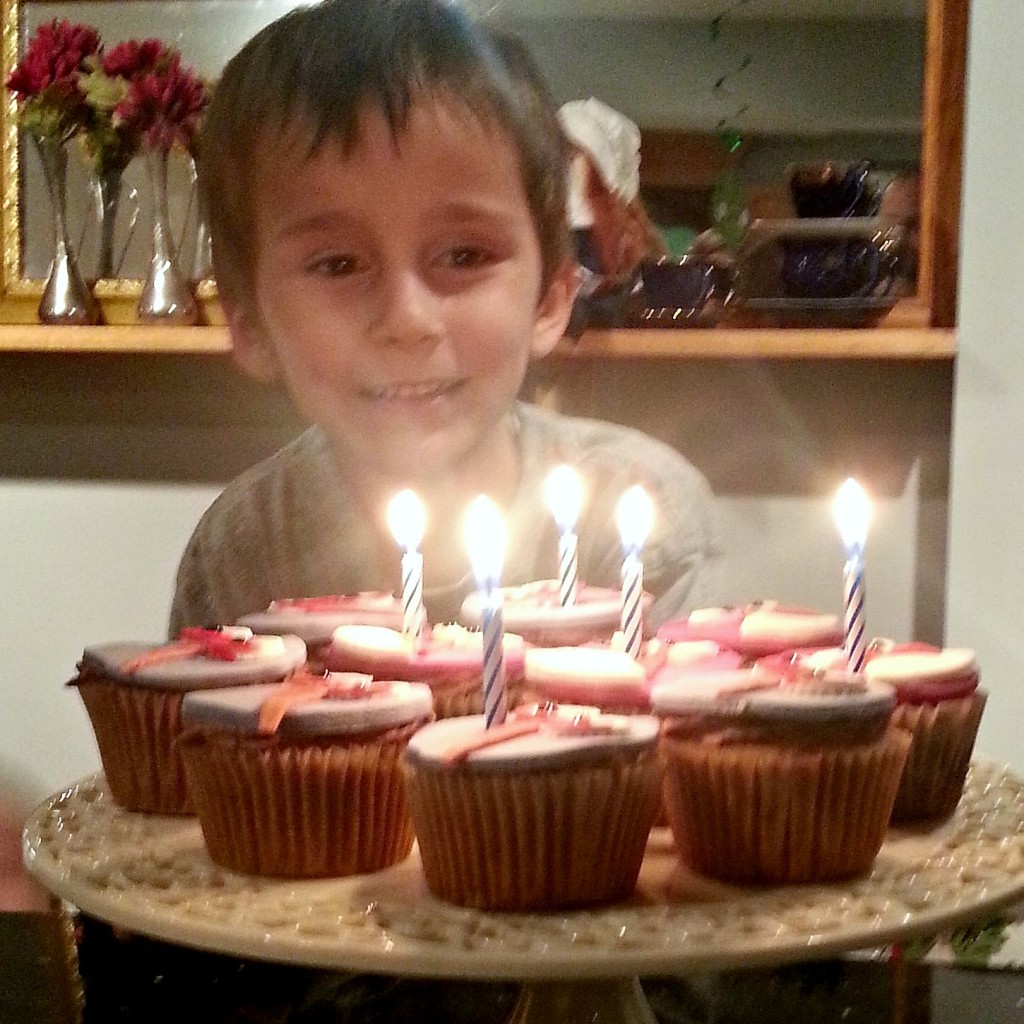
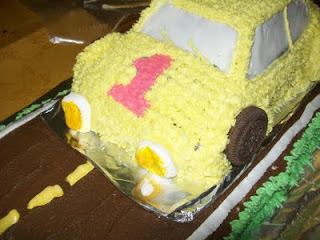
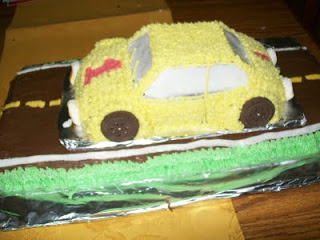
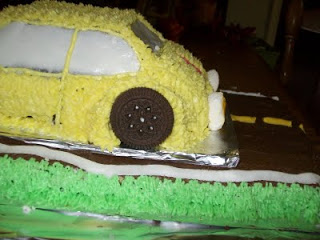
 I love making fun birthday cakes for The Boys - I actually really look forward to it from one birthday to the next! The problem is trying to balance cost, nutrition, and simplicity - those three things don’t always meet together and play nicely when it comes to cakes and decorative frostings! Fondant, in particular, seems to be a matter of expense, difficulty, and chemical-laden ingredients, yet it can turn out some of the cutest and most gorgeously decorated cakes.
However, for my Certain Little Someone’s fifth - yes, fifth! - birthday cake, I happened upon an amazing recipe for fondant that contained absolutely no chemical or processed ingredients. What’s more, all the ingredients were something I had in my cupboard already, and it was just as easy - or seemed to be - as any other fondant recipe out there.
A Healthy Fondant Recipe that’s Easy?
Here’s how I stumbled across this gem of a recipe:
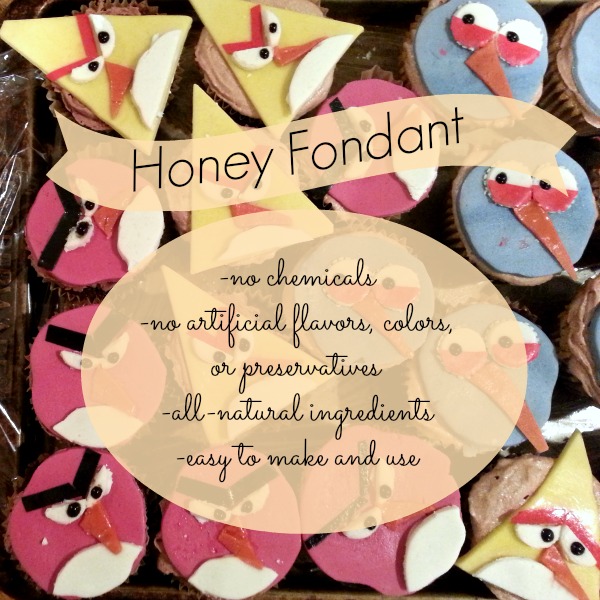
- My Certain Little Someone wanted Mario cupcakes for his birthday (which he later switched to Angry Birds). When I was browsing Pinterest for ideas, most of the ones he liked involved fondant, which I had never used before.
- I took a gander at the ingredient list on the label of store-bought fondant. My eyebrows rose so high they practically rocketed off my forehead, and I hastily put the container back on the shelf and said, “No way!”.
- I found a healthy-ish recipe for marshmallow fondant, but when I priced the ingredients…. well, once again my eyebrows got a little too high and I reluctantly admitted that was not do-able. Those “healthy” marshmallows cost $4 a bag, and you need two for the recipe! Not to mention the cost of the healthier sugar/powdered sugar.
- I started researching alternative fondant recipes - my goodness, there are a lot of different ways to make fondant! Who knew? Not me, that’s for sure. There was the original true recipe for fondant, which involved candy thermometers and boiling sugar water, which I decided against (way too complicated, plus I don’t have a candy thermometer). There were also a lot of recipes that called for strange ingredients I don’t keep on hand and didn’t really want to invest in anyway.
- Then there were a whole variety of powdered-sugar based recipes, most of which involved corn syrup. I wondered if honey could replace the corn syrup (because that’s what I usually sub when corn syrup is called for in a recipe and it usually works well), but I didn’t want to risk it because I didn’t have the time to deal with it. I searched specifically for “honey fondant” wondering if someone else had tried it and if it worked.
- Well, whaddya know?! I found a whole bunch of recipes for something that beekeepers feed their bees during the winter (no, thank you, I don’t have any bees) instead of more fondant frosting recipes… but there was ONE little precious gem of a recipe buried in all of that honey-bee stuff: Honey Fondant.
I made it pretty much as written, except that I had to add significantly more powdered sugar than I was expecting. Like, I mean, significantly, she says with significance. I honestly don’t know how much powdered sugar ended up in this batch of fondant, but let me tell you it is way more than I have ever put in any one recipe any other time in my life.
So I decided that when it comes to fondant, your choice pretty much boils down to this:
chemicals
or
sugar.
Lots and lots of sugar.
I’m glad I want with the sugar option because at least it’s something your body recognizes and knows what to do with. The chemicals are just scary, frankly - at least sugar is a known danger!
I haven’t made any other kind of fondant so I have nothing with which to compare it, but this seemed to be just as simple as any of the other recipes out there, and definitely simpler than the boiling sugar version. As long as you understand you might have to use a metric ton of powdered sugar, you’ll be OK.
Recipe: Healthy (ish) Honey Fondant
Ingredients
- 2 packets gelatin
- 12 T. cold water
- 2 T. butter or vegan margarine
- 4 T. honey
- 2-4 lbs. powdered sugar
Instructions
- Sprinkle the gelatin over the cold water in a medium-sized glass bowl. Place the bowl on top of a pot of boiling water (to create a double boiler), and whisk until the gelatin dissolves. Remove from heat.
- Stir in the butter and honey, and whisk until smooth.
- Pour 2 pounds of powdered sugar into a very large bowl, and make a well in the middle of it. Pour the honey mixture into the well, and then stir it into the powdered sugar.
- Stir until you have a dough the consistency of bread dough, adding powdered sugar as necessary.
- Sprinkle powdered sugar on a clean countertop, and place the fondant on top. Knead, adding powdered sugar as necessary, until you have a smooth round ball of fondant.
- Work in food coloring as desired, kneading and adding powdered sugar when necessary.
A few ingredient notes:
- The original recipe called for margarine - I would have used butter except that my Certain Little Someone is allergic to it. I considered using palm shortening but I wasn’t sure if that was a good sub or not (probably would be fine), so I opted to stick with the original recipe and use my Certain Little Someone’s “butter”, which is actually a coconut-based all-natural butter-like spread. I think either butter or palm shortening or some other similar margarine would work. Just don’t use the nasty chemical margarine.
- The next time I make this, I’ll probably try starting with less liquid, maybe even half as much as is indicated here.
- I made my own powdered sugar by processing raw sugar in my Vitamix. I wanted it to be pretty fine, or I would have gone with powdered sucanat or even coconut sugar. Either of those would probably work, but with the quantity used, it would get expensive fast.
- The original recipe called for 800g of powdered sugar, which is just under 2 lbs. I’d definitely consider that a starting point! You’ll probably use more like 4 pounds, maybe even more, unless you adjust the liquid (if you do adjust the liquid, let me know how that goes!).

