I always feel obligated to preface every cake post with a disclaimer that goes something like this: I stink at cake baking.
Soooo if you’re a cake-baking expert, this post is not for you. However, if you’re a cake-baking stinker like me, keep reading!
I think my biggest problem with cake-baking is that I attempt to make a delicious, light, fluffy, high-rising cake with ingredients like whole-grain flour and unrefined sugars. I always tell myself that if I were baking with white flour and white sugar that - Certainement! - my cakes would be absolute perfection.
Since I don’t bake with white flour and sugar, the world will never know. Probably best to leave it that way.
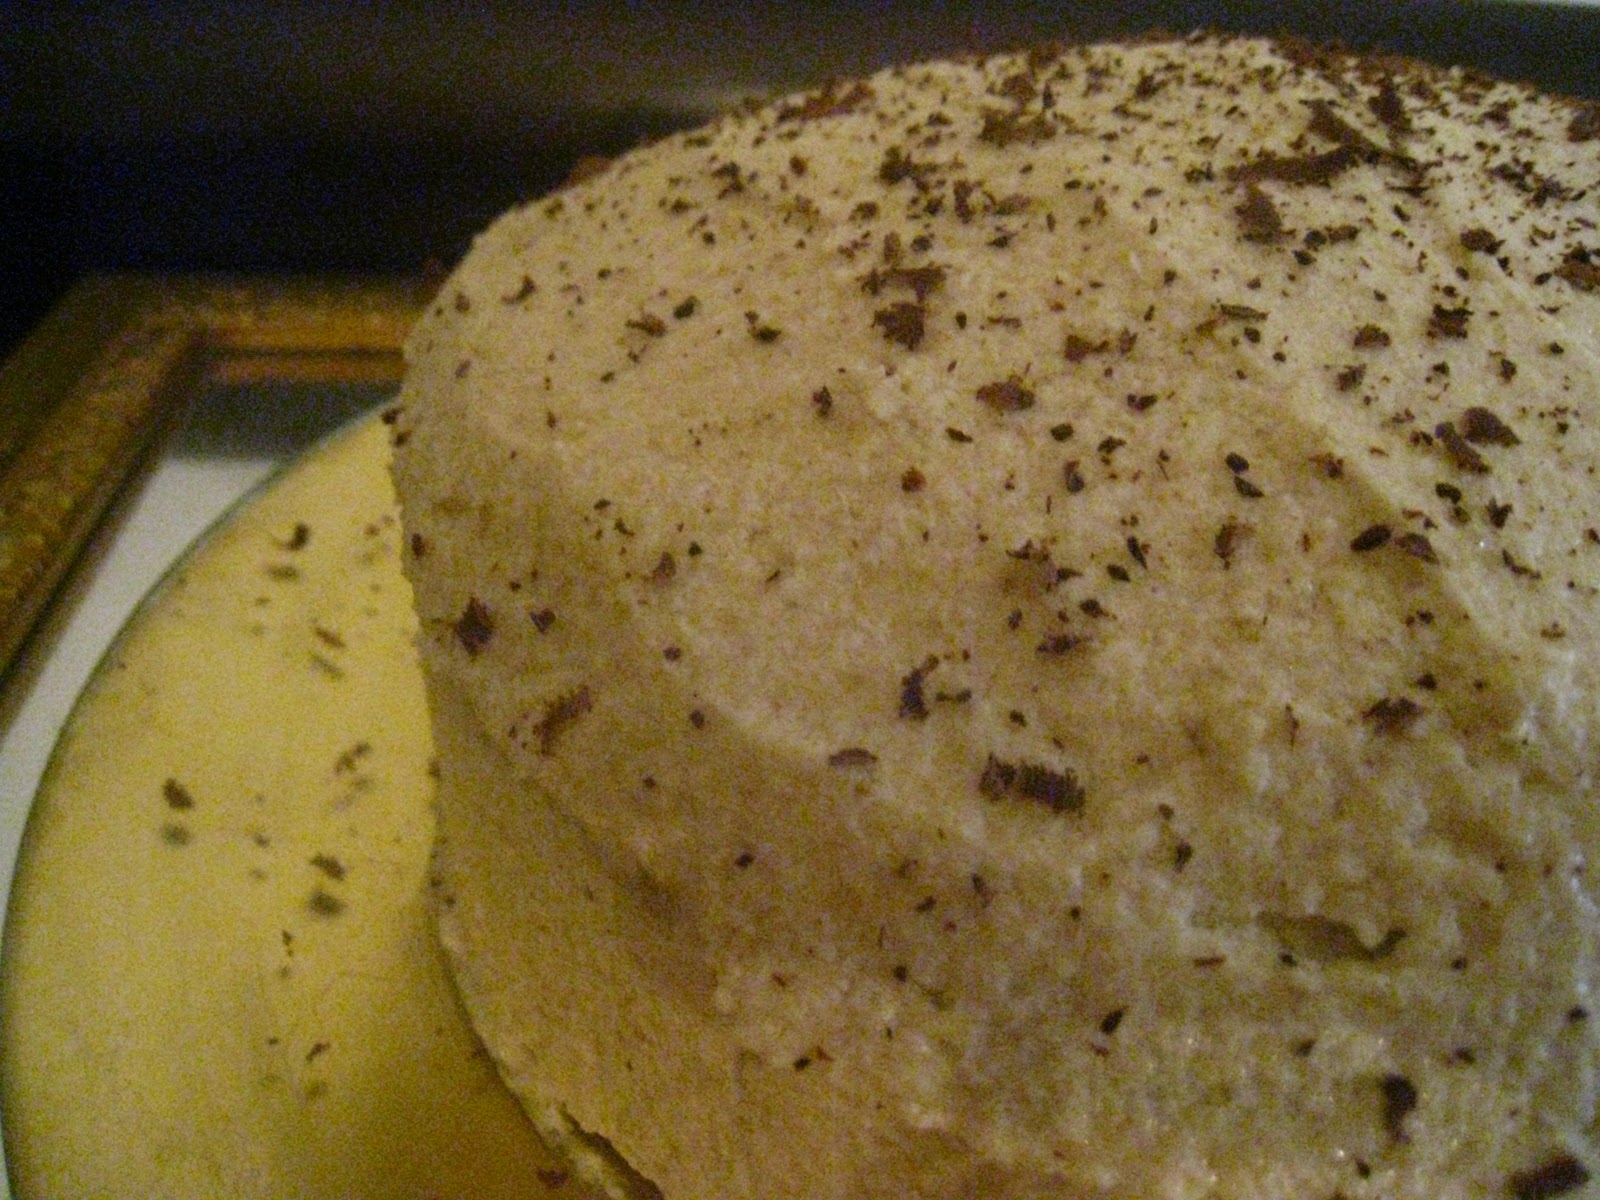
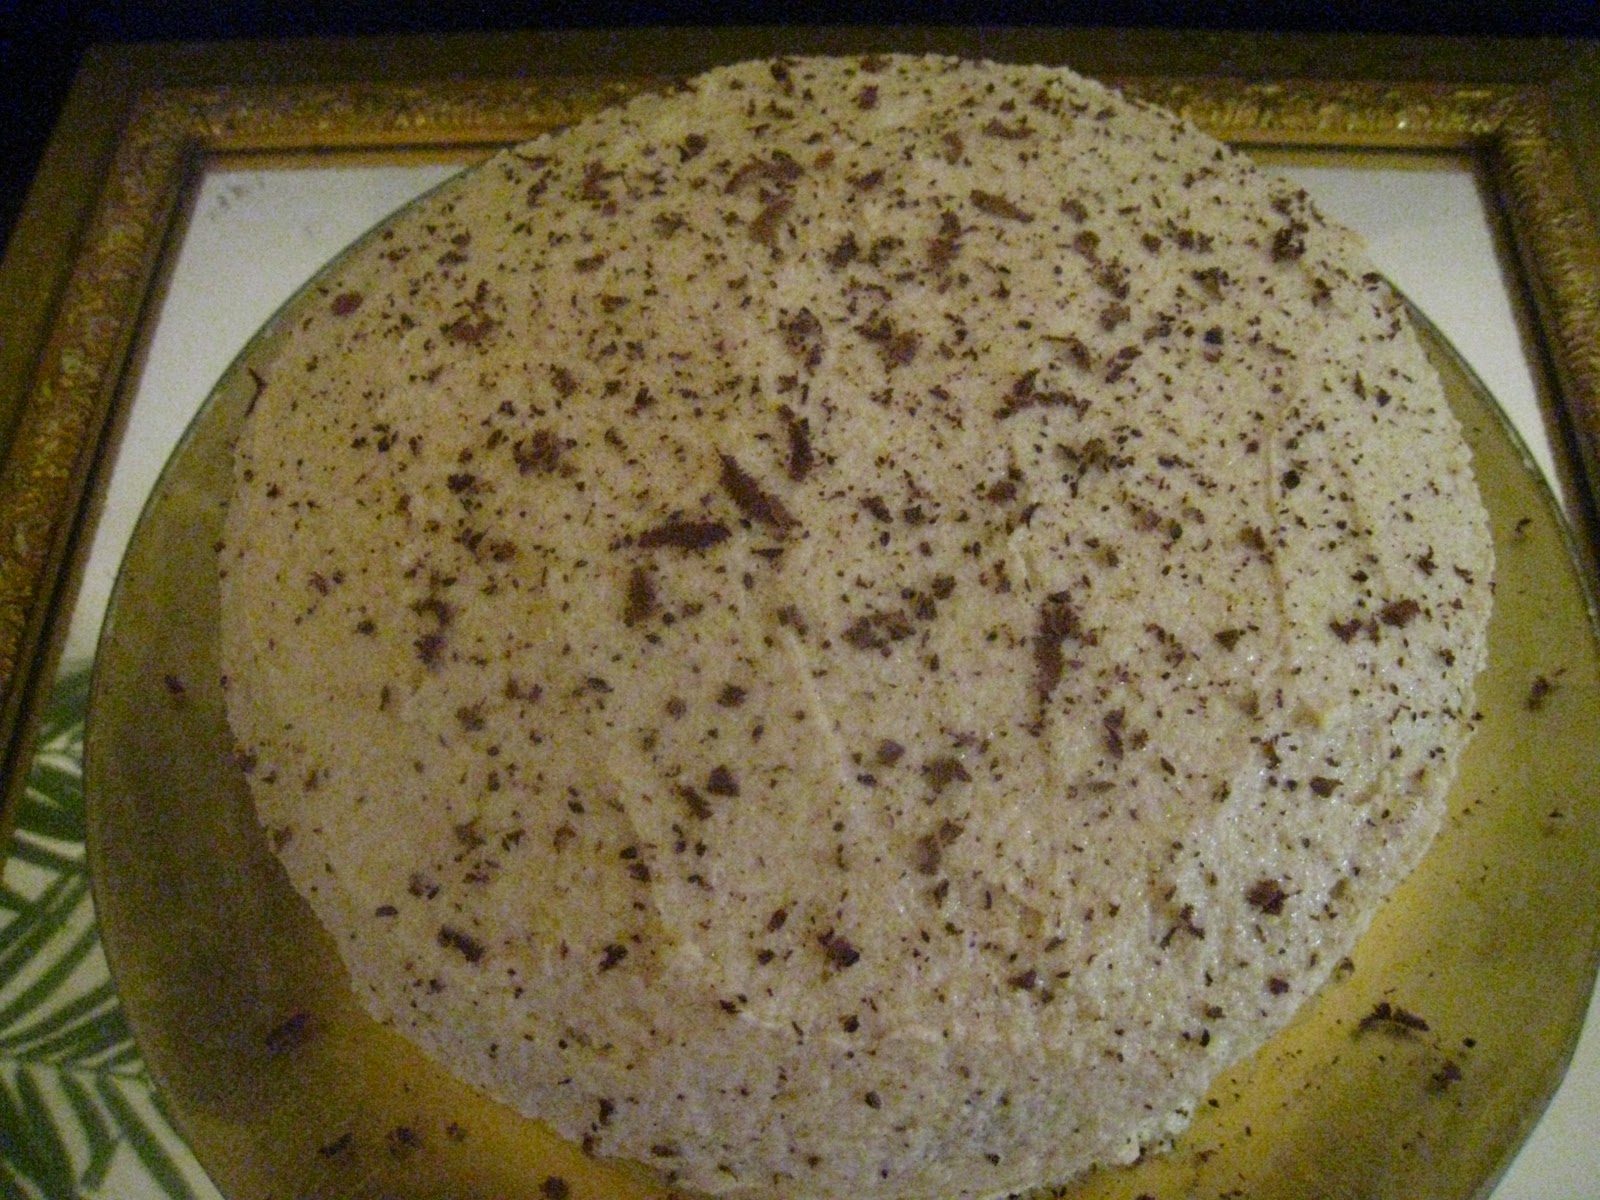
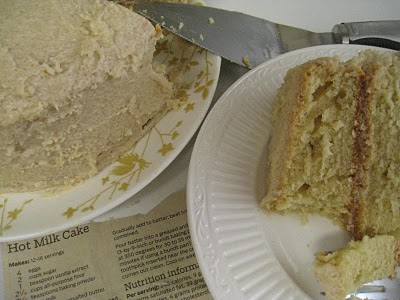
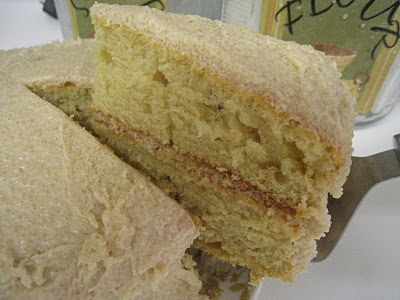
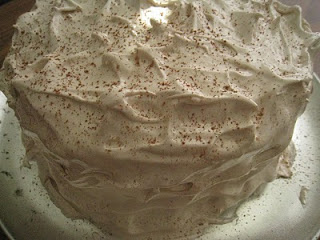
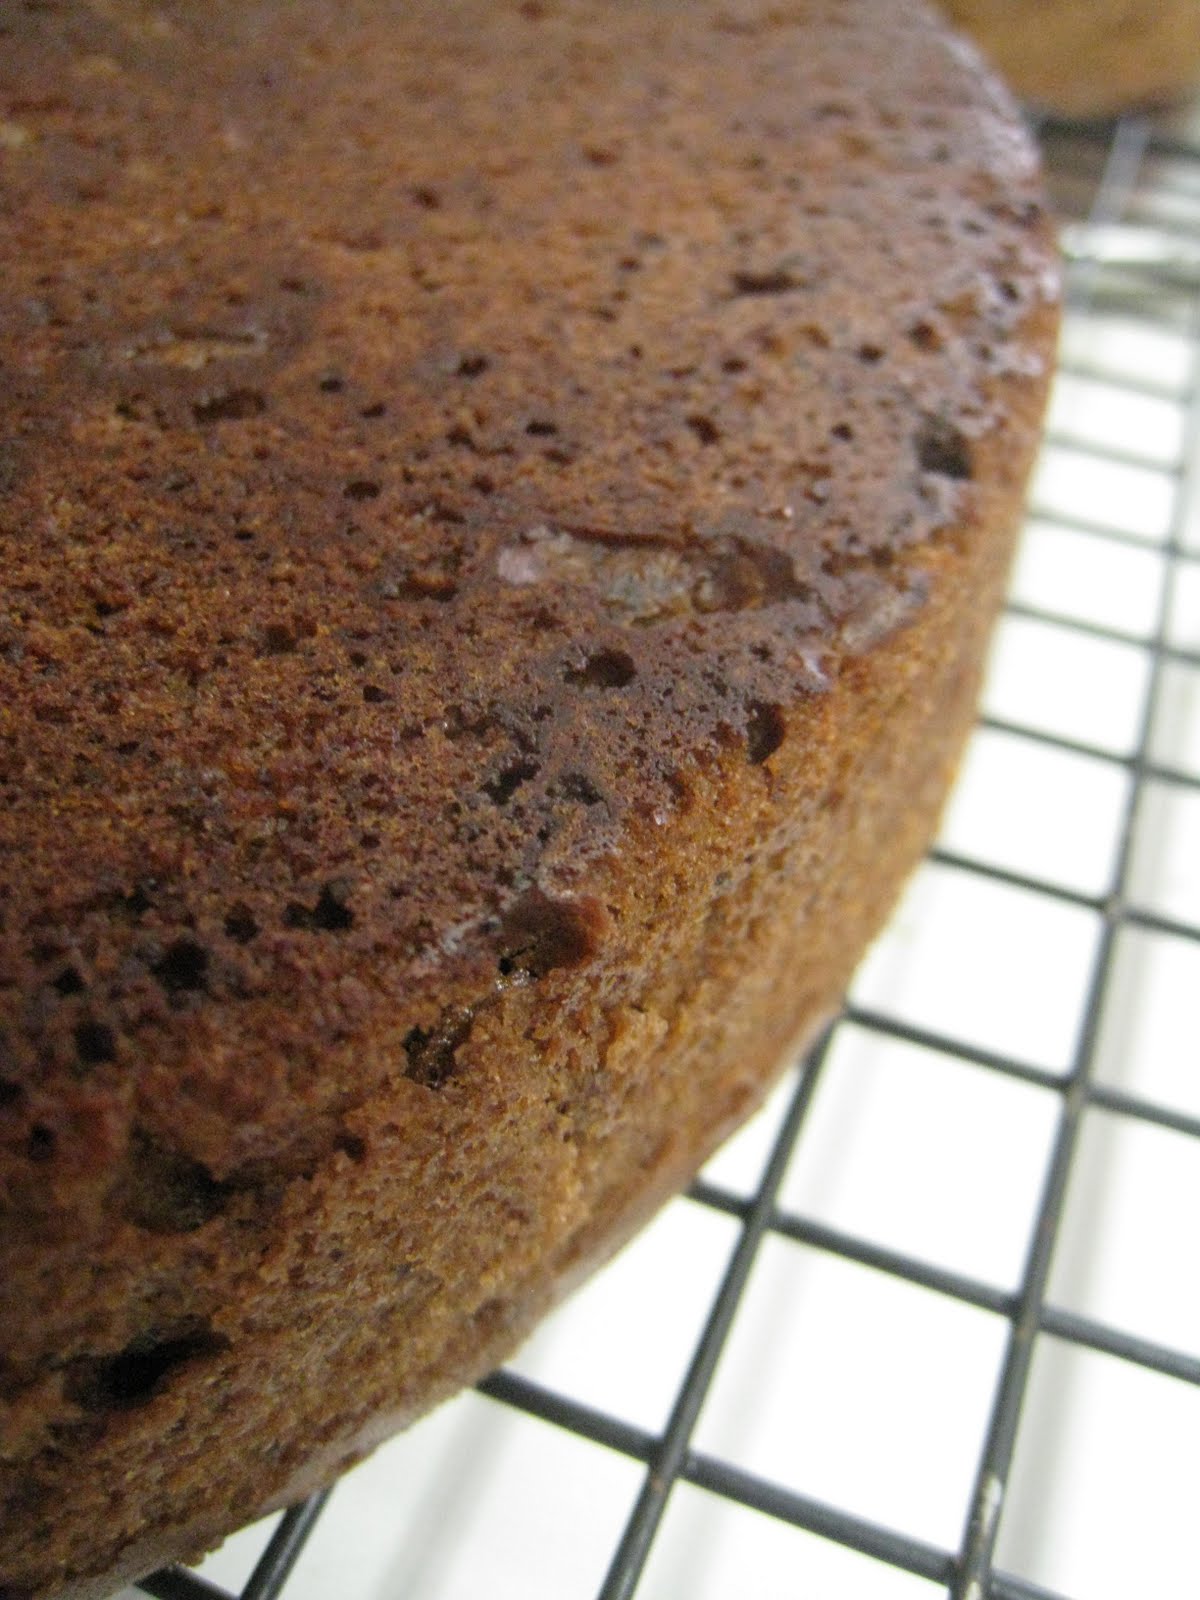
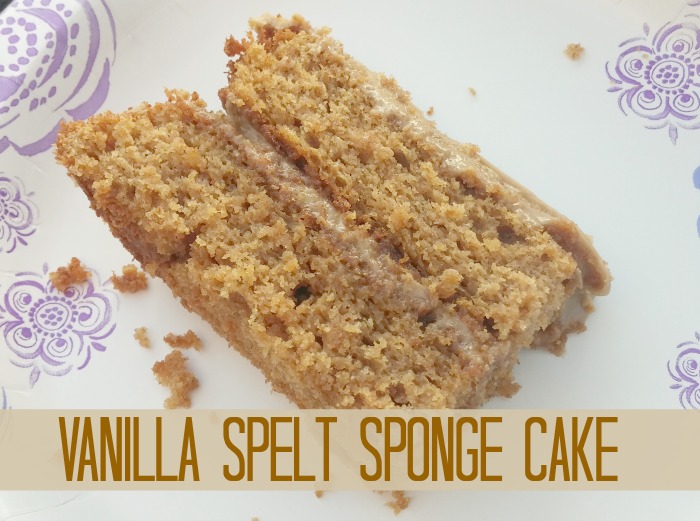
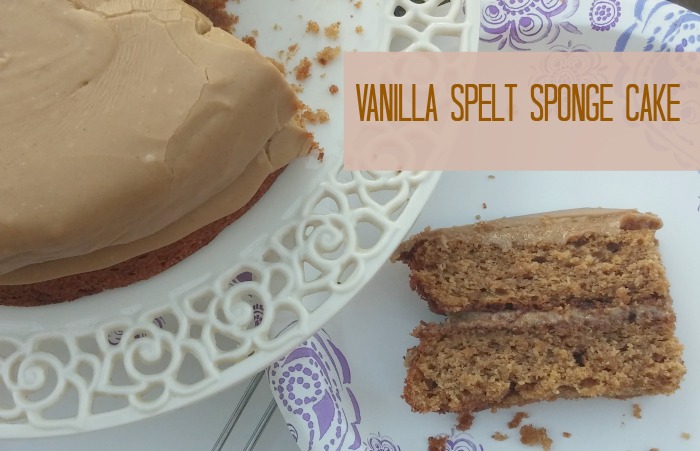 I bumble along the best I can, though, with freshly grained spelt flour and coconut sugar, and I have to say that this most recent cake experiment was overall a success. The resulting cake seemed heavy but had a nice light crumb, a moist texture, and perfect vanilla flavor. I made two cakes - one topped with caramel frosting, and one filled with lemon curd and topped with lemon frosting. Everybody said they were good, but I wasn’t completely pleased with the frosting recipes, so I won’t be posting those.
However, the cake is definitely a recipe worth sharing, especially since whole-grain spelt cake recipes are currently a rare commodity in this world. I made it in my WonderMix with the cookie beaters on low (speed 1). Whipped it up in no time!
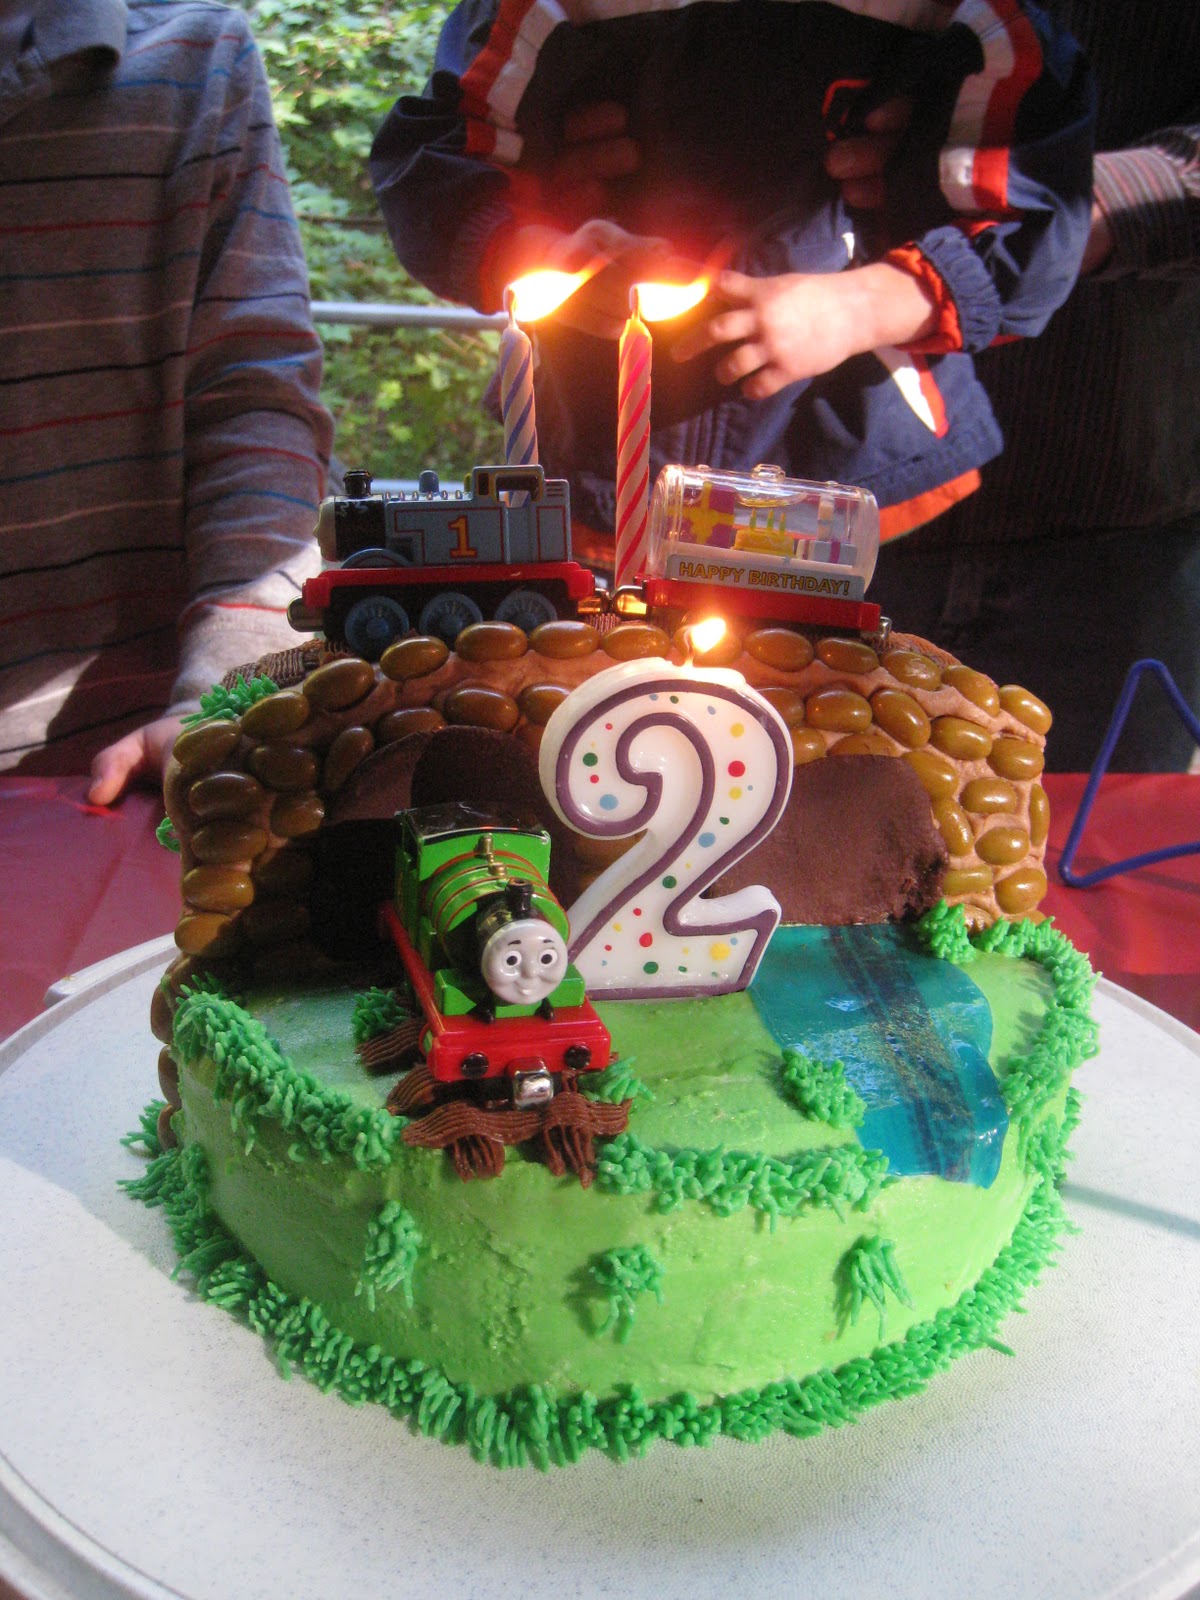
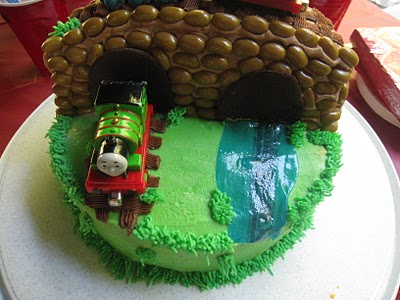
If you’re looking for a delicious but reasonably nutritious (wouldn’t exactly call it healthy, but it’s not that much of an indulgence, either) cake for your next celebration, this one’s it! It pairs nicely with just about any frosting - I like to pop the layers in the freezer before spreading the icing just to limit the crumbs getting involved.
 Recipe: Spelt Vanilla Cake
Summary: a delicious vanilla layer cake made with spelt flour
Ingredients
- 1 cup butter, room temperature
- 1 1/4 cups unrefined sugar (I used coconut)
- 4 eggs
- 1 cup kefir (or buttermilk)
- 2 T vanilla
- 3 cups sifted spelt flour
- 1/4 cup tapioca starch
- 1 T baking powder
- 1 t fine sea salt
- 1/2 t baking soda
Instructions
- Prepare two round pans by greasing them liberally with butter. Preheat oven to 360F.
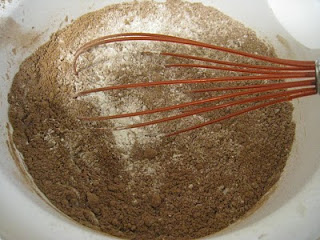
- In a medium bowl, whisk together flour, tapioca starch, baking powder, salt, and baking soda. Set aside.
- Beat butter and brown sugar on speed 1 together until creamy.
- Add eggs one at a time, scraping sides of the bowl as necessary, until they are all incorporated. Add vanilla.
- Alternate adding dry ingredients and kefir; mix on speed 1 just until ingredients are blended. Batter will be a little bit thick and fluffy.
- Bake at 360F for 25-30 minutes or until toothpick inserted in the center comes out clean. Cool and frost as you like.