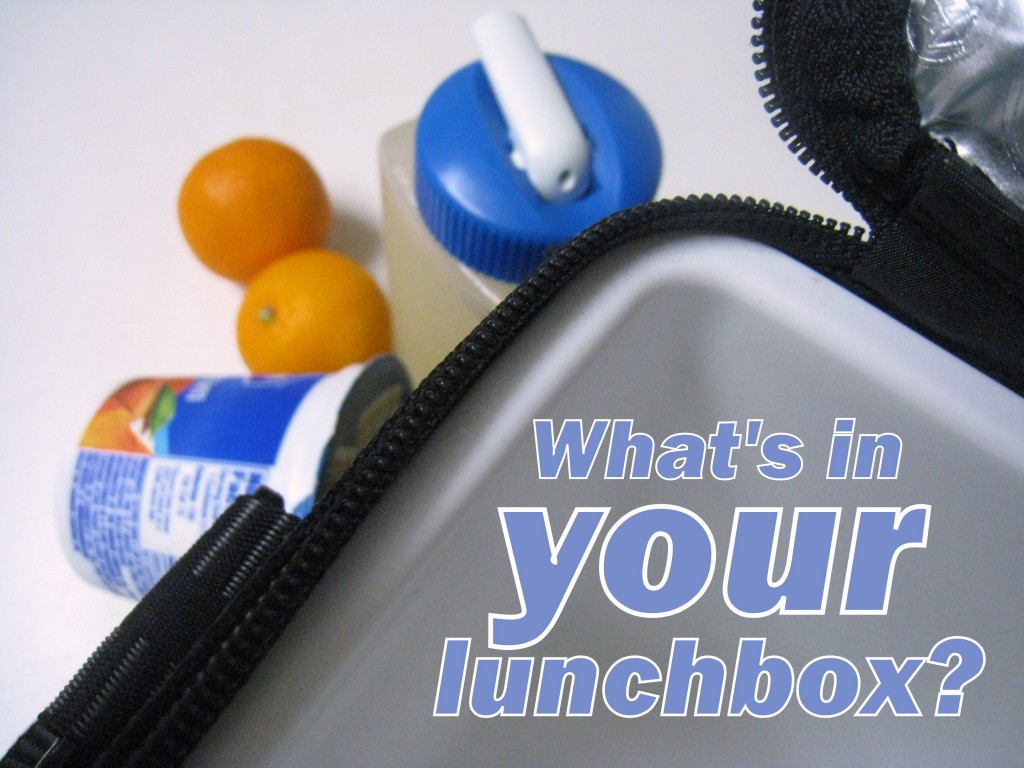
 As a teacher, I saw a LOT of lunchboxes through the years… and their contents, which occasionally amazed and astounded me. And not necessarily in a good way. To be perfectly frank and honest, the initial thought that popped into my head when observing my students’ lunchbox contents was often, “What were his/her parents thinking?!?!?!” Sometimes I came to the conclusion that they weren’t. Other students impressed me, though, with the contents of their lunchboxes, and those parents I mentally congratulated. I understand it’s difficult to provide a well-balanced, easily portable, easily eaten, well-liked, not-likely-to-be-traded lunch for a picky pupil every. single. weekday. Throw in that most parents barely have time to think about such a lunch, let alone actually create it, and one can easily understand how a child ended up with a lunchbox full of random odds and ends mostly full of sugar, bad fats, and far-from-complex carbs.
But it doesn’t have to be that way. If you’ve already conquered the Lunchbox War, congratulations to you: Well Done! If you’ve been defeated though, or hardly begun to fight, I’ve come up with a few tips to save you Time, Effort, Money… and most importantly, your child’s HEALTH.
Today we’ll start with Time and Effort, probably the biggest obstacles in the fight for the healthy lunchbox. Most parents know what should ideally go in the lunchbox, but many are too discouraged by the amount of time and effort it would take to make it happen. Maybe these ideas will help you surmount those obstacles and lead you to a better lunchbox this school year.
 Quick & Easy Lunches
Create a flexible but reliable menu.
Develop a basic framework you can use every day that will save you from having to think too much. For example, plan on variations of the following in each lunch:
- -Main Dish (sandwich, soup, leftovers, etc.)
- -Drink (water’s always good!)
- -Yogurt or Cheese
- -2 Fruits or Veggies
- -Small Dessert or Snack
This is a proven formula that will give them enough to eat every day, but is easily varied by including different main dishes, fruits, vegetables, and snacks.
Adapt this formula for your own child, one that is easy for you and enjoyed by him or her. It’s easy to change up, but the basic formula stays the same so you don’t have to think too much about what goes in the lunchbox.
Involve your child(ren).
This is easier and saves more time than you might think, especially if you have a formula like I described above. Even a kindergartener can help out with his/her lunch if they know what goes in it. In fact, I would say that from first grade up, if mom or dad takes care of the main meal (and kids can even help with this, depending on age and what it is), the child can take care of the rest. Post a checklist on the fridge, pictorial if necessary, that clearly shows what items should go in the lunchbox every day. Place those items at an accessible level, and make it your child’s responsibility to put all those items in their lunchbox every day. If you’re not comfortable leaving it entirely up to them, all you have to do is instruct them to leave it open until you check it for accuracy. Inspect each lunchbox quickly, correct where necessary, zip it up and off they go!
Fill the lunchbox the night before.
You’ve heard it before, but it bears repeating. Make lunch the night before, and then your morning routine will be slightly less hectic. Every night after dinner, when we clean up the dining room and kitchen, we make lunches for the next day. The lunches go into the fridge with all the leftovers and are ready for to grab the next morning. If you don’t have enough room to store their actual lunch boxes in the fridge overnight, place a large plastic box of some kind on one of the shelves, and put all the lunch contents in it every night. In the morning, just grab the contents and transfer them to the individual lunch boxes. This will still save plenty of coveted morning prep time.
Corral lunchbox items in the fridge and pantry.
This goes hand in hand with the previous tip. Collect all the yogurt cups, cheese sticks, and other refrigerated lunchbox items in one big plastic container on a shelf in the fridge, or designate one of the meat/produce drawers as “lunchbox drawer”. In the pantry, place all the shelf-stable items, such as snacks (healthy ones of course!), juice boxes, fruit cups and other lunch munchies in a designated, clearly labeled, easily accessible container.
Invest in some inexpensive, time-saving tools, like an apple slicer or an orange peeler
 .
.
![]()
![]()
The apple slicer is an incredible invention that will allow you to slice up an apple for your child(ren) in seconds and is a lot easier than pulling out a paring knife and cutting board. It will make the apple easier for your children to eat, especially if they are younger. Apples will brown when exposed to air, so you can either dowse them in a bit of lemon juice and water or just pack them in an airtight container to reduce the browning.
The orange peeler is especially useful for elementary-aged children as it can safely be packed with their lunch and allow them to peel their own oranges, clementines or tangerines by themselves at school. If you’re not comfortable with packing the peeler, simply use it to slice through the peel before putting the citrus in the lunchbox, so at least they have a starting point and they can peel easily from there.
It’s easy enough to figure out the side items: yogurt cups, cheese sticks, fresh fruit or fruit cups, etc. But what about the main dish? This is usually the biggest quandary when it comes to lunch-packing time. A little forethought and preparation goes a long way to help.
If your child has access to a microwave, make use of it!
Of course, not every school or classroom has the capability of reheating a child’s lunch, which is a bummer. Also, many people prefer to avoid overuse of a microwave. If that’s the case, refer to the next tip:
Invest in a thermos or other insulated container.
![]()
Even though both schools where I have worked had ready access to microwaves for all the student lunches, some parents still opted to use a Thermos or similar container instead. And it worked great! If the food goes in hot, it keeps its temperature long enough to be deliciously warm at lunch time. This opens up SO many time- and effort-saving options for filling up those lunchboxes. Read on to see how!
Cook a double batch for dinner and send the leftovers for lunch.
I do this all. the. time. In fact, we eat leftovers for lunch more often than anything else. Usually, the lunch version is simplified, in other words, doesn’t necessarily include all of the sides, sauces, etc. Also, for small children, the food needs to be easily eaten, which means some foods will have to be cut up for them in advance. Plan your dinners ahead of time, determine which ones will easily translate into lunch, and voila! Your lunch the next day is instantly ready at the same time as dinner!
Make big batches and freeze the extra.
Whenever you cook up basic staples like noodles and rice, cook extra and freeze the extra. You can even pour spaghetti sauce over them before freezing for an instant meal, in which case you should freeze them in individual containers. The noodles and rice can be used for dinners OR even for quick lunches when you don’t have leftovers or sandwich options available. Also, extra shredded chicken, beef and pork can be used as sandwich fillers or noodles/rice/potato toppers for delicious lunches.
Make use of the crock pot.
Cook Chicken Noodle Soup (this is where some pre-cooked noodles will come in handy!), Homemade Spaghetti-os (this only gives you 7 hrs max, so it’s perfect if you’re late to bed, early to rise), or Chili in the crock pot overnight and your main dish is ready in the morning! This concept is limited only by your imagination and the contents of your fridge and pantry: cook just about anything (cooking times vary, so keep that in mind) overnight, place it in an insulated container (or re-heat at lunch) for a delicious, fresh, hot lunch!
Always keep sandwich items available.
This is an area where I frequently fail. The idea is to keep some kind of bread, as well as sandwich filler items (lunch meat, tuna, eggs for egg salad, etc.) available at all times, so that when lunchbox-filling-time comes and there are no leftovers or other hot food available, you still have easy options without resorting to cans or packages of processed food.
Currently, I pretty much exclusively make sourdough bread, but one thing that has really helped in the past to have fresh bread available almost all the time is the Artisan Bread in 5 Minutes a Day![]() method, and its companion, Healthy Bread in 5 Minutes a Day
method, and its companion, Healthy Bread in 5 Minutes a Day![]() .
. ![]() With this method, you can keep bread dough in the fridge for up to 2 weeks, or longer in the freezer. Pull it out and bake it whenever you need fresh bread. Loaf or sandwich bread requires a 60-90 minute resting time, but flat breads, like pita for example, require no little-to-no resting time and are baked up in half an hour or less. The only prep is mixing the ingredients and storing them in the fridge once every two weeks (depending on how often you bake up the dough). No kneading, punching down, or extra risings necessary.
With this method, you can keep bread dough in the fridge for up to 2 weeks, or longer in the freezer. Pull it out and bake it whenever you need fresh bread. Loaf or sandwich bread requires a 60-90 minute resting time, but flat breads, like pita for example, require no little-to-no resting time and are baked up in half an hour or less. The only prep is mixing the ingredients and storing them in the fridge once every two weeks (depending on how often you bake up the dough). No kneading, punching down, or extra risings necessary.
I hope this gives you some great ideas for lunchboxes this school year! I’d love to hear any ideas you have or things you like to do when it comes to lunchbox time.
Next Post: Saving Money
This post was originally published in 2010.


