Archives for August 2011

Feeding Baby: Moving On from Purees

Ideally, the baby food puree stage shouldn’t last all that long. As baby gets accustomed to different tastes, and the process of mashing and swallowing, he’ll quickly be ready to try more textured foods. Right on the heels of that will be his developing pincer grasp, which will enable him to eat finger foods, too.

Baby Boy is now 8 months old, and has been eating progressively more chunky and textured foods for the past few weeks. I’ve also experimented off and on with finger foods, but have started in earnest now, as I’ve noticed his pincer grasp developing quite nicely.

So how to transition from the purees to real table food? Here is what I’m doing:

1. Gradually decreasing the smoothness of the purees so they become thicker and chunkier with more texture. Homemade baby food is rarely quite as fine as store-bought anyway, which is actually a good thing, because it’s far more like real food that baby will eventually eat. But you don’t want her to be stuck on purees forever (It can happen: if textured foods aren’t introduced soon enough, some babies refuse to try them and can be difficult to wean completely to table food.) in any case! Some babies will go with ease from purees to real solids, but my Baby Boy has a strong gag reflex still, and also doesn’t really seem to understand the concept of mashing. Inhaling is more his style. A few times, I gave him some “real” table food, and he wasn’t really quite sure how to handle it. However, when I offer him some purees that are quite chunky, he handles them fairly well, so now we’ve been able to move on from there.

You can create a chunkier texture simply by processing the food for a shorter time in the blender or food processor. Also, if you’ve been adding liquids of some kind (breast milk, formula, water or broth, for example) to help thin out the purees, you could start eliminating those to retain a more accurate texture of the food in question. I also recently read a suggestion to grate foods on a grater instead of pureeing them.

2. Offering certain foods in their whole state for him to gum and mash. Foods perfect for this are:

  • soft, ripe, melons on the rind
  • bananas
  • sweet potato fries
  • peach slices (although these can be stringy, so watch carefully)
  • soft-cooked green beans (canned or French cut)

3. Experimenting with finger foods. Certain vegetables and fruits lend themselves well to a baby perfecting her pincer grasp. Anything is game as long as it is soft, either naturally or cooked. If baby is eating grains, I have read suggestions to roll the pieces of food in dry crushed cereal, or rice cereal, or oatmeal to help give more of a grip to a struggling eater. You can cut the food into small pieces or cubes (small enough to go down her throat whole without gagging or choking), or you can take a cue from Baby Led Weaning, and cut it in a French-fry shape so that she can hold it in her fist and eat what’s sticking out the top. Some healthy finger food ideas (no Puffs or Cheerios!):

  • sweet or white potato (diced or in sticks)
  • diced banana
  • very soft cooked carrots, diced or in sticks (Be careful: I find that carrots sometimes harden back up as they cool, so make sure they are truly soft enough for baby to mash.)
  • diced cooked squash or pumpkin
  • diced or sliced cooked apples
  • soft cut green beans
  • beans (any kind)
  • cooked peas
  • broccoli ( baby can hold the “trunk” and eat the “foliage”)
  • diced peaches and nectarines or very ripe pears
  • chicken thigh meat, cut in strips or diced
  • ground meat of any kind
  • grated cheese

One thing my Certain Little Someone enjoyed as a fledgling self-feeder was fishing peas out of mashed potatoes. Simply stir some cooked peas gently into a dish of mashed potatoes, and let baby fish them out with his fingers! Fun and filling!

4. Moving on to grains when ready. I’m holding off on the grains for now, but once we start with those, a whole new world of finger foods opens up, including:

  • homemade teething biscuits
  • pasta
  • small pieces of bread, any kind (tortillas, wraps, sliced, rolls, etc.)
  • organic and all-natural cereals (this for a treat, not a mainstay in the diet)
  • rice
  • barley

Here’s a delicious recipe for one of Baby’s First Finger Foods:

Joining the Jars Craze

You know the craze I’m talking about - the one that seems to be taking over the whole world, or at least the bloggy world (And really, what other world is there?). The craze to put every kind of dessert imaginable into a canning jar for both practical and aesthetic purposes: it’s cute, and it’s portable, and it’s individually portioned, what more could you ask? Oh well, yes, it should be tasty, too. Not a problem here!

We had a picnic with friends a few weeks ago, and I wracked my brains trying to come up with a portable dessert all of us with our various food issues could all eat together. The problem was that all the dessert ideas I was coming up with were far from portable and really rather messy and not very picnic-y at all.

And then I realized that this dessert canning craze really could come in handy sometimes! Making peach crisp in jars was one of the more brilliant things I’ve done recently, and I’m excited to share it with you. Because, believe it or not, with all those multitudinous recipes for desserts in jars, there are precious few crisp recipes out there. I know, because I looked for them, couldn’t find them (at least not ones that worked for me), so came up with one myself!

One great thing about crisp in a jar is that you can make as many or as few as you want. It’s easy enough to chop only the amount of peaches you will need for the servings you want - just use one peach per pint-size jar - then adjust the remaining ingredients from there. And if you have extra topping left over, you can always save it for another moment when the craving for peach crisp hits you. Instant gratification!

It’s also very easy to adapt to food allergies or sensitivities: I used sorghum flour instead of whole wheat, and coconut oil instead of butter.

I used pint-size jars for my crisp, but you can double the servings by using half-pint size jars (those cute little jam jars). The following recipe will fill 6 pint-size jars.

Peach Crisp is always a great QUICK recipe to make during the summer months, and making it in jars is just as quick as anything else. Also, Wendy of Wendolonia suggests freezing the jars before baking so you can pull them out when you need them. Read her post to find out how.

Super EASY, and yet impressive in its cuteness. That’s how I roll.

Also very CHEAP, especially when peaches are in season! The peaches are actually starting to disappear now around here, but you can also use frozen peaches (Trader Joe’s has great prices on frozen fruit).

It’s a very HEALTHY dessert, also, based largely on the fruit, and combined with whole grains to boot. (Whoa, poetry.) You can reduce the sugar, too, depending on the sweetness of your peaches.


Tempt my Tummy TuesdaysHearth & Soul Hop

Menu Plan Monday: The Minimal Meat Edition

It’s once again time for Menu Plan Monday! This was the last weekend of shopping in August, and I had very little left in the grocery budget, so not much money to spend on meat. Thankfully, with a little creativity and planning ahead, we can use wisely what’s left from the previous weeks!

Breakfasts

Lunches

  • Leftovers
  • Freezer Stash of Non-Allergenic Foods (for Certain Little Someone)
  • Ham or Egg Salad Sandwiches
  • Sunbutter and Jam Sandwiches

Dinners

  • GF/DF Sausage Gravy over Grandma’s Biscuits (didn’t have it last week), Fruit Salad
  • Ham Wraps, Bananas
  • Vegan Baked Oatmeal, Bacon, Fruit Cups
  • Modified Turkey Squash Rice Casserole, Applesauce
  • Not Your Grandma’s Ham and Pasta Salad (with Canadian Bacon)

Snacks

  • EnviroKidz Gorilla Munch
  • Granola Bars
  • Raisins
  • Allergy-free and Regular Graham Crackers
  • Peach Leather

Additional Features

This is not just a menu plan, as wonderful as that in itself is. Oh, no. Some more features for the curious among you…

This Week’s New Recipe

I try to incorporate one new recipe a week into my menu. This isn’t really difficult for me since I rarely make the same thing twice.

Baby Food

  • Repeats: squash, green beans, chicken, prunes
  • New: mango, pear

In My Kitchen Today

On Mondays, I spend some extra time in the kitchen, cooking ahead and making baked goods to last for the week and beyond. A large portion of the day is often dedicated to allergen-free foods for my Certain Little Someone.

This week I’m not going to be making all that much on Monday because we have a doctor’s appointment scheduled, as well as an oil change. Too much going on for an extended cooking event!

What’s on your menu this week? Any new recipes you are trying?

No Butter? No Eggs? You Can Still Make Cookies!

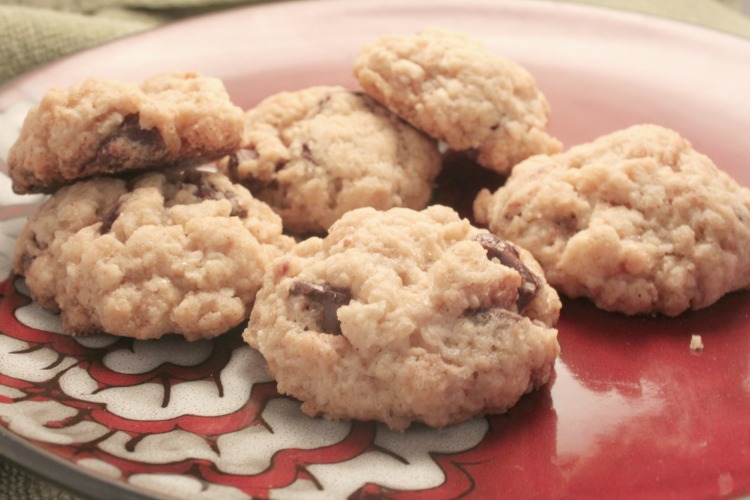
No Butter No Eggs Chocolate Chip Cookies #allergyfree Pick the most likely scenario:

  1. Your kid hands you a crumpled reminder from the teacher that you signed up to bring snack tomorrow. Yes, tomorow. It’s already 9:00 at night, and you are already in your PJs, ready to hit the sack before starting everything all over again tomorrow. You slap your forehead (or knock it against the wall a few times) and stumble to the kitchen, yank open the refrigerator… and just as you suspected: no butter, no eggs. What?! How are you supposed to whip up a snack without such basic ingredients as those?!
  2. Your kid wants to have his best friend over for a play date, and you want to provide a special snack. Problem: kid’s best friend is deathly allergic to dairy and eggs. What to do?
  3. Your kid is allergic to dairy and eggs and you hate throwing money out the door for safe snacks, so you want to make them yourself. But how do you make cookies without eggs or butter?!

(Notice how they all start with “your kid”? Amazing how those little creatures shake our lives up, huh?)

No matter what the problem is, the solution is the same: these Happy Vegan Chocolate Chip Cookies. Yes, happy. And No, I didn’t give them that name, but I like it, so I’ll keep it.

“But what do they taste like?” I hear you ask as I watch your lip curl in mild disgust? “Cardboard?”, you add with a sneer.

It may surprise you to learn that this is now by far my most favorite chocolate chip cookie recipe ever. Yes, I said ever. In bold with italics. Because as many different chocolate chip cookie recipes as I have tried, none of them has ever come out with quite this perfection of texture, taste, shape and substance. Who needs butter and eggs? Not me.

No Butter No Eggs Chocolate Chip Cookies #allergyfree

No Butter No Eggs Chocolate Chip Cookies #allergyfree

*Ingredient Notes:

  • I’ve used non-wheat flours with great success in this recipe. Oat and/or spelt flour is my favorite, but if you need to avoid gluten too, I suggest a blend with brown rice flour or sorghum flour as the base. Here’s a great recipe for your own gluten-free flour blend.
  • For completely vegan and allergen-free cookies, use Enjoy Life chocolate chips which are free of both dairy and soy products.
  • Palm shortening is my favorite oil to use in cookies, and Tropical Traditions is my favorite brand; when it goes on sale, it can be cheaper than the store-bought version and it’s very high quality. Coconut oil also works well in this recipe, but note that it creates more of a crisp cookie. I have even used extra virgin olive oil in a pinch! Canola oil works, but is not the healthiest choice of oil because of free radicals and the fact that it’s typically genetically modified.

Not the Recipe You’re Looking For?

Try one of these:


Simple Sides: Fresh Summer Corn Salad

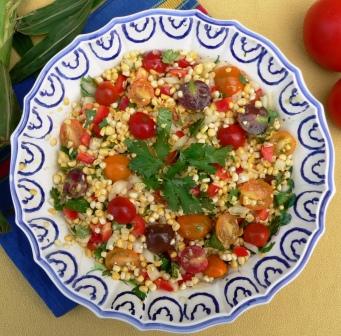
Welcome to the last installment of Simple Sides! In case you missed it, Steph the Cheapskate Cook shared her Tomato Bruschetta the first week, and I brought my Melon Citrus Salad the next week. Last week, Mary from Barefeet in the Kitchen shared her Mango Summer Salad, and this week, Nancy from Real Food, Allergy Free brings us her Fresh Summer Corn Salad.


Here’s what she says about her favorite simple side dish:

This week I offer you Fresh Summer Corn Salad. This recipe can be made year round using frozen corn and tomatoes from the supermarket but it really shines with fresh in season produce from your garden or local farmer’s market. Is there anything that says summer more than fresh corn on the cob and homegrown tomatoes? Throw in some chopped bell pepper, onion and cilantro and toss them with a simple dressing made of lime juice and olive oil and you have a delightful summer side dish with a zing. If you have any leftovers, add some gluten-free taco seasoning and transform your salad into a Mexican corn salad.

Read the rest of her post to get the recipe for her Fresh Summer Corn Salad.


B2S: Fun Sandwich Ideas

Move over, PB&J! As much as we love you, we get, well, a little tired of your goodness. It’s time to spice things up with a little creativity! (Don’t worry; no bento required!)

Waffle Sandwiches - not just for breakfast!

Chicken Cordon Bleu Roll-Ups

Chicken Biscuit Spiral

Flexible Toasty Melts

Pizza Bites

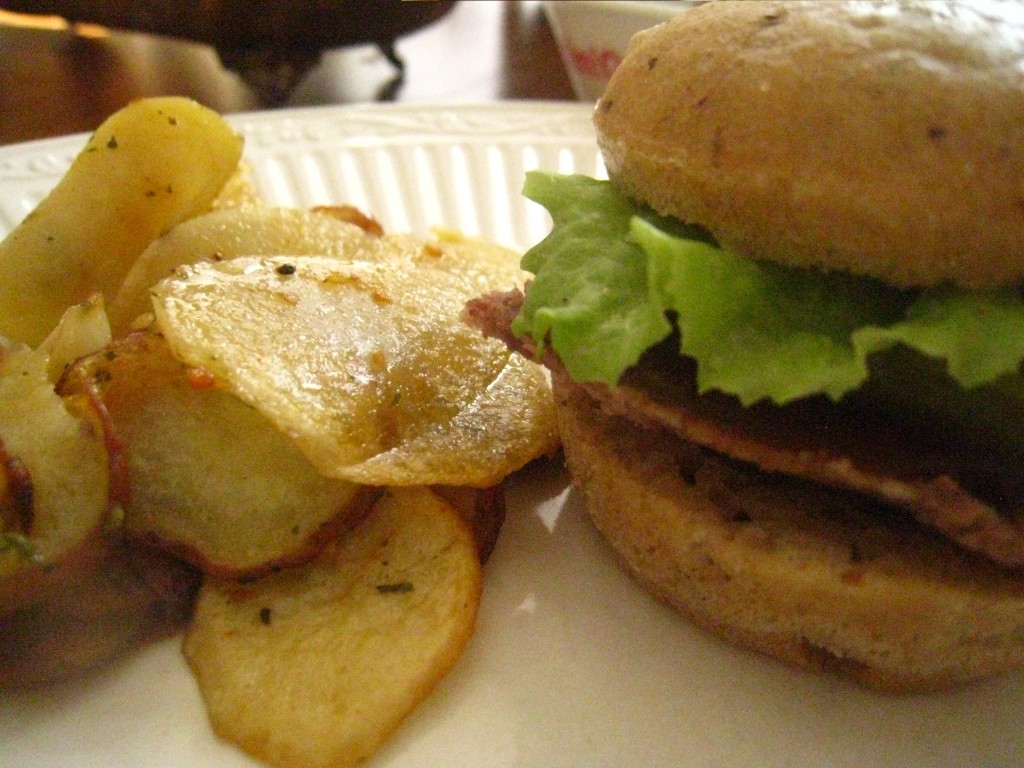
Roast Beef Sliders

B2S: Snacks for School or After School

Last year, I did a great series on what to pack in your kids’ lunchbox, and I’m not even going to attempt to improve upon it this year! But since we’re in the swing of going back to school once again, I thought I’d share a few more ideas for healthy snacks that I’ve come across this past year. Most of these snacks are quick to prepare and relatively healthy (some more than others). Stay tuned tomorrow for some sandwich ideas!

From My Blog(s)

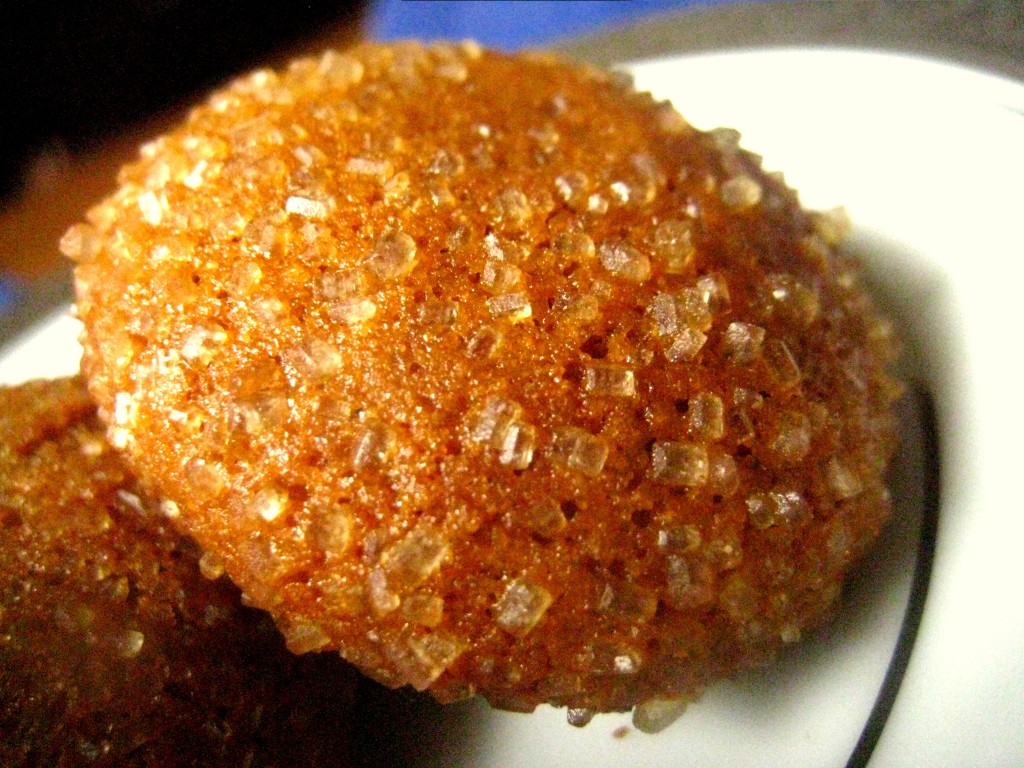
Gingersnaps

Sunbutter Surprises (great for peanut-free schools)

Healthy Fudgy Bites

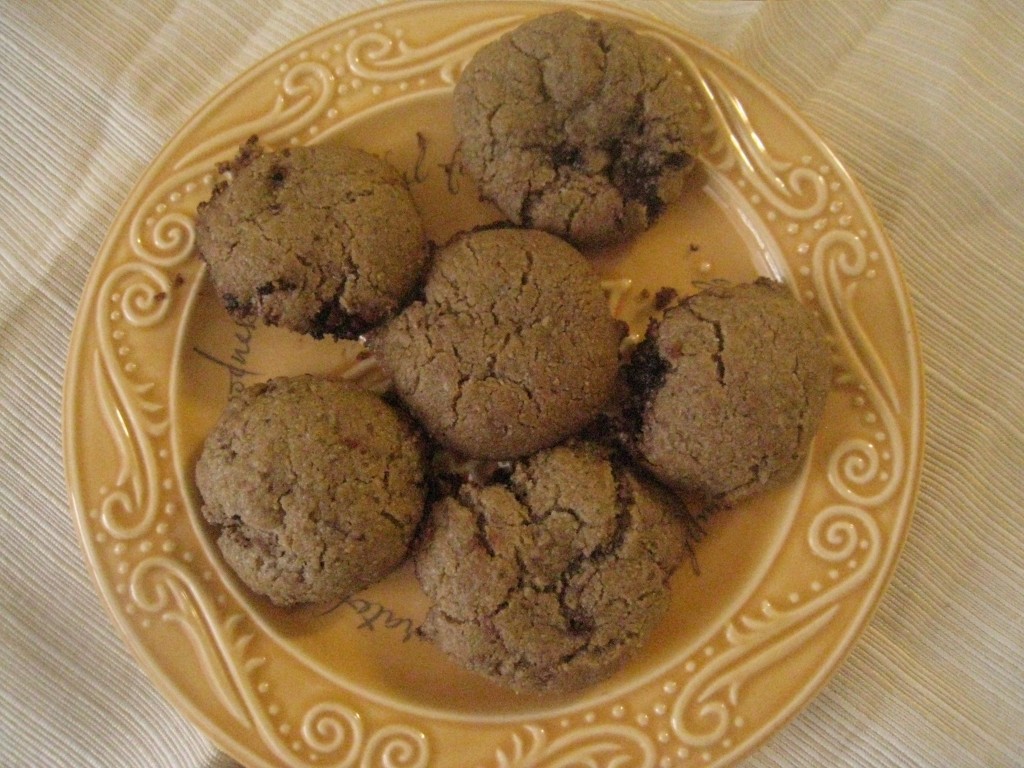
Pumpkin Chocolate Chip Cookies

Homemade Jello

Sunbutter Surprises (great for peanut-free schools)

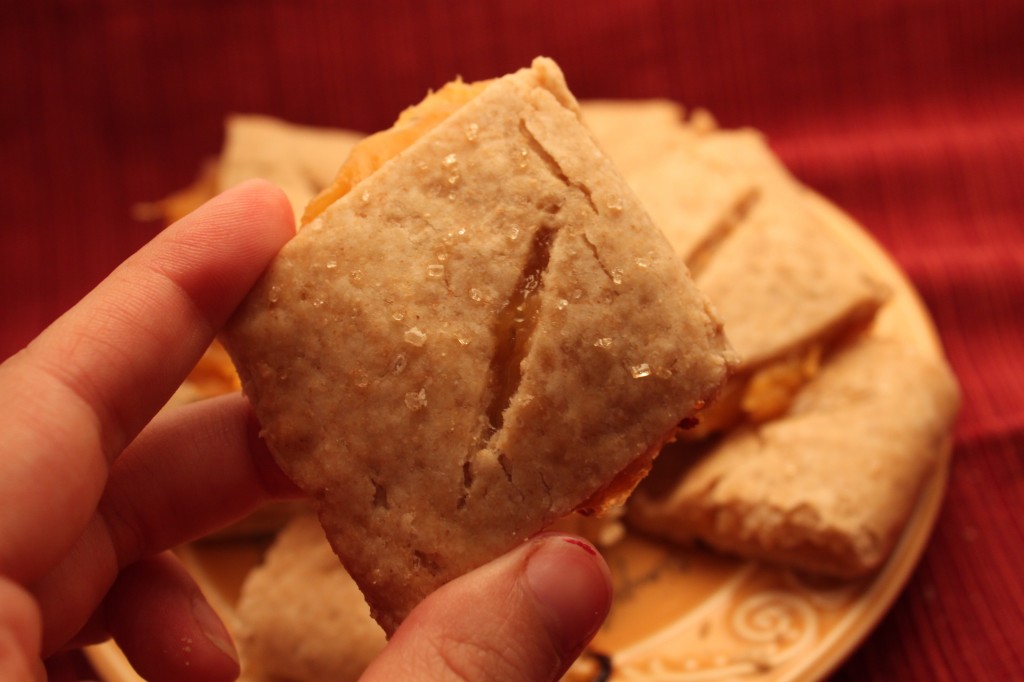
Teeny Tiny Peachy Pies

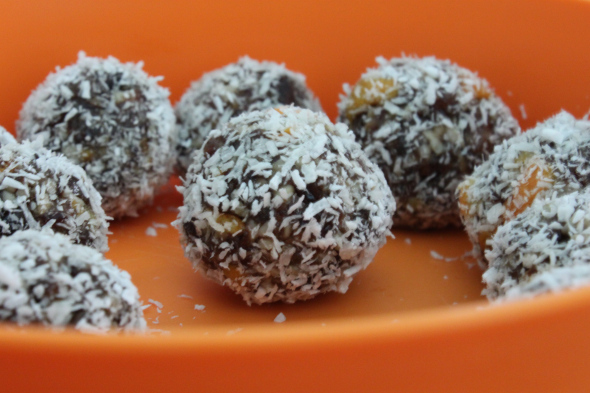
Nut-Free Date Balls

From Other Bloggers

{Better Than} Nutri-Grain Bars

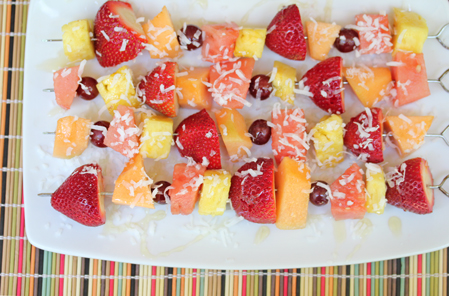
Fruit Kebabs

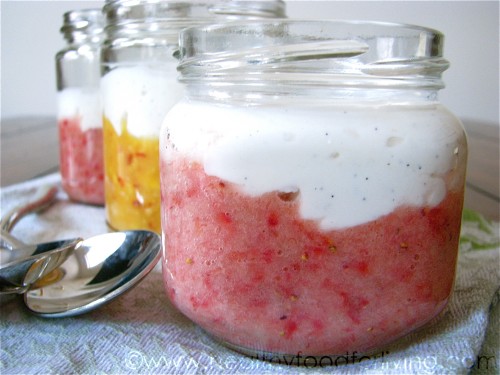
Fruit on the Bottom Yogurt

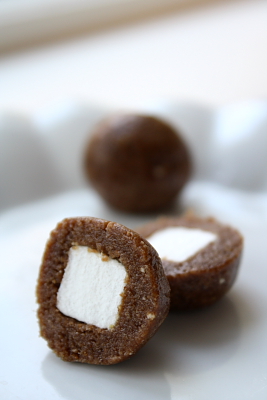
S'Mores Bites

Apple Granola Sandwiches

Veggie Gardens

Menu Plan Monday

It’s once again time for Menu Plan Monday! I only have enough money this week to re-stock the fresh produce, so we’ll be eating out of the pantry and freezer for the most part. No worries, though, as I picked up plenty of meat and other staples in my OAMS last week, and we’re still pretty well stocked.

Breakfasts

  • Overnight Slow Cooker Steel Cut Oatmeal
  • Toast with Sunflower Seed Butter
  • Muffins
  • Fluffy GF/DF Pancakes
  • Cinnamon Apple Rice Pudding

Lunches

  • Leftovers
  • Freezer Stash of Non-Allergenic Foods (for Certain Little Someone)
  • Tuna or Egg Salad Sandwiches
  • Tortilla Roll-ups
  • Beans

Dinners

Snacks

  • Carrots, Celery & White Bean Hummus
  • EnviroKidz Gorilla Munch
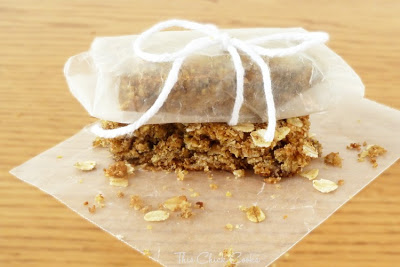
  • Granola Bars
  • Raisins
  • Allergy-free and Regular Graham Crackers

Additional Features

This is not just a menu plan, as wonderful as that in itself is. Oh, no. Some more features for the curious among you…

This Week’s New Recipe

I try to incorporate one new recipe a week into my menu. This isn’t really difficult for me since I rarely make the same thing twice.

  • Balsamic Glazed Carrots- To be honest, neither my DH nor I are huge fans of glazed carrots normally, but this recipe sounded simple and yummy, so we’ll give it a go and see what happens. No grill here, so I’ll probably just roast them.

Baby Food

  • Repeats: Prunes, peas, peaches, chicken
  • New: beans, melon

In My Kitchen Today

On Mondays, I spend some extra time in the kitchen, cooking ahead and making baked goods to last for the week and beyond. A large portion of the day is often dedicated to allergen-free foods for my Certain Little Someone.

This week I’m not going to be making all that much on Monday because we have a doctor’s appointment scheduled, as well as an oil change. Too much going on for an extended cooking event!

What’s on your menu this week? Any new recipes you are trying?

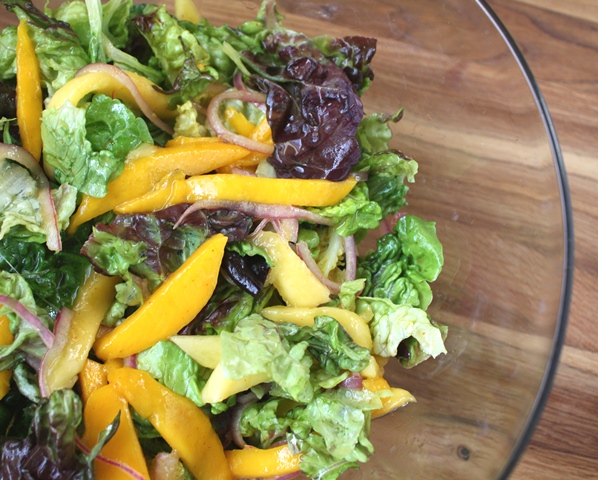
Simple Sides: Mango Summer Salad

I don’t know about you, but I’ve been loving these Simple Sides this month! In case you missed it, Steph the Cheapskate Cook shared her Tomato Bruschetta the first week, and I brought my Melon Citrus Salad last week. Next week, you’ll meet Nancy from Real Food, Allergy Free and her side dish, but this week, it’s Mary from Barefeet in the Kitchen.

Here’s what she says about her favorite simple side dish:

In the summertime especially, I’m a huge fan of fresh fruit in our salads. Whether it’s a Strawberry Spinach Salad, Spring Salad with Poppyseed Dressing,Red Wine and Honey Salad with Fruit, or Cashew Chicken Salad with Grapes, there is often fruit in our salads or in the dressings.

Crisp lettuce, sweet mango slices and sharp red onions combine to make this a deliciously simple summer salad. With a light and slightly spicy dressing, this salad was a hit with my family.

Read the rest of her post to get the recipe for her Mango Summer Salad.

And don’t forget to join us next week for one more Simple Side!


How to Make the Most of your Grocery Budget Dollars

If you happen to be on a limited grocery budget (and “limited” looks differently depending on your situation…. let’s just say mine is definitely “limited”!), then you understand how difficult it can be to provide healthy whole foods for your family without dipping into the retirement fund. OK, maybe a slight exaggeration for most of us, but really, it can be very stressful to keep your grocery budget in the black when you’re working with limited funds.

There are a lot of money-saving tools for your grocery budget toolbox these days, and I believe all of them work well together and all deserve a mention on any frugal foodie blog. But there is one valuable tool in particular that doesn’t get a lot of press yet can be super effective in keeping your grocery spending under budget.

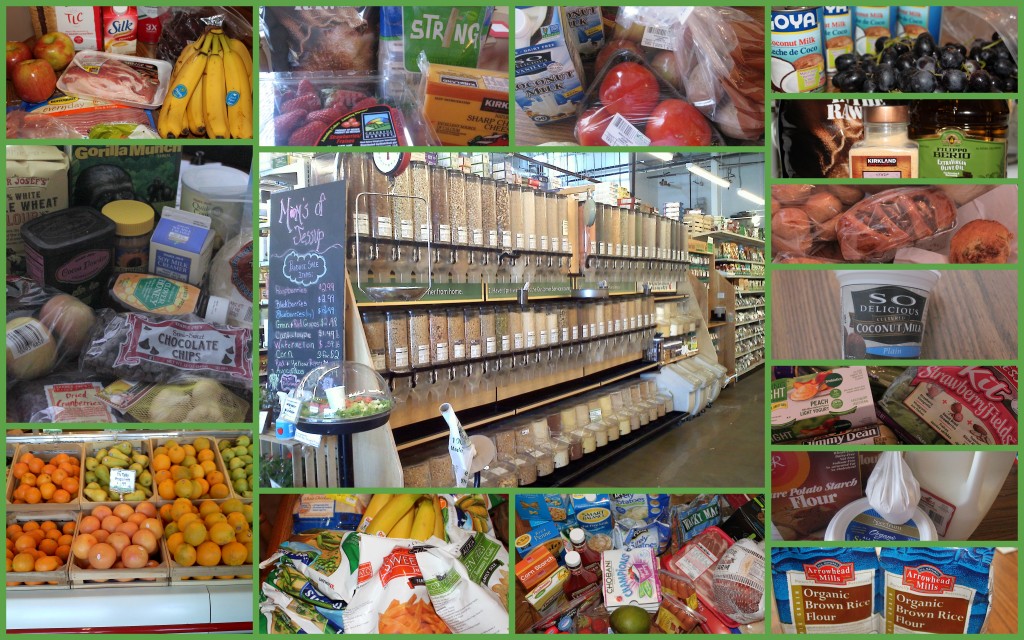
I’m talking about Once a Month Shopping (OAMS). Based on the almost-daily google searches that lead people to my blog, I’m guessing I’m not the only one curious about this method of grocery shopping, how it works, and how it saves money. For my regular readers, and for those who found me through Google (Hello! And welcome!), I want to take this opportunity to briefly describe how I do OAMS, and how it can save money in the long run.

Let me warn you before I get started: It takes a bit of discipline, and it requires more planning than even my previous carefully planned weekly shopping trips. In the end, though, I really believe it saves a lot of money… and time! As a busy WAHM with a toddler and infant, I can totally appreciate anything that saves me those precious commodities.

How to Get Started with OAMS

Just Jump In!

I suppose it would be wiser in some ways to actually spend a month noting and recording your family’s eating habits, so that you could start in on the process with that knowledge under your belt to guide your shopping decisions. And I think there are those whose temperament would really do well with more careful planning, and for them, I’d advise to go ahead and take some time to research before jumping in. For most, though, I think it’s better just to get started and learn as you go; you’ll figure out pretty quickly what your family eats and how much of certain items you need to buy to last a whole month.

To reiterate this point, I will mention that shortly after I was inspired to begin the whole OAMS process, I actually did sit down and come up with a whole list of the foods I thought my family would eat in one month, and the approximate cost, and I was so horrified by the total that I dropped the whole idea for several months. When I finally “jumped in” and just did it, I squeezed my eyes shut, held my breath… and it wasn’t nearly as bad as I thought.

So how do you “just jump in”? Easy! You’ll probably be coming off a pretty well-stocked pantry, fridge and freezer like I was, so the first month might even be the easiest. You start by making a list.

Make Your List Wisely

Go around your kitchen, including your pantry, fridge and freezer, and make a list that includes all the following:

  • Foods you need that you are already out of
  • Foods that you are almost out of
  • Foods that you will run out of in the next few weeks AND you know you can’t live more than a day or two without them (chocolate chips are not included in this category. OK, in emergencies, they are.)

If you have access to previous meal plans, read through the meal plans to get an idea of what you ate on a regular basis to help you shape your list.

If your list is largely filled with the following food groups, you should have plenty of food to keep you going for a whole month:

  • Meats (Fresh meat, as well as cured meats, like bacon and lunch meat)
  • Produce (lots and lots of produce)
  • Dairy (milk, eggs, cheese, yogurt)
  • Baking supplies (flour, sugar, honey, butter, oil)
  • Starches and grains (rice, pasta, oats, etc.)

If your list has a lot of snack foods, junk foods, or processed foods, those are not going to last long, and you will quickly find yourselves hungry.


Fit Your List to Your Budget

There are several parts to this, and depending on how aware you are of your grocery spending, will be more or less difficult than other aspects of OAMS. First of all, if you don’t have a firm monthly budget amount, figure that out right now. You may also need to consider which paycheck you should organize your big shopping trip around. For us, that’s the middle of the month.

Also, keep in mind that while the majority of your shopping is done in one big trip, you’ll need some money for weekly trips to stock up on perishables, essentials you missed in your OAMS, and any loss-leader major sales you can’t afford to skip. For us, that means we spend about 70% of our monthly grocery budget once a month, and spread out the remaining 30% over the remaining weeks (keeping in mind there are sometimes 4 and sometimes 3 remaining weeks before the next big trip).

Once you know how much you can spend, then you need to know how much things will cost. This you can learn as you go, if you don’t already have a firm idea of prices in your area. For the first month, though, just make an estimate of the prices (rounding off higher rather than lower so you’re not surprised in the end). Add up your total estimated cost, and if it’s more than you can spend, go back through your list and cross off anything you can afford to live without or do with less for now. Get rid of any non-essentials for now - if you have any money leftover after buying what is necessary, then, and only then, you can get the marshmallows or the graham crackers or the chips (although you shouldn’t).

Find the Best Price

If you don’t already have a price book - mental, digital, or black-and-white - start one as you go about your first monthly shopping. If you put off OAMS because you don’t have a price book, then you’ll never do it, because it will seem like such a daunting task. However, if you compile it as you go about your shopping, it will help shape your future trips, and you will learn much more about the foods you really want to know where the best price is.

Start looking at every single grocery store circular that comes through your mailbox or with your local paper. Even if you don’t normally go to that store, browse quickly through the ad and see if there are any deals or prices that catch your eye. If you see anything, add it to your list, go to that store to purchase those items, and while you’re at it, make note of their prices on items you buy a lot (milk, eggs, flour, etc.). I was surprised recently to find that a store I never went to very often has absolutely the best bottom dollar price on canned coconut milk, something I use all. the. time!

Don’t forget about the non-grocery stores. I always do some of my shopping at the Walmart Supercenter or Target, because their food prices are often (but not always) considerably cheaper even than grocery store sale prices. The downside is that they don’t double coupons, but even so, the price is often better than I can find elsewhere. Drug stores also always have certain food items on sale, although I’ve found they aren’t usually the healthiest offerings. And along the same lines, don’t forget about the specialty stores - sometimes local bakeries run specials that offer a better price on some baked goods (like really healthy freshly milled whole grain bread) than I can find anywhere, or even make myself. And some ethnic stores (Asian, in particular) often have great deals on certain items unique to their cuisine.

And don’t forget about the world wide web. Now that we live in such a virtual world, we can do our grocery shopping virtually, and I’m not talking about ordering at Safeway for home delivery. No, there’s a lot more variety than that! Amazon.com in particular, often has great deals on groceries, especially through their Subscribe & Save program. I almost always get my brown rice flour through Amazon.com, because they usually have a price that can’t be beat. I’ve also seen excellent prices there for coconut oil and other very healthy products. Also keep your eyes peeled for Groupon-type deals for local food sources… I’ve seen and taken advantage of daily deals for health foods stores, bakeries, organic suppliers and more in my area.

Now That You’ve Started, Keep it Up… and Keep Track of It!

No matter what, once you are done with your big monthly shop, purpose that you are not going to go back to the store except for that weekly replenishment of produce and any other absolute essentials. If you run out of something, make do or do without. You’ll be surprised by how creative you can be… and by how little you actually need what you thought you would die without. So you ran out of rice? OK, eat pasta instead. Or barley. Or that package of quinoa that has been languishing on the shelf for months.

Keep track of how much you spend on foods, and the prices you find as you go about your shopping. Use a spreadsheet or a notebook, but do keep track. That way, when you go to plan your next monthly trip, you’ll have a better idea of where the best prices are so you can shape your list accordingly. Every month, add to this list the new prices you find - I’m still adding to mine because it’s an ongoing, almost-never-ending process.

Also keep track of the food you actually eat. I don’t write this down anywhere, but I make a mental note of how often I have to re-supply certain foods. Some it’s more often, some it’s less. I’ve found that 6lbs of sugar can last over 2 months, but a 32oz container of honey will only last 1 month. I can stretch certain meat cuts into 2 meals, but some never go that far (my DH can plow through any cut of pork like it’s the last meal he’ll ever eat, so I can’t count on anything but a 4lb roast lasting longer than one meal!).

Plan a Menu

What really helps me live off the food I buy once a month is planning for it, and using the food I buy wisely. Posting my weekly menu plan here on my blog has been such a tremendous help to me - so much help that I seriously don’t mind if no one else ever even looks at it but me! (Although I’m always happy if someone finds something useful on my blog.)

Part of using the food I buy wisely means allotting it carefully, so we don’t eat it all up at once, leaving the cupboards bare for the rest of the month. To that end, I’ve come up with some guidelines when developing my weekly menu. In each week, I fix certain foods for only one meal so that I don’t use them all up right away. For example, a weekly meal plan will probably feature:

  • one rice dish
  • one pasta dish
  • one potato dish
  • one chicken meal plus one meal made from the leftover chicken
  • one other meat-based meal
  • one tuna based meal
  • one breakfast meal
  • etc.

Not only does this help me plan my menu, it helps keep our grocery consumption in check, a win-win!

Of course, there’s a lot more to OAMS than this, and I plan to visit the topic again as time allows. If you have any questions about my experience, please do ask, and I’ll be happy to answer them to the best of my ability!

Now I want to know about your grocery shopping habits! Do you shop once a month or once a week? Or just whenever you need food? Do you have a grocery budget?


Find the complete series here:
How to Make the Most of Your Grocery Budget Dollars: Just Jump In to OAMS!
Five Ways OAMS Saves You Money
How the “Mini Trips” Work
How to Make Your OAMS List, Part 1
How to Make Your OAMS List, Part 2
Sample OAMS Trip

Your Grocery Budget Toolbox Hungry for more information about reducing your grocery budget? These tips and many many more can be found in my eBook, Your Grocery Budget Toolbox. It’s available in .PDF format, as well as Kindle and Nook, for only $7.99. Click here for more information.

Interesting reads