
I love having guests for dinner! I love everything about it: the fellowship and conversation most of all, but also all the preparation involved. Planning and executing the menu are probably my favorite things, but I also love decorating for my guests, too. This time, especially, because the excitement of having guests over for dinner prompted me to do something I haven’t done in a long time: create a centerpiece for my dining room table!
Parents of toddlers will understand, I’m sure, why I just don’t bother with a centerpiece most of the time. Before my Certain Little Someone came along, I always had a pretty little seasonal something in the center of the table, if only a candle of some kind. It’s been a while, so I had fun allowing my creative juices run in a direction other than food for once.
Not that the food was neglected, naturally. We had a delicious autumn-inspired menu to go with the table decor, which I will tell you about in a minute. First, though, my super simple, super cheap, but warm and cozy autumn centerpiece:
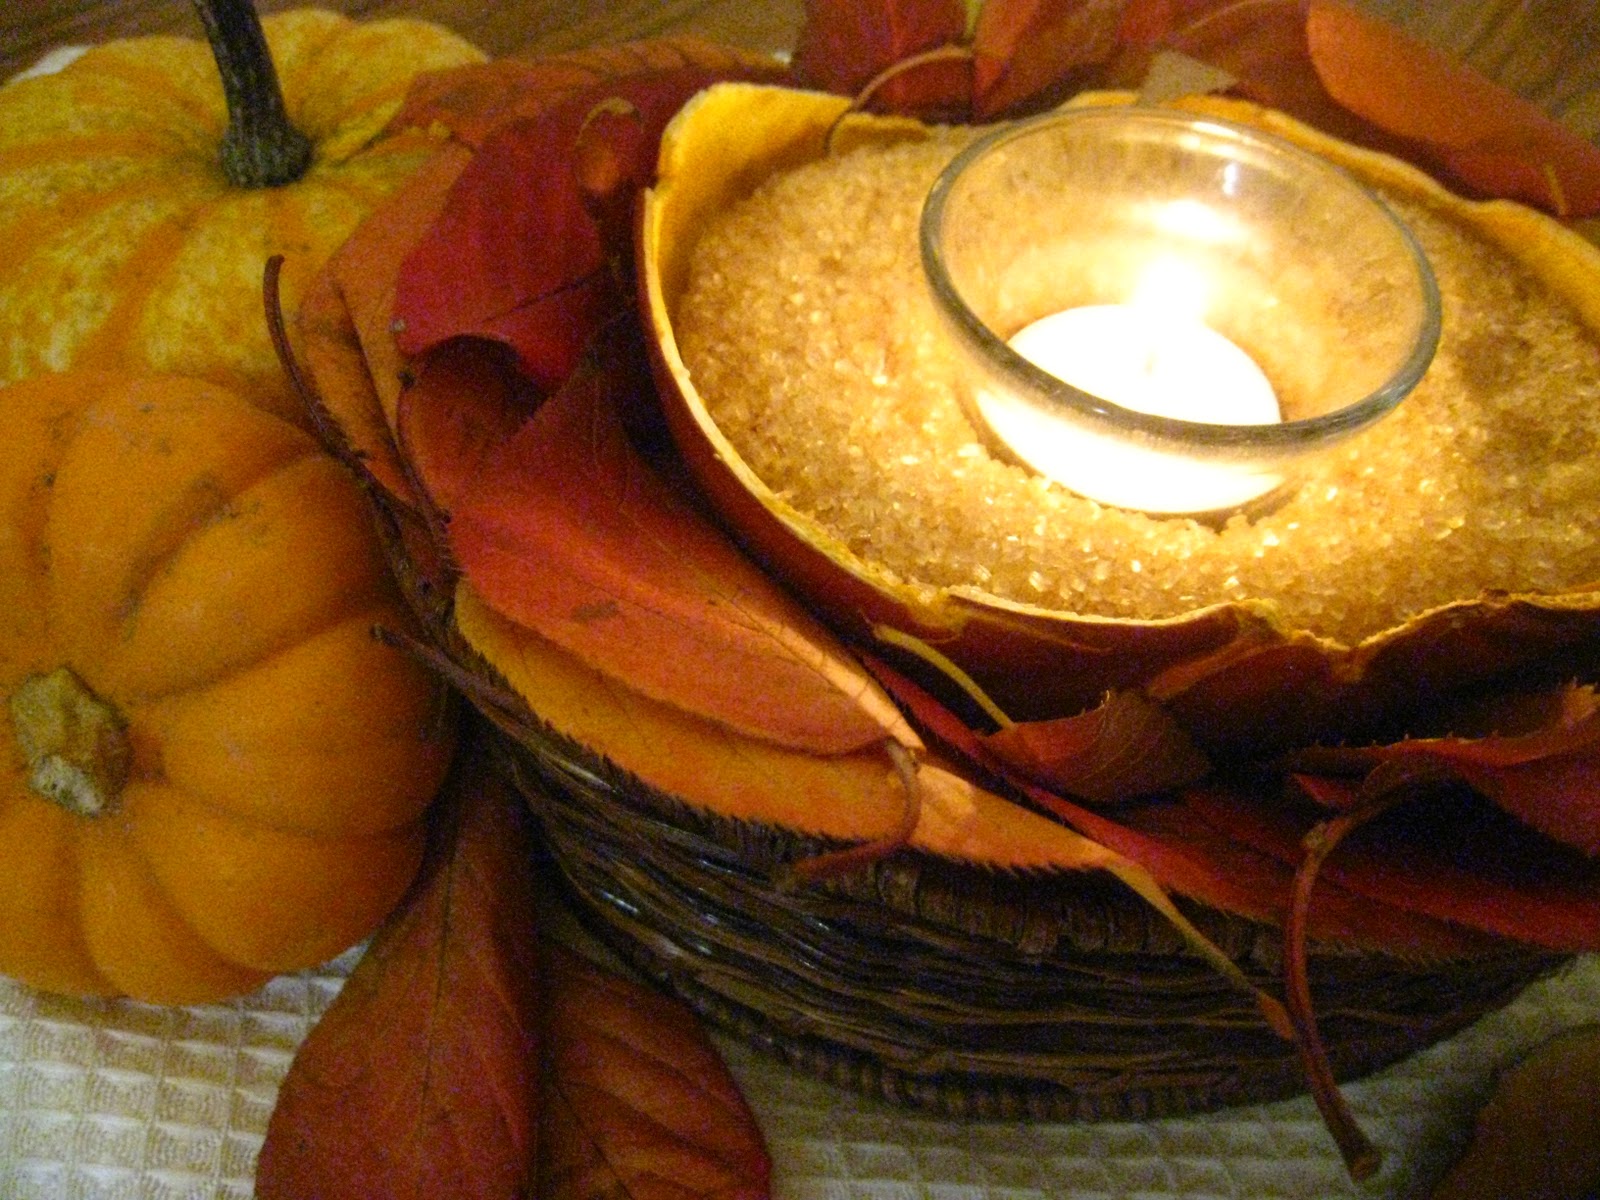
It’s an all natural display of autumn’s splendor, which is my favorite kind of decorating. There’s just something so simply elegant about arranging creation into a delightful design. I think it speaks to the soul, but I’m probably making too much of it.
Here’s how I did it, in case you’re interested.
You will need:
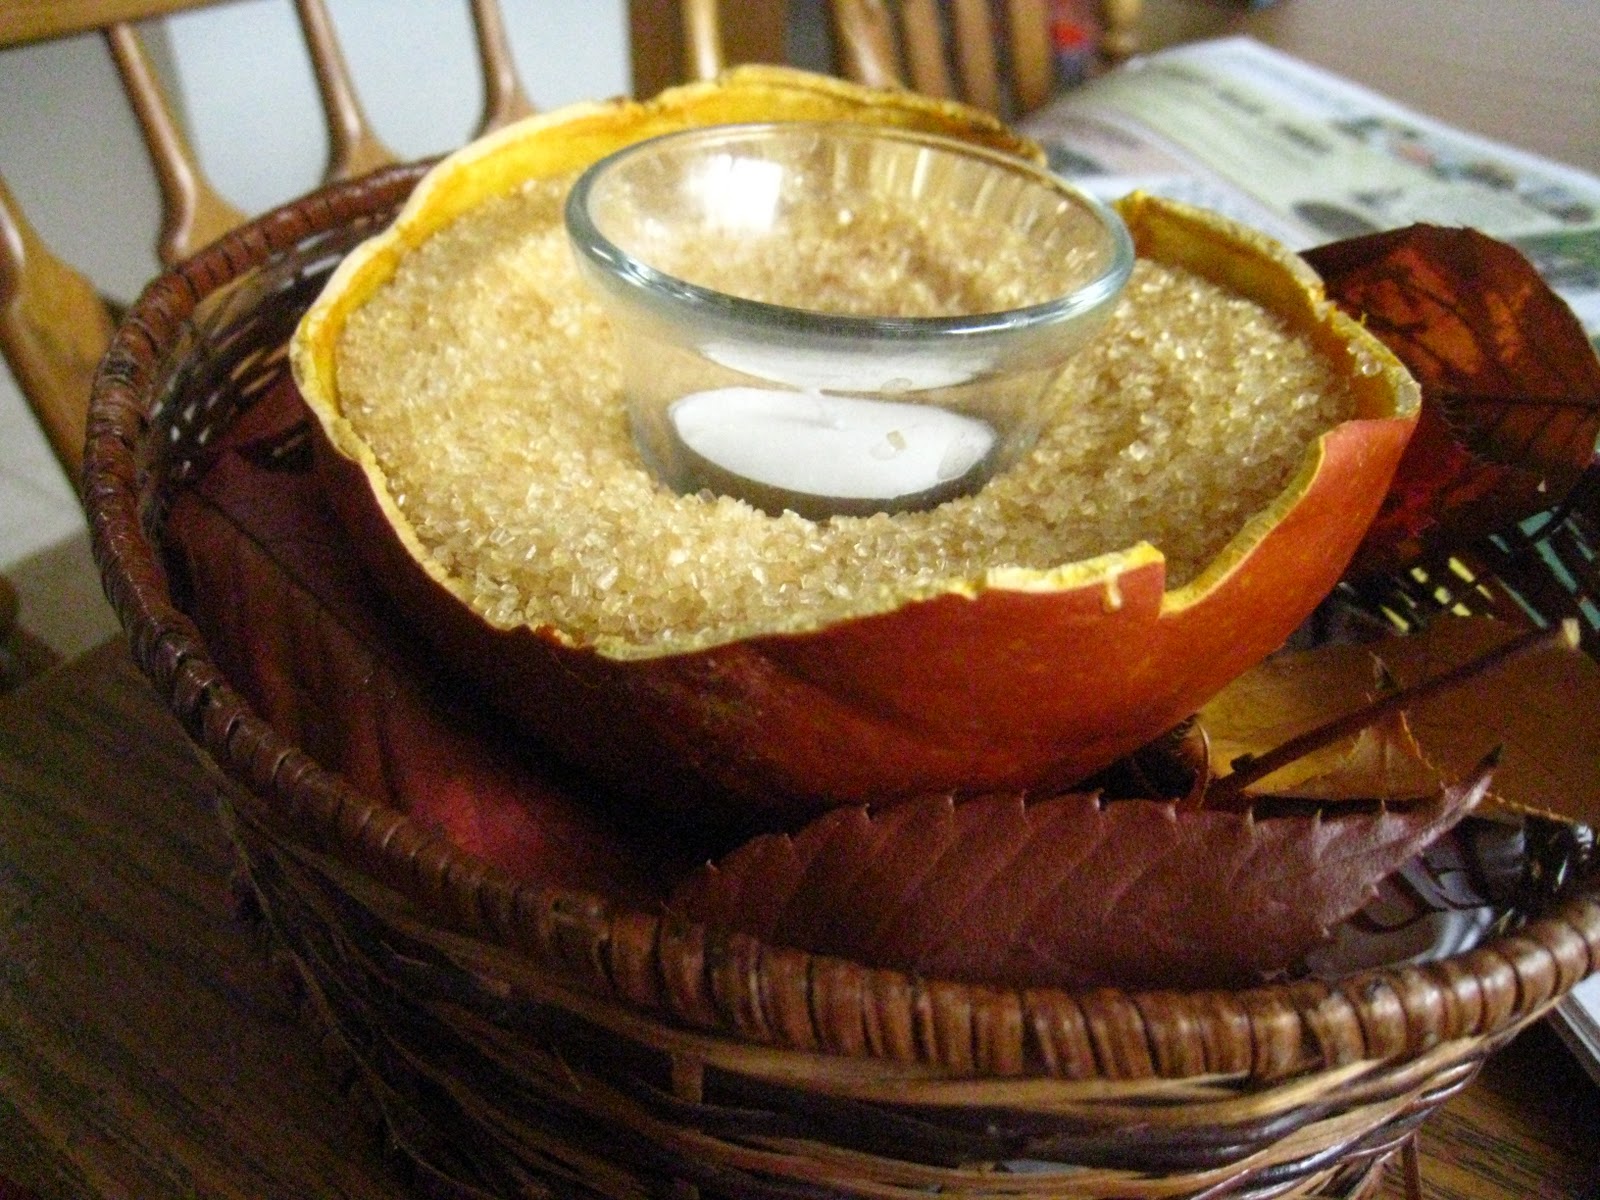
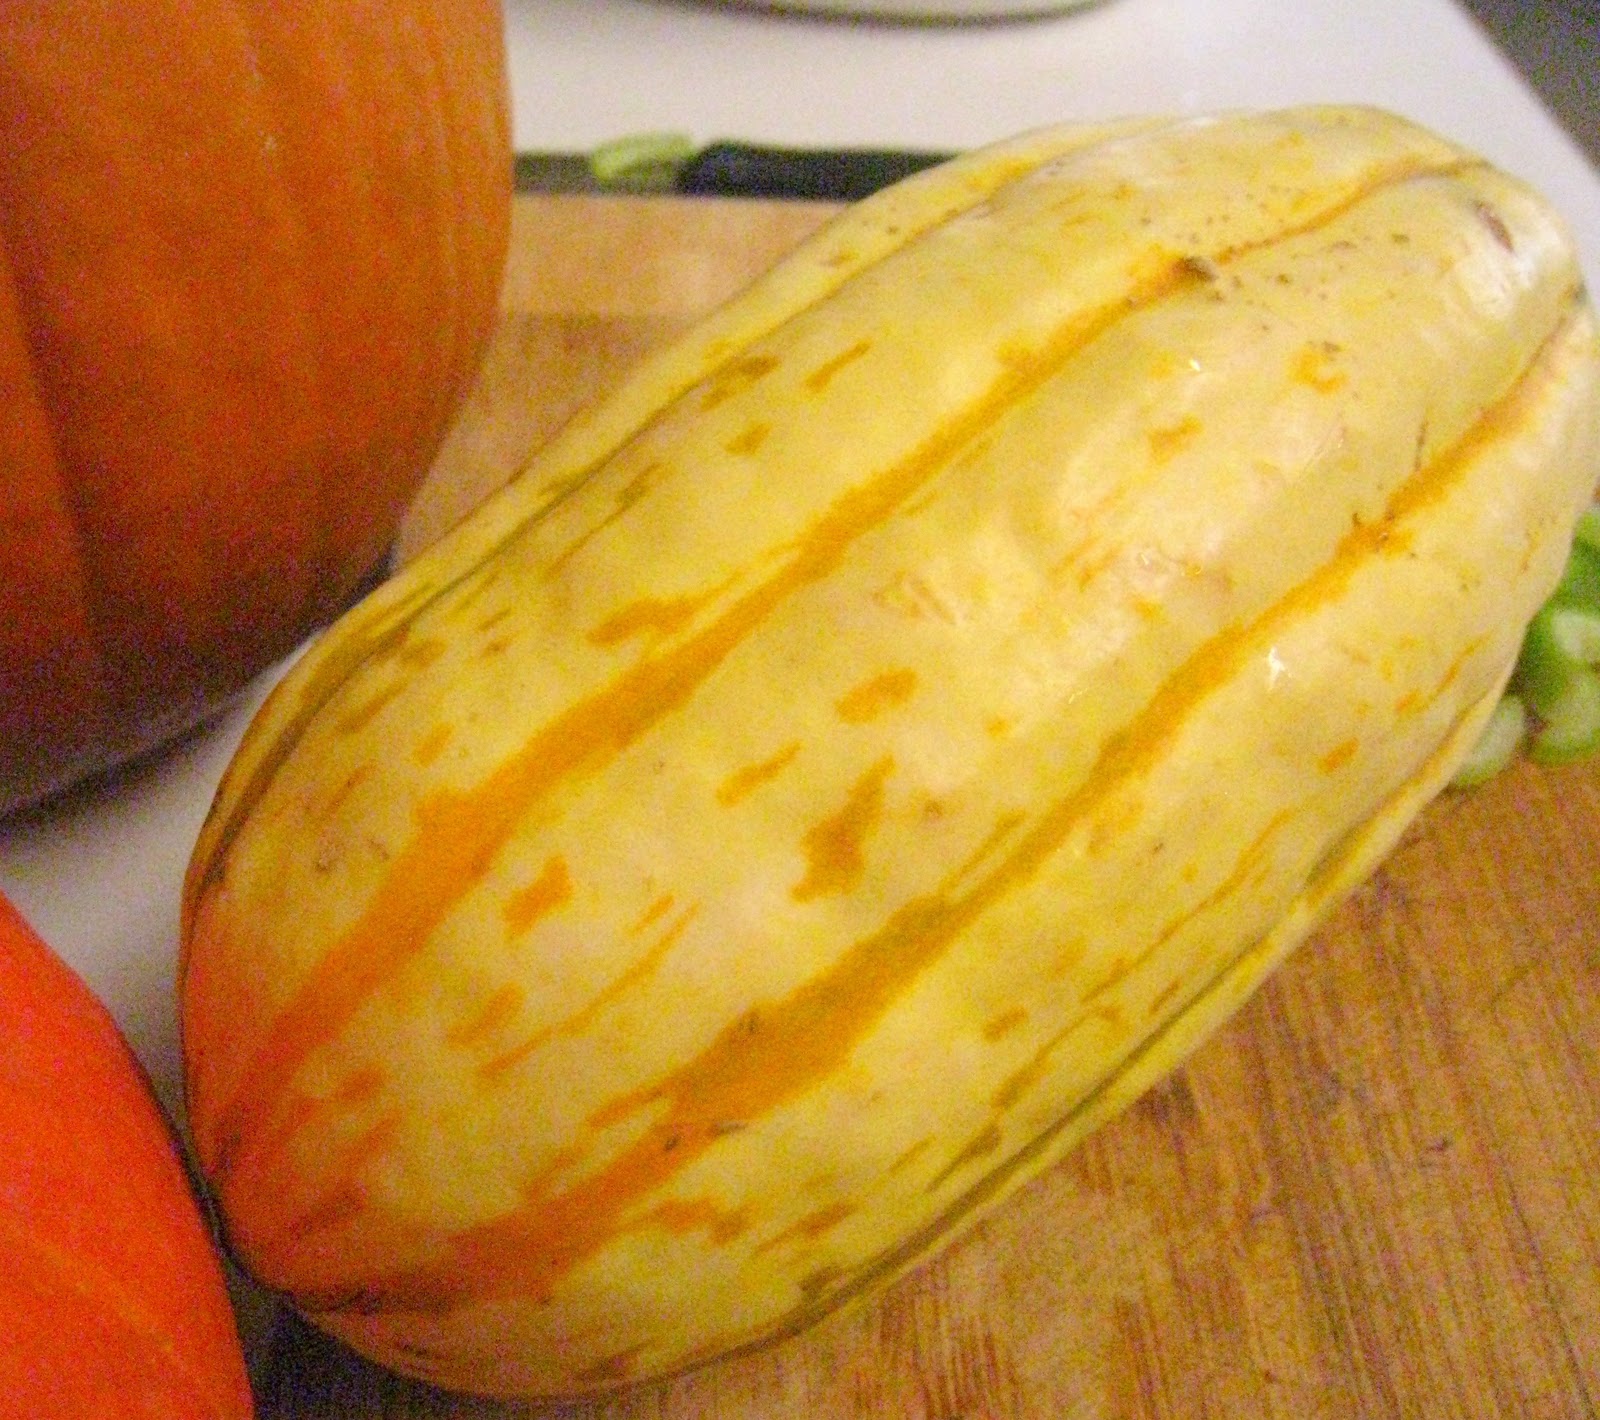
1 pie pumpkin
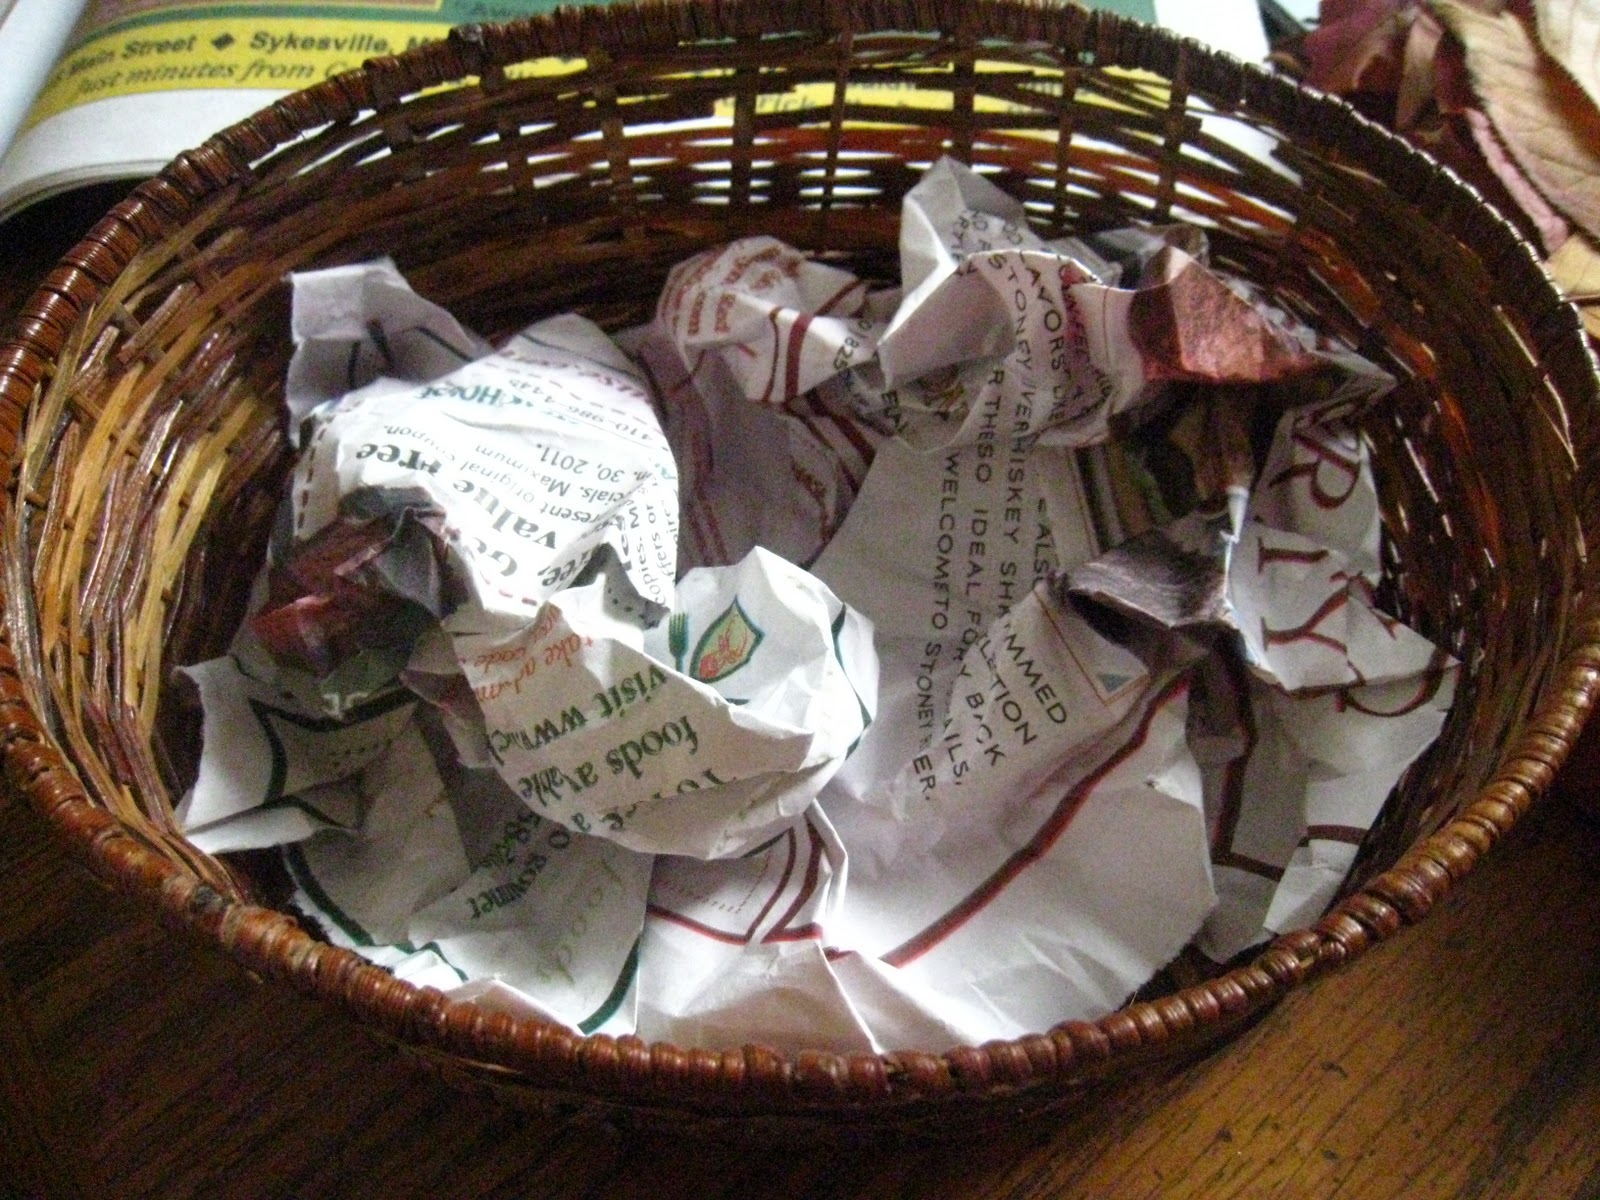
1 small oval or round basket, just large enough to fit the pumpkin
a couple sheets of newspaper
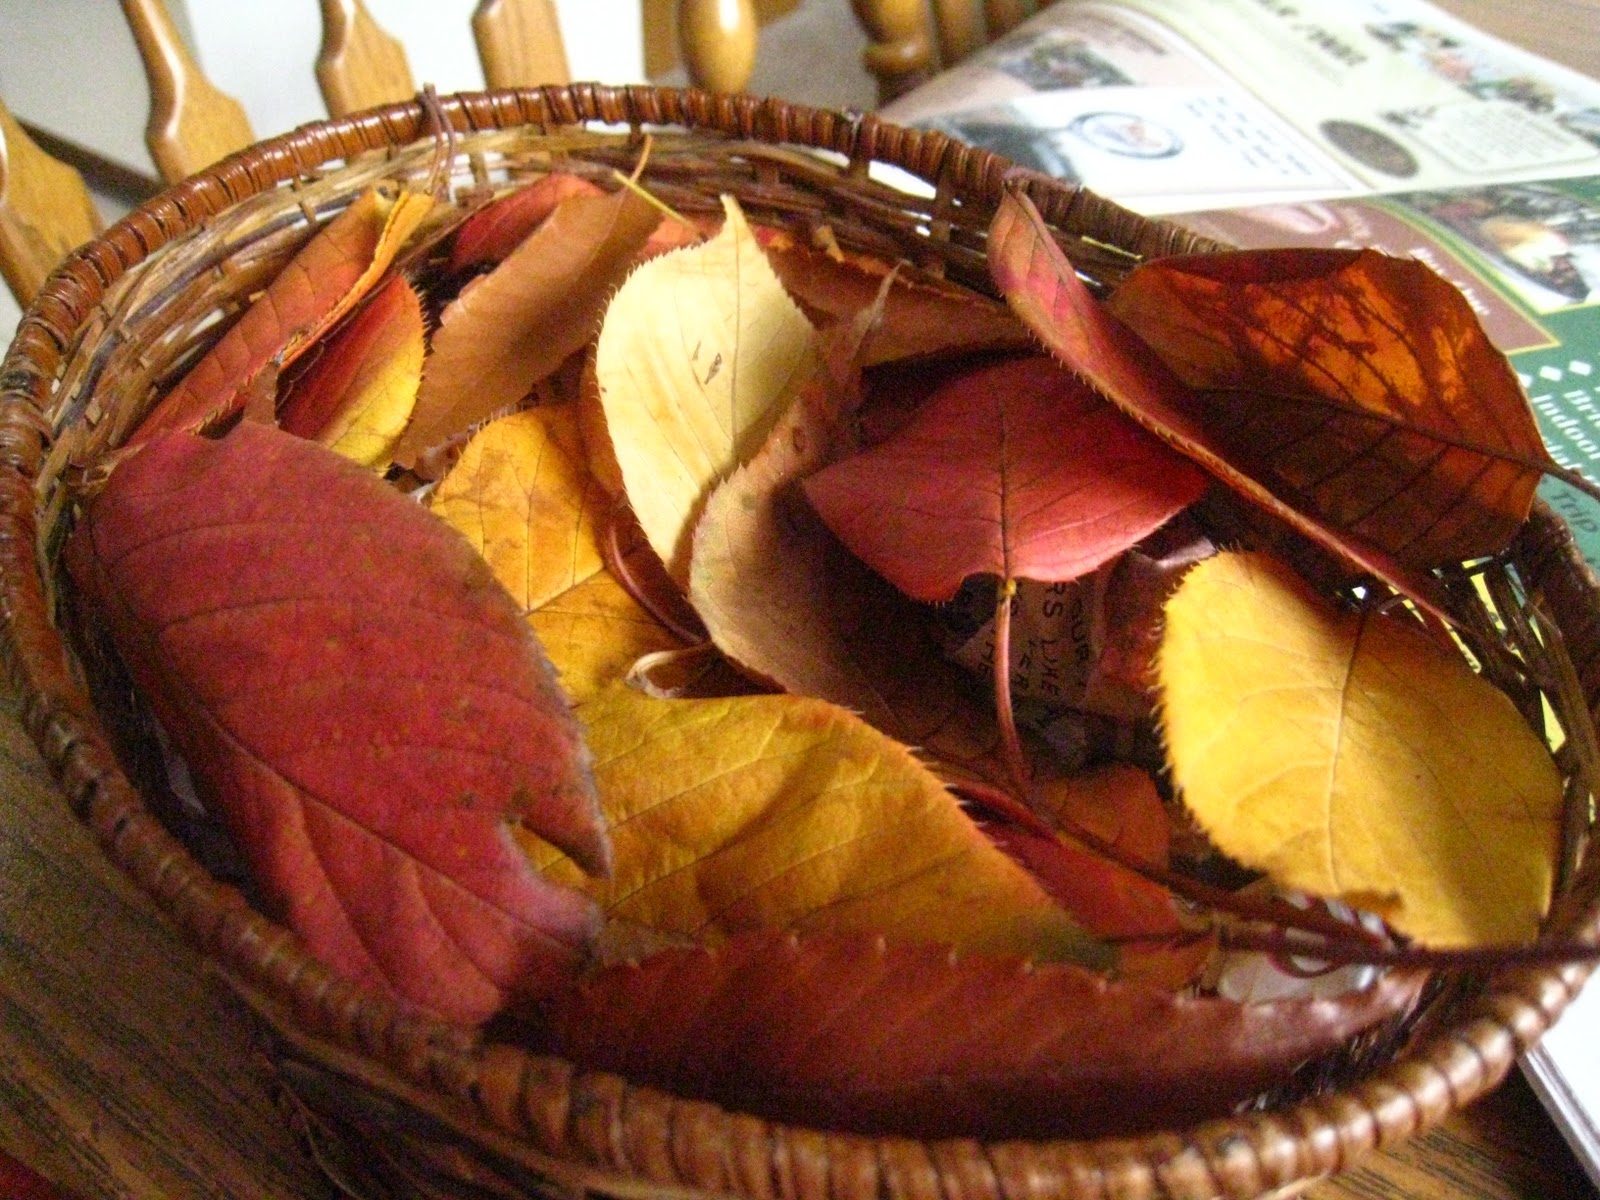
a basketful of freshly fallen autumn leaves (not dried)
a few decorative pumpkins and gourds
turbinado sugar
tealight candle
After cooking the pumpkin, scoop all the flesh out of the shell (You will need a pumpkin with a really hard shell. To be honest, I’m not sure exactly which variety of pumpkin has this type of shell, because for me it seems to be hit or miss. Sorry.). Use an old toothbrush to really get all the pumpkin goop off the inside of the shell:
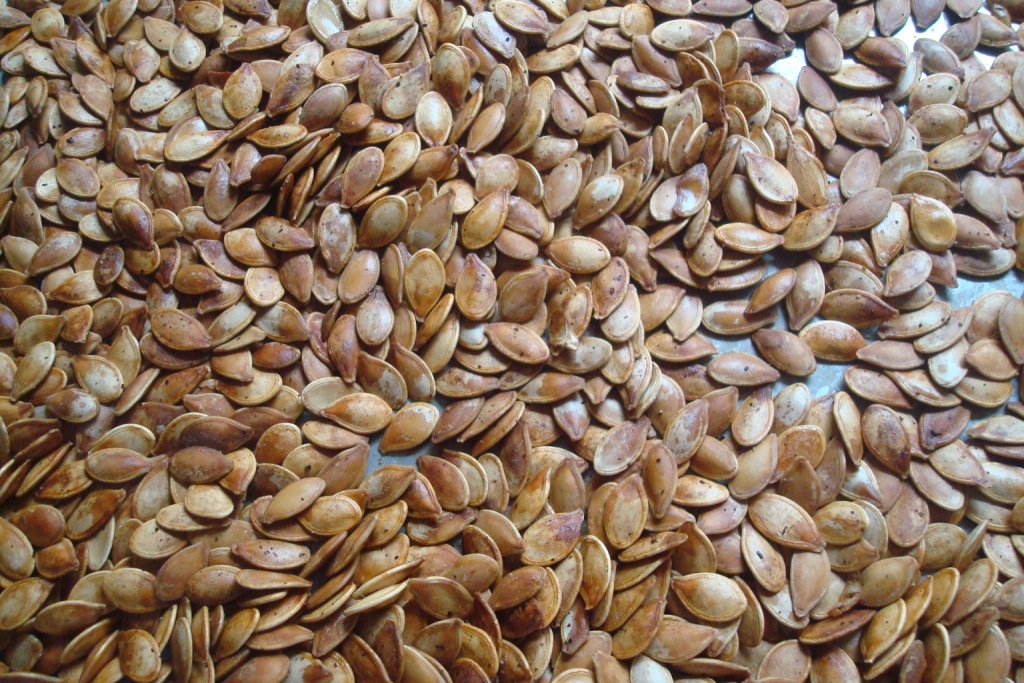
Save the pumpkin flesh and seeds for consumption.
Allow the pumpkin shell to dry on the counter top for at least several hours, until no moisture whatsoever remains.
Place a few pieces of crumpled newspaper in the bottom of the basket to give a little lift.
Place most of the leaves in the basket on top of the newspaper, being sure to cover it. Save the prettiest leaves for later.
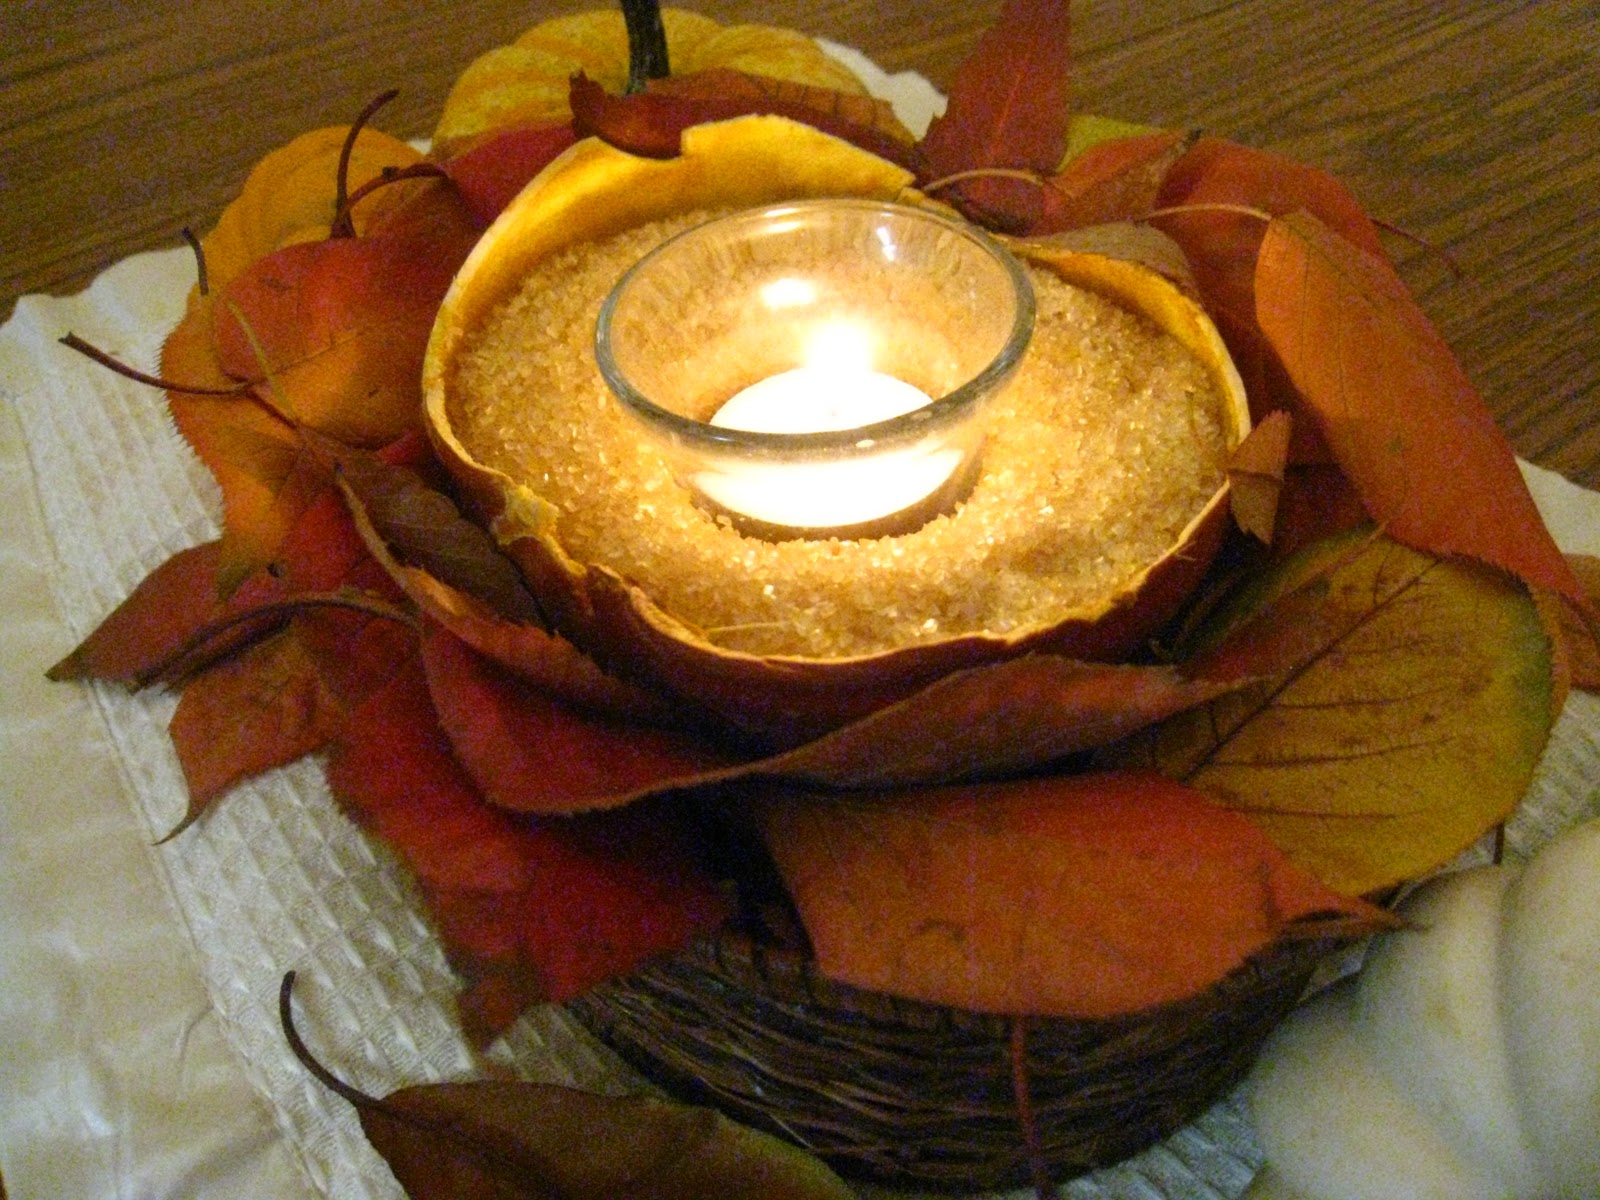
Fill the pumpkin with turbinado sugar (brown rice or another brownish grain would probably work well, also). Push a tealight candle (either in a small glass holder or by itself) into the sugar to stabilize it. Place the pumpkin and candle in the basket on top of the leaves.
Artfully arrange the prettiest leaves around the perimeter, leaving some to hang over the edge a little.
If you have an appropriately colored and designed runner or placemat, place the whole basket in the center of the runner or placemat. Arrange a few small pumpkins and gourds decoratively around the basket. Voila!
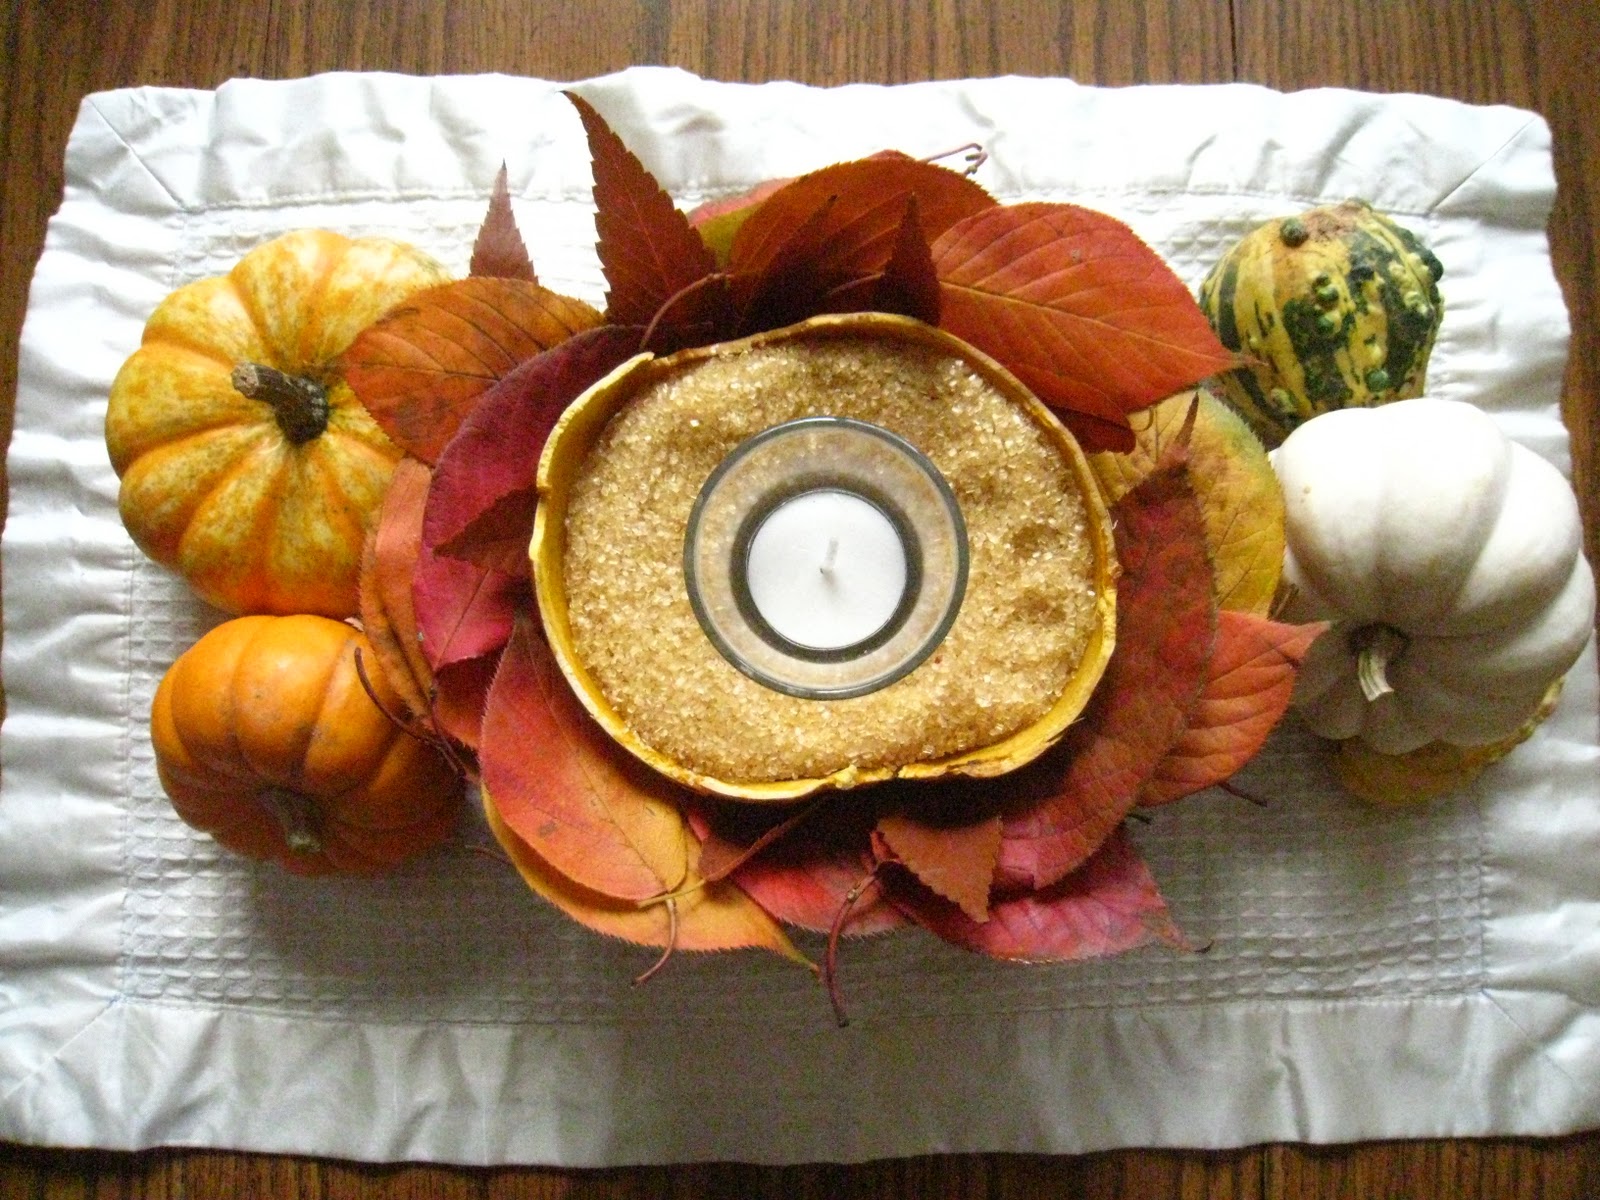
You can also place a few more pretty leaves strategically around the placemat as well, which I did after I took this picture.
Then, all you have to do is remember to actually light the candle when it’s time for dinner. Which I did not. Oh well, I am enjoying the pretty tableau now as I write this post.
As for the food, this was our very autumnal menu (a little too heavy on the pumpkin perhaps, but nobody complained!):
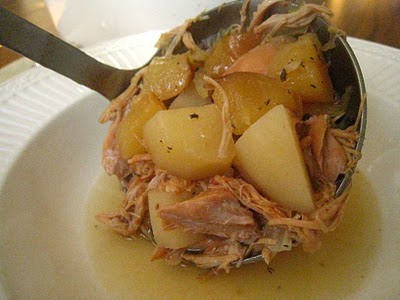
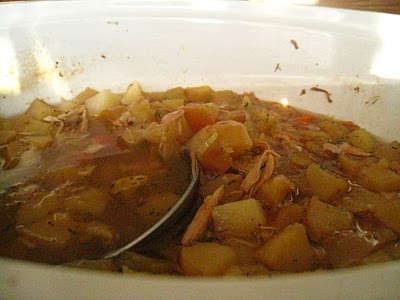
Savory Pumpkin Pasta (I panfried a lb of boneless skinless chicken breast, and added it to the pasta, together with some crumbled dried sage leaves just to up the ante a little.)
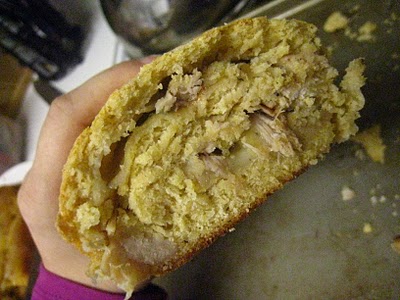
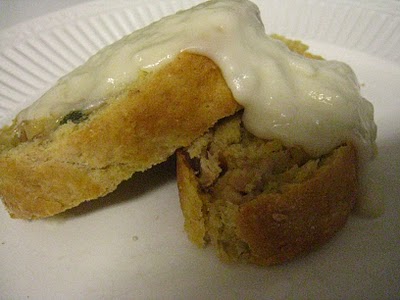
Artisan Bread![]() with Honey Butter (Disclosure: clicking on the link will take you to Amazon.com, and I will receive a small commission on any resulting purchases in the next 30 days.) (I was in a hurry when I baked the bread, and unfortunately it was a tad under-done. It also did not have as much flavor as usual; not sure what happened there. Oh well, the honey butter was good!)
with Honey Butter (Disclosure: clicking on the link will take you to Amazon.com, and I will receive a small commission on any resulting purchases in the next 30 days.) (I was in a hurry when I baked the bread, and unfortunately it was a tad under-done. It also did not have as much flavor as usual; not sure what happened there. Oh well, the honey butter was good!)
Better than Fruit Salad (I doubled it, and only used apples and pears, no peaches or nectarines. Very autumnal flavor that way!)
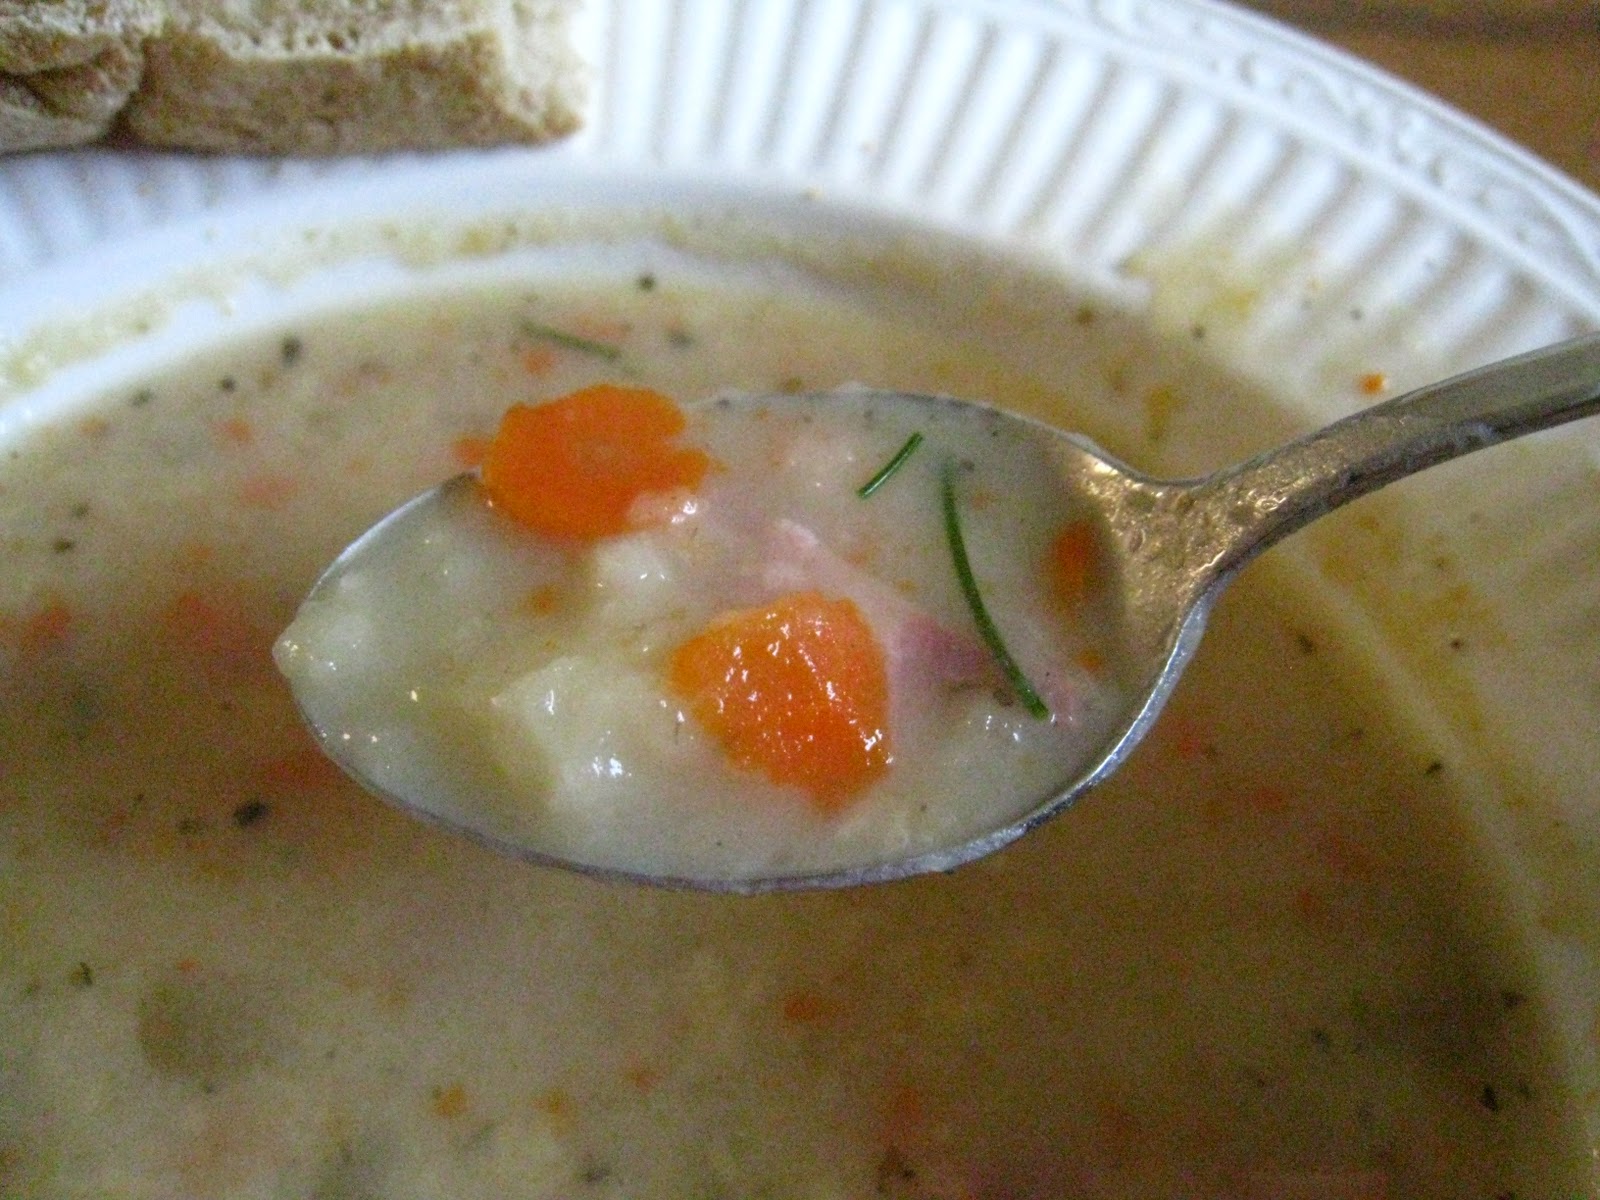
Steamed Carrots (exciting, huh?!)
Salad (which my friend brought to share. Yum!)
And for the dessert… (drumroll, please)….

Pumpkin Mousse Parfait
adapted from All You magazine
1 cup pureed sweet winter squash, such as Hubba Hubba or Buttercup
1/2 cup whole milk
1/2 cup raw sugar
1/4 cup honey
1″ piece of ginger root, chopped, or 1 tsp dried ginger
2 tsp cinnamon (or just go for a whole tablespoon!)
1/2 tsp freshly ground nutmeg
1/4 tsp salt
1 tsp corn starch
1 tsp water
1 cup heavy whipping cream
2 tsp vanilla extract
1 cup gingersnaps, crumbled
1/3 cup semi-sweet chocolate chips or wafers, melted
Place squash, milk, sugar, honey, ginger root, spices and salt in a heavy saucepan. Cook, whisking constantly, until sugar dissolves. Stir corn starch into water and whisk into pumpkin mixture. Bring pumpkin mixture to a boil, continuing to whisk constantly.
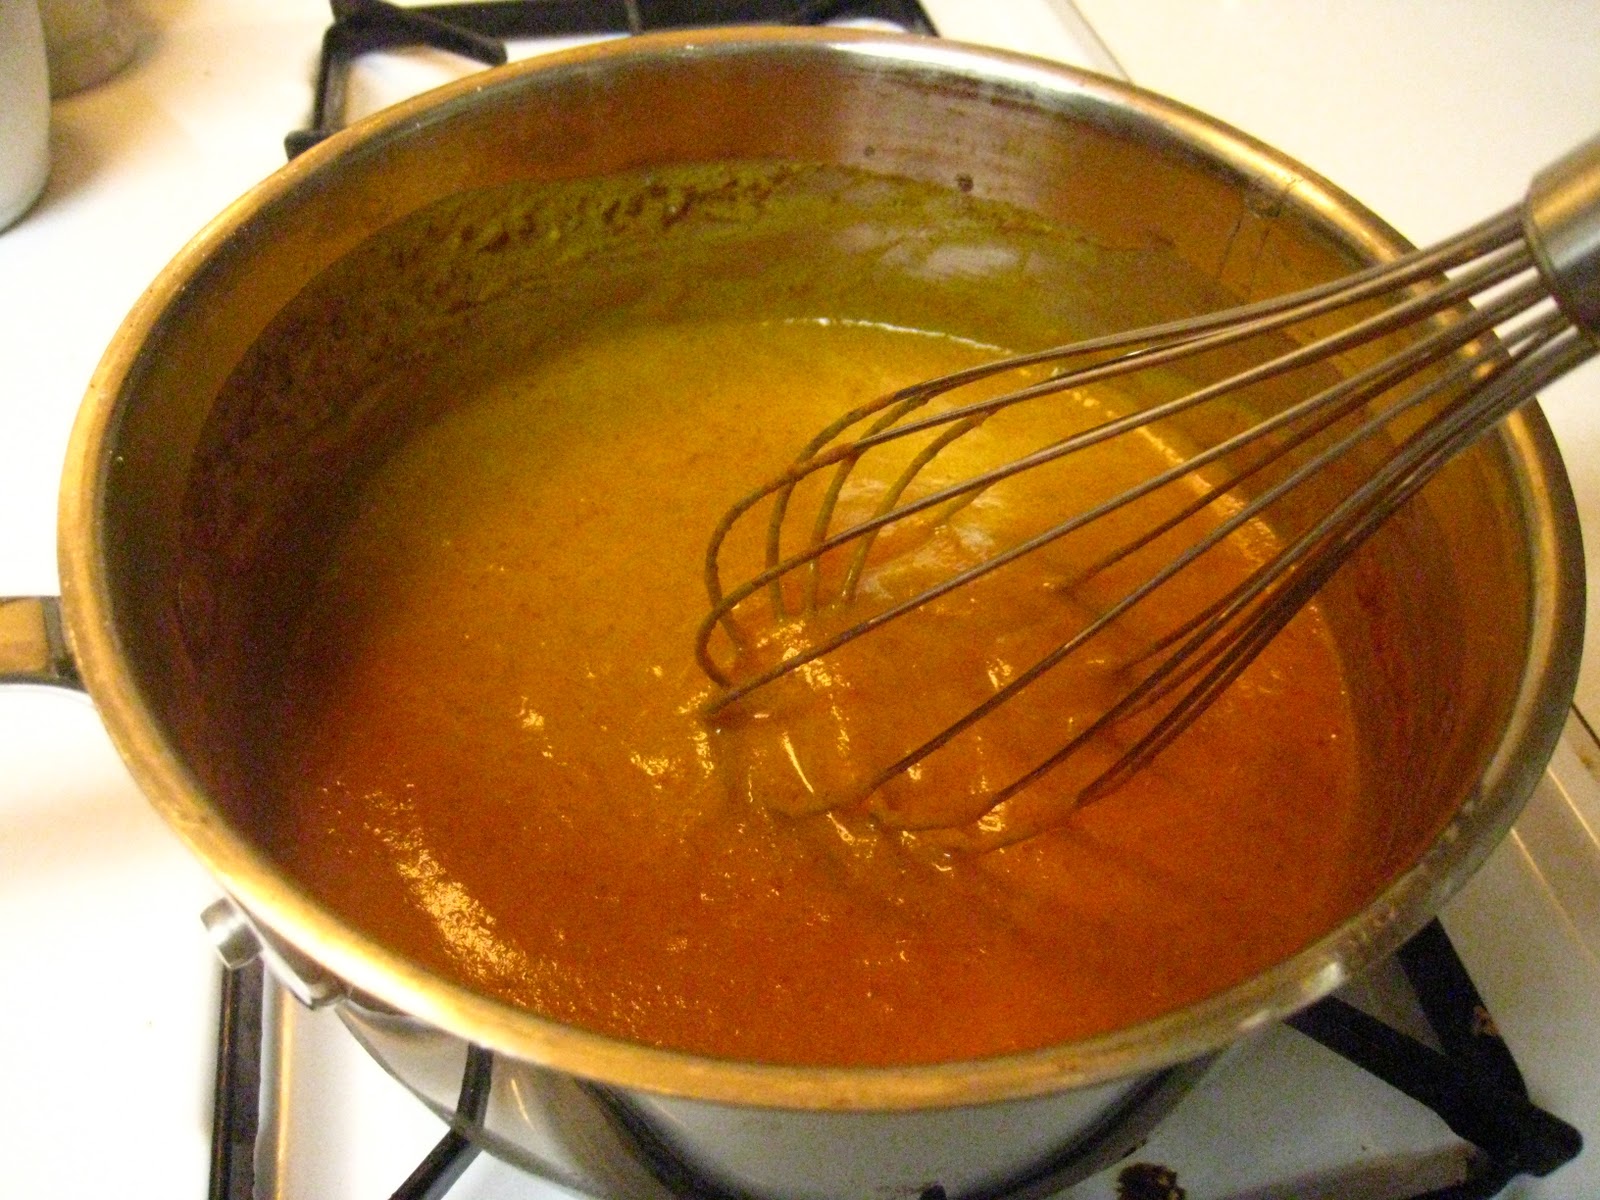
Reduce heat and simmer, still whisking, for about two more minutes. You should have a pudding-like texture. Pour pumpkin mixture through a fine mesh strainer into a large bowl.
Cool completely. Whip heavy cream and vanilla until firm peaks form. Fold a small portion of whipped cream into pumpkin pudding mixture, then gently fold remaining whipped cream until there are no more streaks.
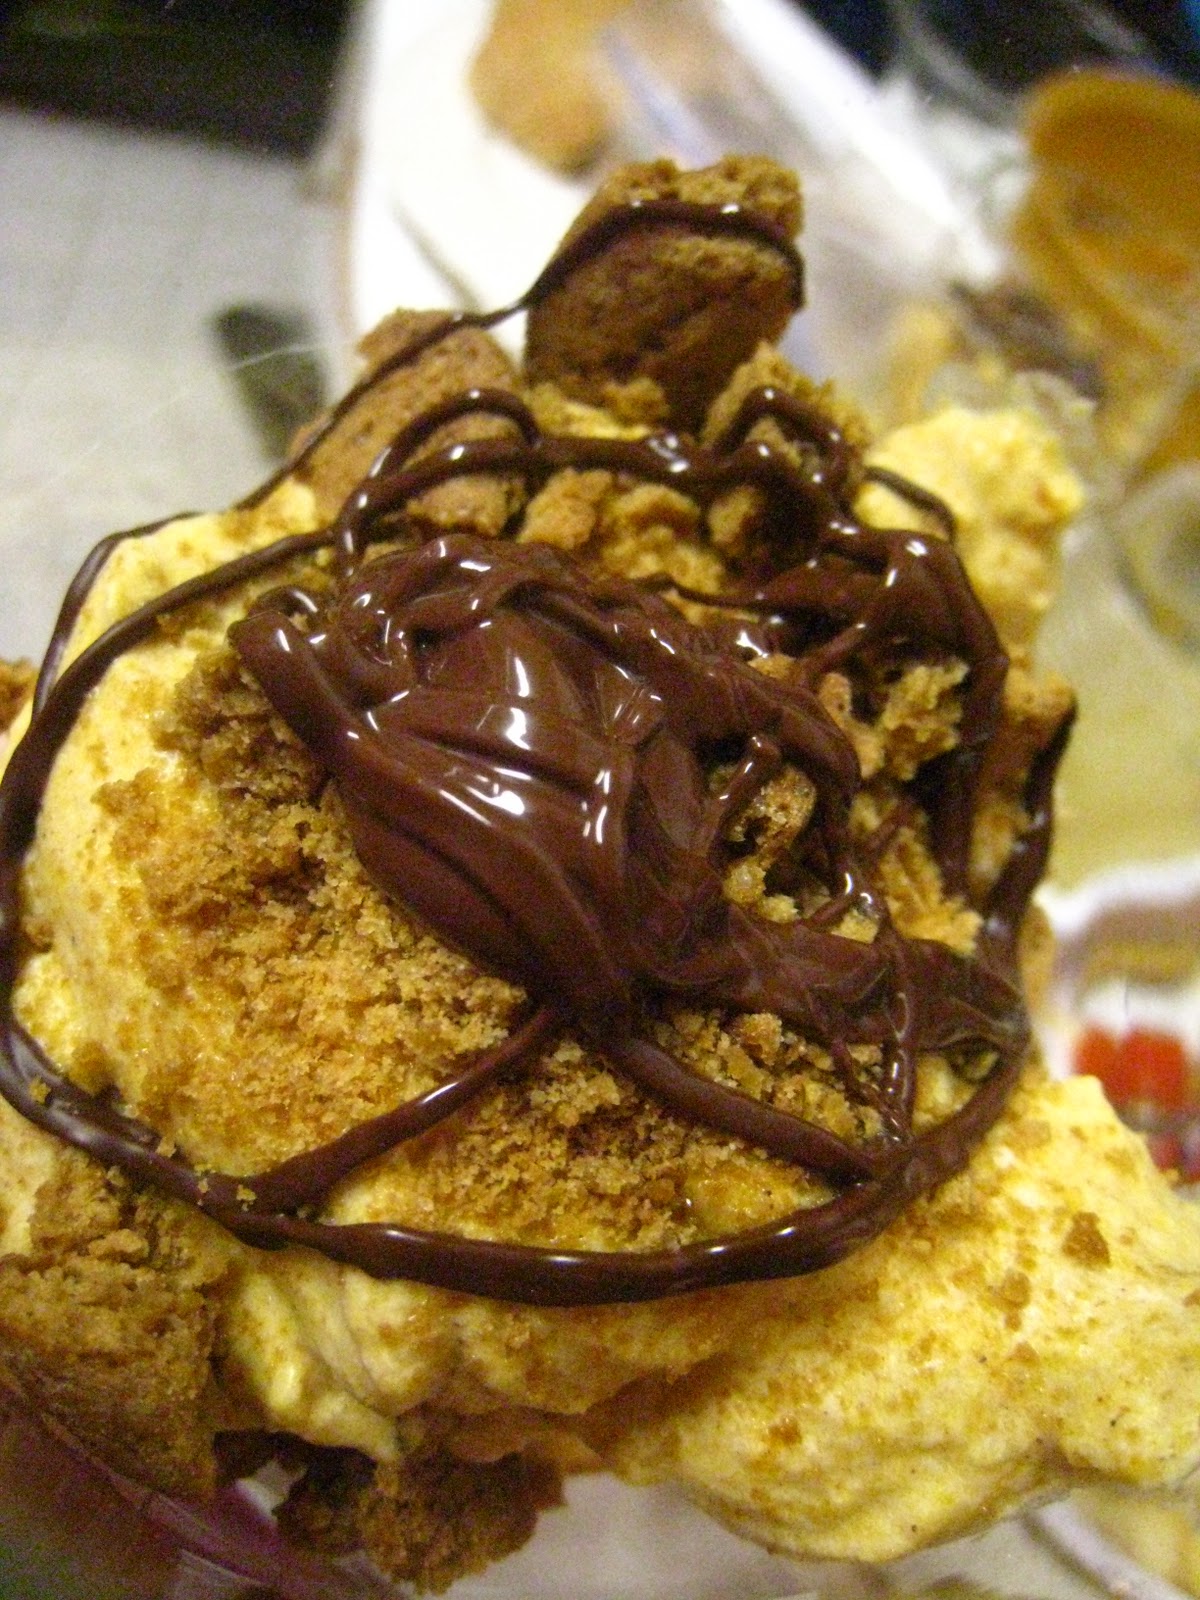
Spoon a small portion of pumpkin mousse into each serving container (clear glass bowl or drinking glass). Top with crumbled gingersnaps. Drizzle with melted chocolate. Repeat. Top with whipped cream if desired.

This is a great QUICK dessert recipe, especially if you make the pudding mixture a day ahead. All you have to do the day you serve it is assemble the parfait, which takes 10 minutes max.
It’s also very EASY. Even the pudding mixture is uncomplicated and easy enough for anyone to do.
It’s pretty CHEAP, except I did have to pay through the nose for the gingersnaps. Urgh. I did not have any molasses on hand, and no way to get any in time to make the dessert, so I had to pick up some store-bought gingersnaps. Again I say, Urgh! You can use pretty much any kind of crumbled cake or cookie in the parfait; it doesn’t have to be gingersnaps. Granola would also be delicious.
It’s pretty HEALTHY for a dessert. I even bought a very healthy brand of gingersnaps, that only had one potential icky ingredient (possible soybean oil, which I do not like to use.). I think next time I might try to reduce the sugar, but I didn’t want to gross out my guests if it wasn’t quite sweet enough to serve as dessert. It definitely helps to start with a sweeter squash. You could use whipped topping instead of whipped cream, but whipped cream is a much healthier option (no chemicals or hydrogenated oils or other fake ingredients).
Oh, and be sure to call it “Pumpkin Mousse Parfait”, not “Squash Mousse Parfait”. That rose by any other name stuff? Not true.


