
My friend Sheila of Alice and the Mock Turtle knocks my socks off with her creativity. Her active mind is always churning with ideas and new ways of looking at things to come up with such unique solutions and fun stuff of all kinds.
One of her recent blog entries totally blew me away with its simplicity and just sheer genius! She used empty tea bags to create individual instant coffee bags and dressed them up for gift giving. I didn’t even know you could buy empty tea bags!
Anything with the word coffee instantly grabs my attention, so I was all over this idea like white on rice (or brown, I guess I should say) and I started thinking about how I could incorporate this into my gifts from the kitchen for Christmas.
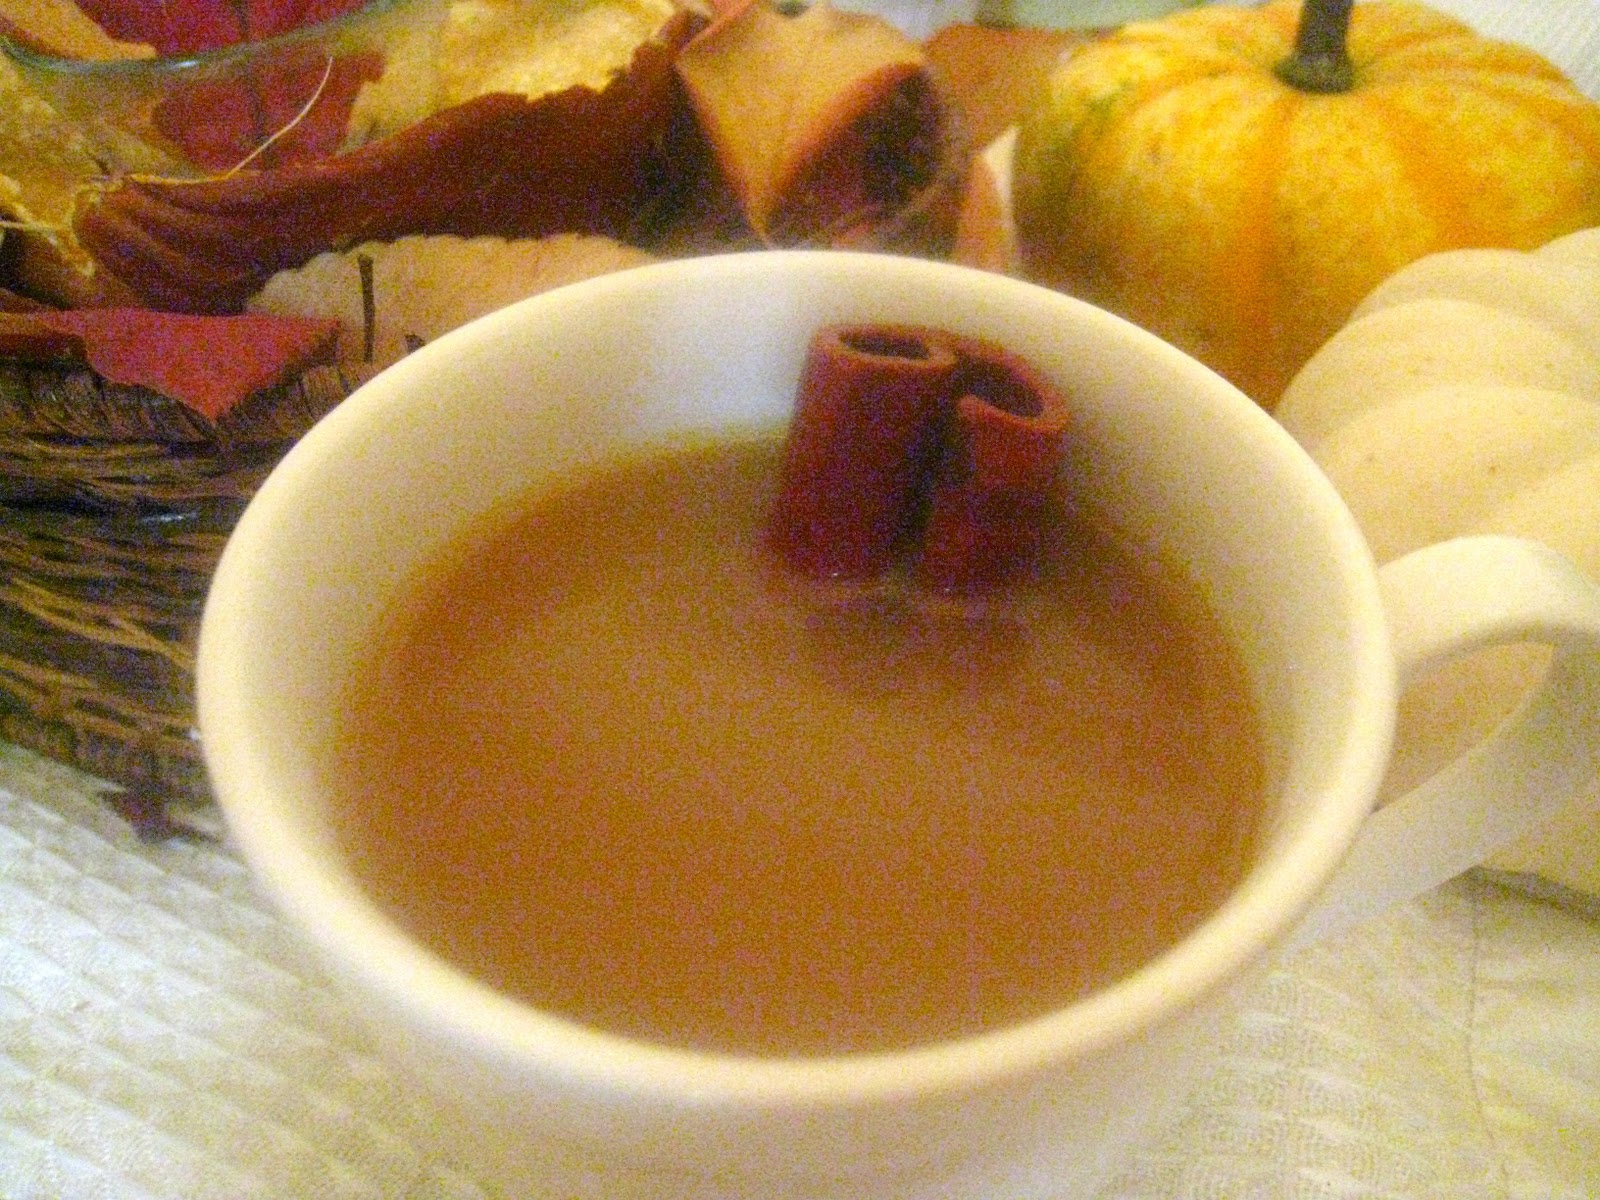
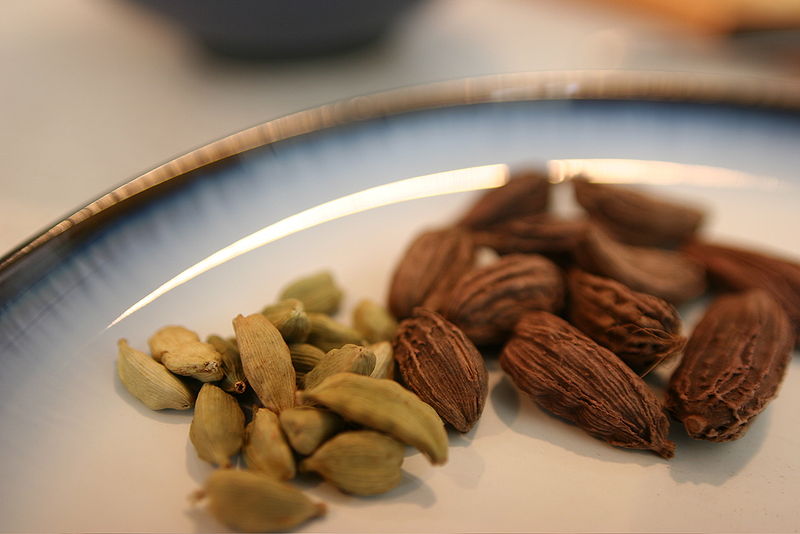
And since I can’t leave well enough alone, I began dreaming of different flavored coffees - my own coffee blends, so to speak - that could be placed into these little tea bags for sheer coffee-drinking pleasure. Cardamom-Orange Coffee to Go is the result of that mental brainstorming.

Sheila had found these amazing press-and-seal tea bags that you can iron after filling to create a completely sealed envelope of coffee. For some reason which I can’t remember now, I opted to go with Teavana’s PerfecTea paper filters instead. These tea bags don’t require any ironing (not my favorite chore), but neither do they have any way to seal them at all. I found that for my own use, simply folding over the top (as they were designed to do) was sufficient, and not even one teeny tiny coffee grind found its way into my coffee.
For gift-giving, though, I wanted to be sure that the envelope didn’t spill, so I simply used a doubled length of thread and a needle to make a running stitch through the top of the folded filter. I left a 3″-or-so length of thread on either side and tied those together into a knot. Not only did this keep the coffee grinds from spilling out of the bag, but it also created a useful handle for pulling the filter in and out of a cup of hot water. And it gathers, so it can be used to help squeeze out all the coffee goodness! The whole process took maybe 30 seconds for each coffee bag (and I am by no means a proficient sewer!).
Unfortunately, it’s too late for you to order the tea bags in time for Christmas at this point, but they may be available at your local Teavana store (or other tea specialty shop). If you can find the tea bags, filling them up is super quick and easy, making them a great Christmas gift or stocking stuffer!
Some gifting suggestions:
- in a coffee-themed basket for a coffee lover (with mugs, coffee-themed decor, flavored syrups, etc.)
- in a tin full of home-baked goodies
- with homemade (or storebought if you’re running out of time!) biscotti
- by itself in a jar, as Sheila suggested, together with cream and sugar
- in a portable re-usable coffee mug (I did this for a friend)

Cardamom-Orange Coffee
Ingredients
- For each serving, you will need:
- 1 TBSP coffee beans, your favorite roast
- 1/2 tsp dried orange zest
- 1/4 tsp ground cardamom
Instructions
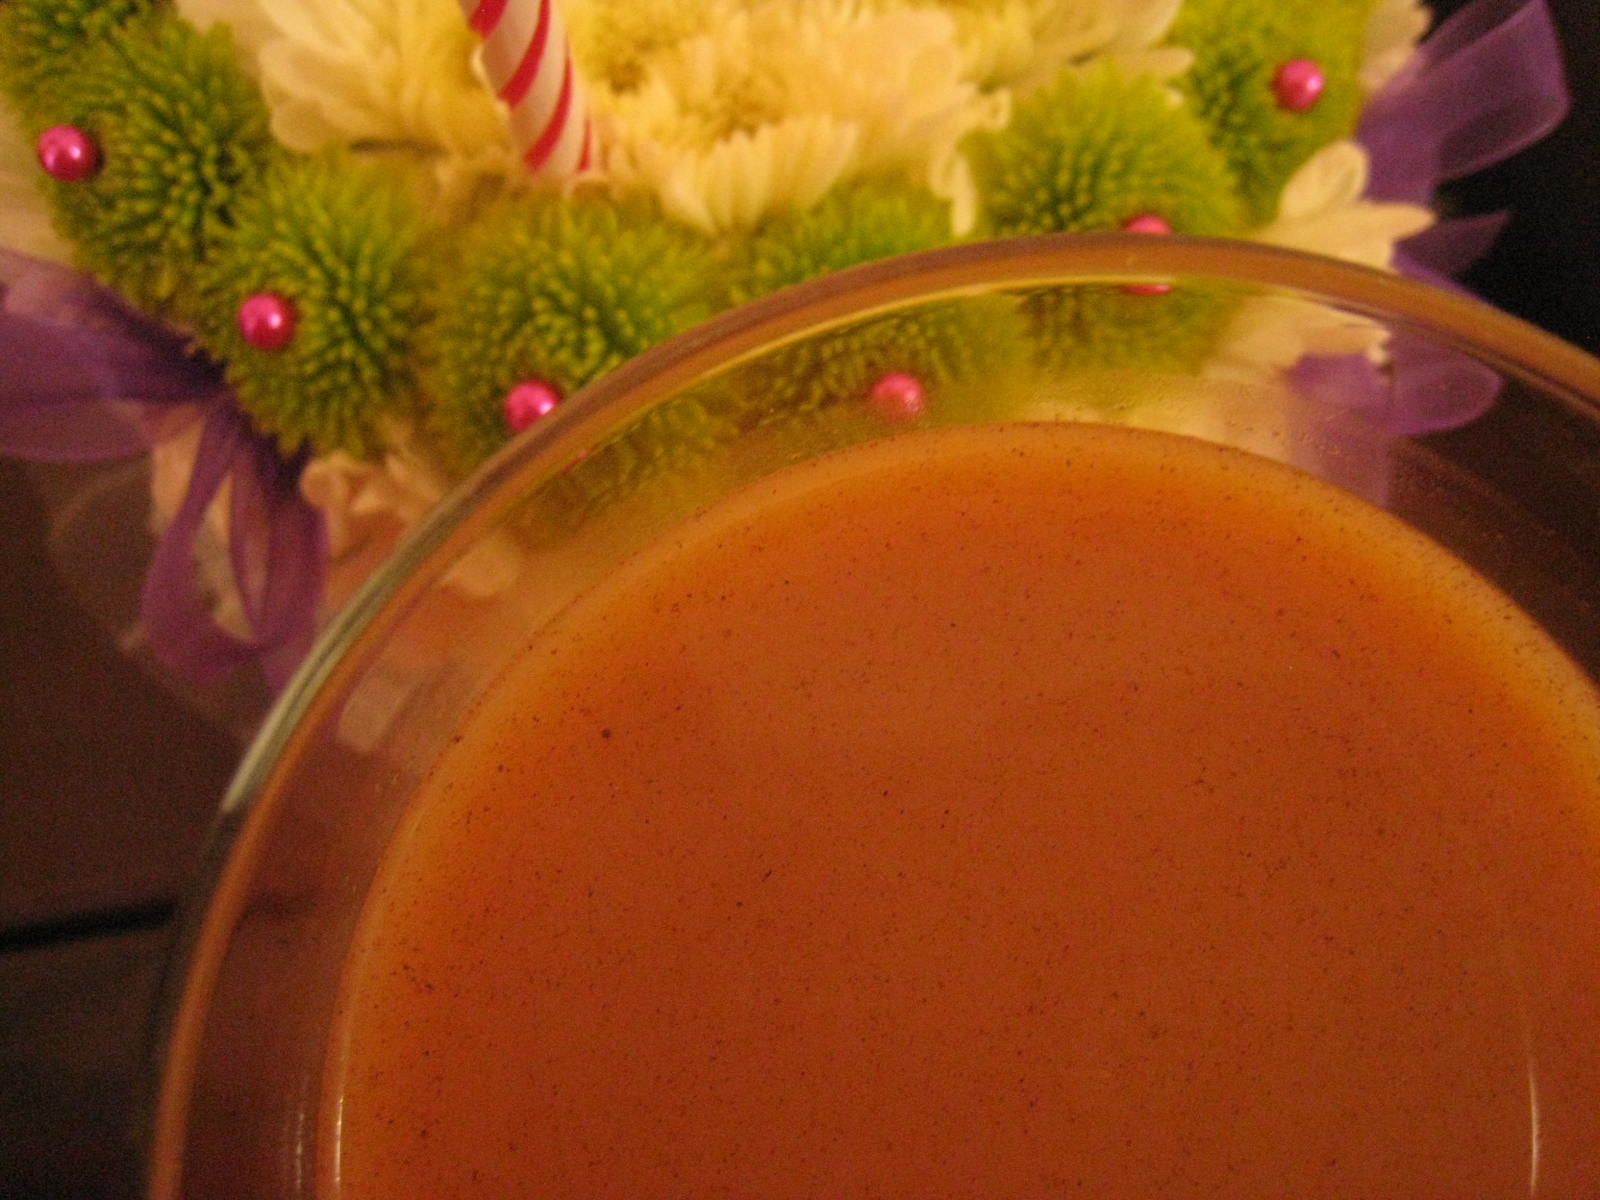
- Combine all 3 in a coffee grinder and grind until fine. Brew in 6 oz of hot water.


