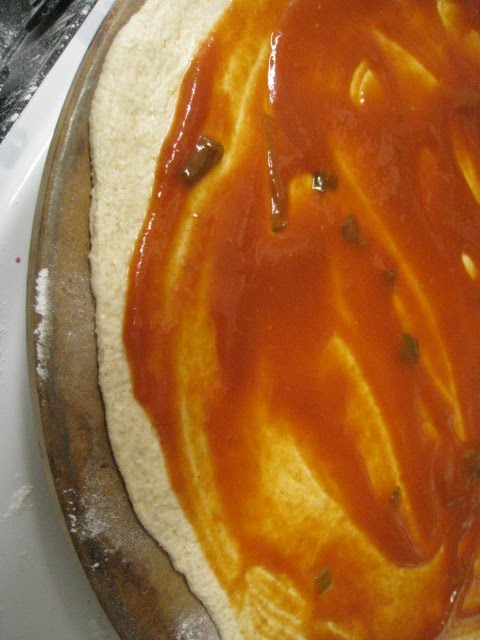
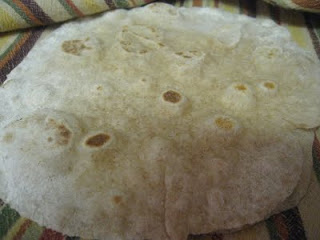
I’ve mentioned the Artisan Bread in 5 Minutes a Day![]() bread-making method before: it’s my go-to method for baking bread now and I almost always have a bowl of dough in the fridge. I love its simplicity, but also its versatility: it can be made into sandwich bread, free-form “artisan” loaves, rolls, pizza, and even pita bread. It is easy to adapt, as well, to create different flavors with different grains.
bread-making method before: it’s my go-to method for baking bread now and I almost always have a bowl of dough in the fridge. I love its simplicity, but also its versatility: it can be made into sandwich bread, free-form “artisan” loaves, rolls, pizza, and even pita bread. It is easy to adapt, as well, to create different flavors with different grains.
When thinking about what gifts to give my friends this year, I wanted to go a healthier route than usual, without being a Scroogy BahHumbug! Although I love making decadent and delicious Christmas treats to share, the truth is everyone gets more than enough of those this time of year. I just wanted to do something fresh and different this year for a change of pace.
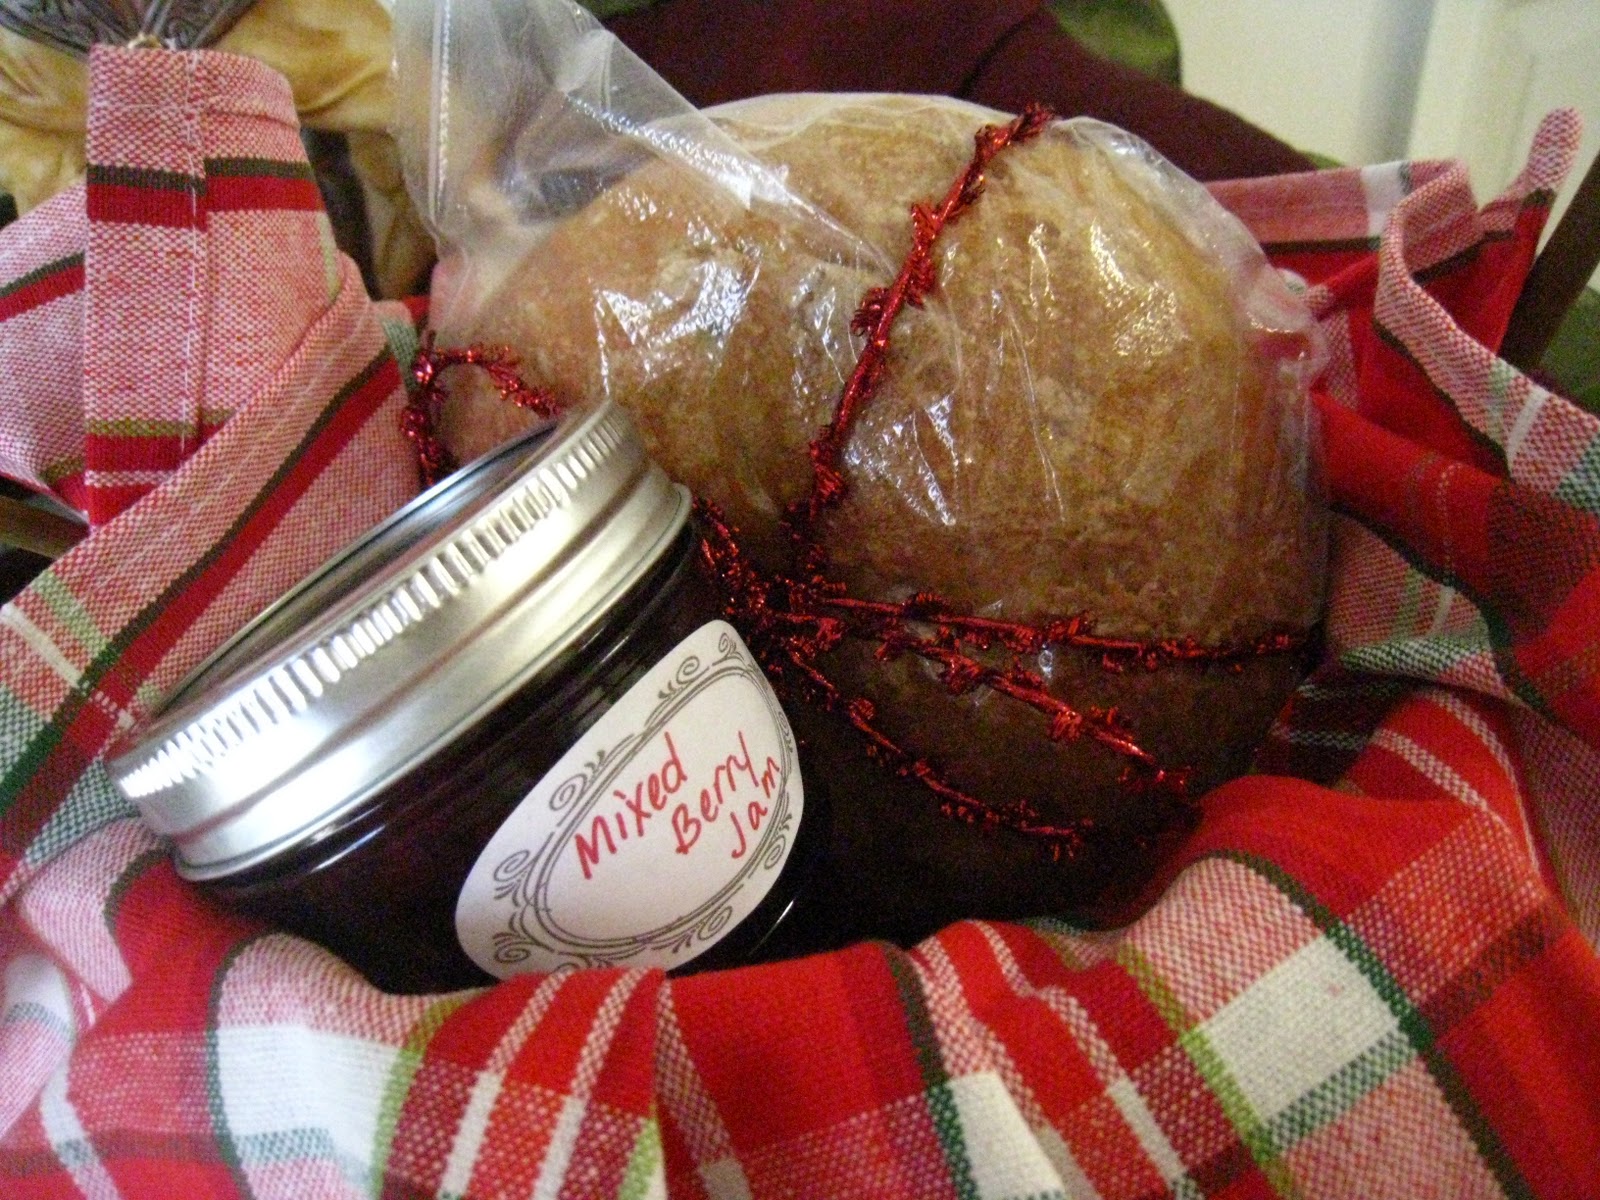
After some thought, I decided to put two of my new kitchen skills - homemade jam and artisan bread - to the test and prepare them for my friends as gifts. I’ve been wanting to share both of these with you, as well, so it gives me the perfect opportunity!
You can find the Master Recipe for Healthy Bread in 5 Minutes a Day here. I cannot take any credit whatsoever for the brilliance of this method - that goes entirely to the authors and developers! I do want to share with you my slight adaptations to the recipe just to show you how flexible it really is.
For one thing, I adjusted the ratio of whole wheat to white flour, mostly for the benefit of my DH. I like a good crusty whole wheat bread, but he prefers it a little lighter. For another, I omitted the vital wheat gluten because that’s an extra grocery item I just don’t need to buy, and because I wonder how healthy it really can be when one considers the ever-increasing occurrence of celiac disease (perhaps we are a little overloaded with gluten?). I also sometimes like to use whey, the liquid drained from yogurt, to make a small part of the liquid (about 1/4 cup or less) called for in the recipe. This increases the health factor and adds a bit of a sour-dough-like tang to the taste.
And with my slight adaptations…
Healthy Bread in 5 Minutes a Day, adapted by me to suit my style
4 cups regular all-purpose unbleached flour
3 1/2 cups white whole wheat flour
1 TBSP salt
1 1/2 TBSP yeast
4 cups water
I strongly encourage you to consult the website or buy the book![]() for detailed instructions on the method, but for a quick summary, here’s what I do:
for detailed instructions on the method, but for a quick summary, here’s what I do:
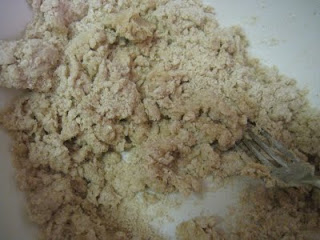
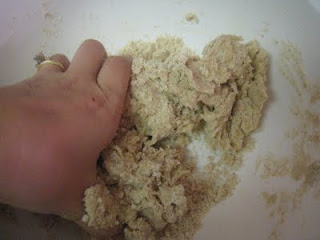
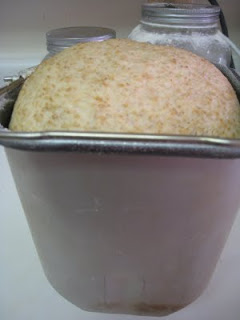
Place all dry ingredients in a stand mixer and stir until well combined. Make sure the mixer is locked into position, and begin adding the water as it stirs. You may need to increase the speed a bit if the mixer starts groaning and complaining. When you have a slightly sticky dough, remove it from the mixing bowl and place it in a large plastic container (and I mean large - keep in mind that the amount you have is going to double!). Place the bowl on a counter top, and cover lightly with a towel. Allow to rise for at least 2 hours or until it doubles in size and then levels slightly. Place in refrigerator, covering the container while being sure not to seal it completely, at least for the first 24 hours.
This dough will last about 2 weeks in the fridge, and will make approximately 4 loaves (I usually get more like 3 at the size I like to make).
Then, whenever you want to make some bread:
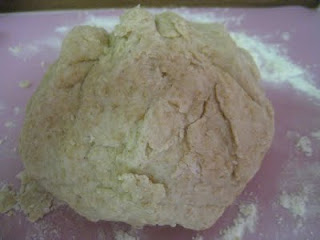
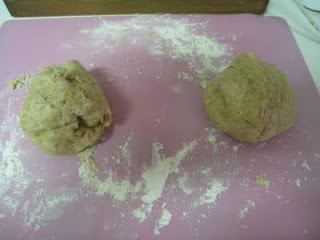
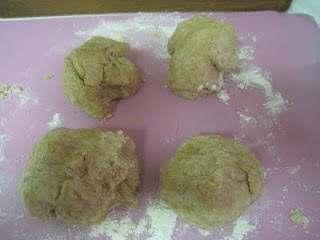
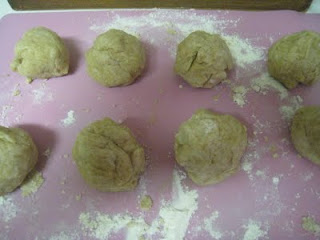
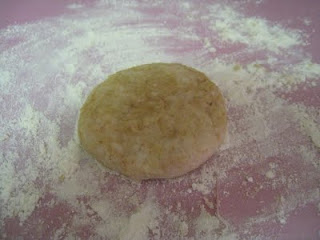
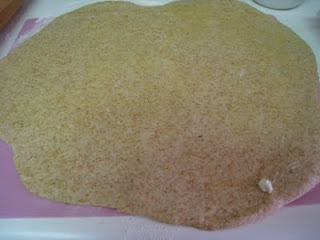
Sprinkle the top of the dough with flour, then cut off the portion you desire (I usually cut off 1/4 to 1/3). Shape it into a ball, with the ends tucked under, and place on a pizza peel or bamboo cutting board dusted with cornmeal. Allow to rest for about an hour and a half. Don’t worry if it doesn’t rise much; it’s not really supposed to, because most of the rising is done. It will inflate a bit in the oven.
About half an hour before it’s ready to bake, place a baking stone in the oven, and in the rack immediately below it, place a shallow non-glass pan. Preheat the oven to 425F.
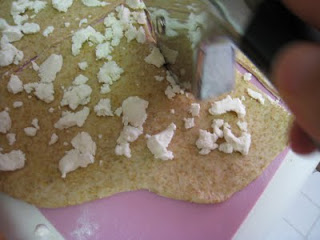
Just before baking time, brush the surface of the dough with water, then cut slashes with a knife (in whatever direction you want!). Sprinkle with seeds or oat bran if desired. Then carefully slide the dough from the pizza peel or cutting board onto the baking stone. Pour 1 cup of water into the shallow pan and immediately close the door.
Bake for about 25 minutes or until top is golden brown and crusty and the bottom is no longer soggy. Cool at least an hour or so before attempting to slice.
TIPS:
*I generally use slightly less than 4 cups of water in the dough because otherwise it is just too wet to work with.
*You don’t have to use a pizza peel and baking stone: you can bake the bread in a regular old loaf pan if you want. I find I get the best results, though, by following their method exactly.
*I used to (and sometimes still do) take the bread out of the oven way too early. The top looks done well before the dough inside is thoroughly baked. The biggest sign of readiness is the bottom: it shouldn’t be gooey or undercooked at all. Check the bottom of the bread before removing from the oven.
*The dough really is almost impossible to handle the first day. I have found it necessary to plan ahead and mix the dough the day before I actually need to use it.
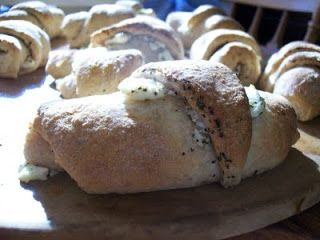
*To make my Christmas gift loaves, I baked 3 small round loaves at once on a large baking stone. I cut an X shape into the top of each, just to make it pretty. One batch of dough makes 6 small round loaves of the size you see in my pictures.
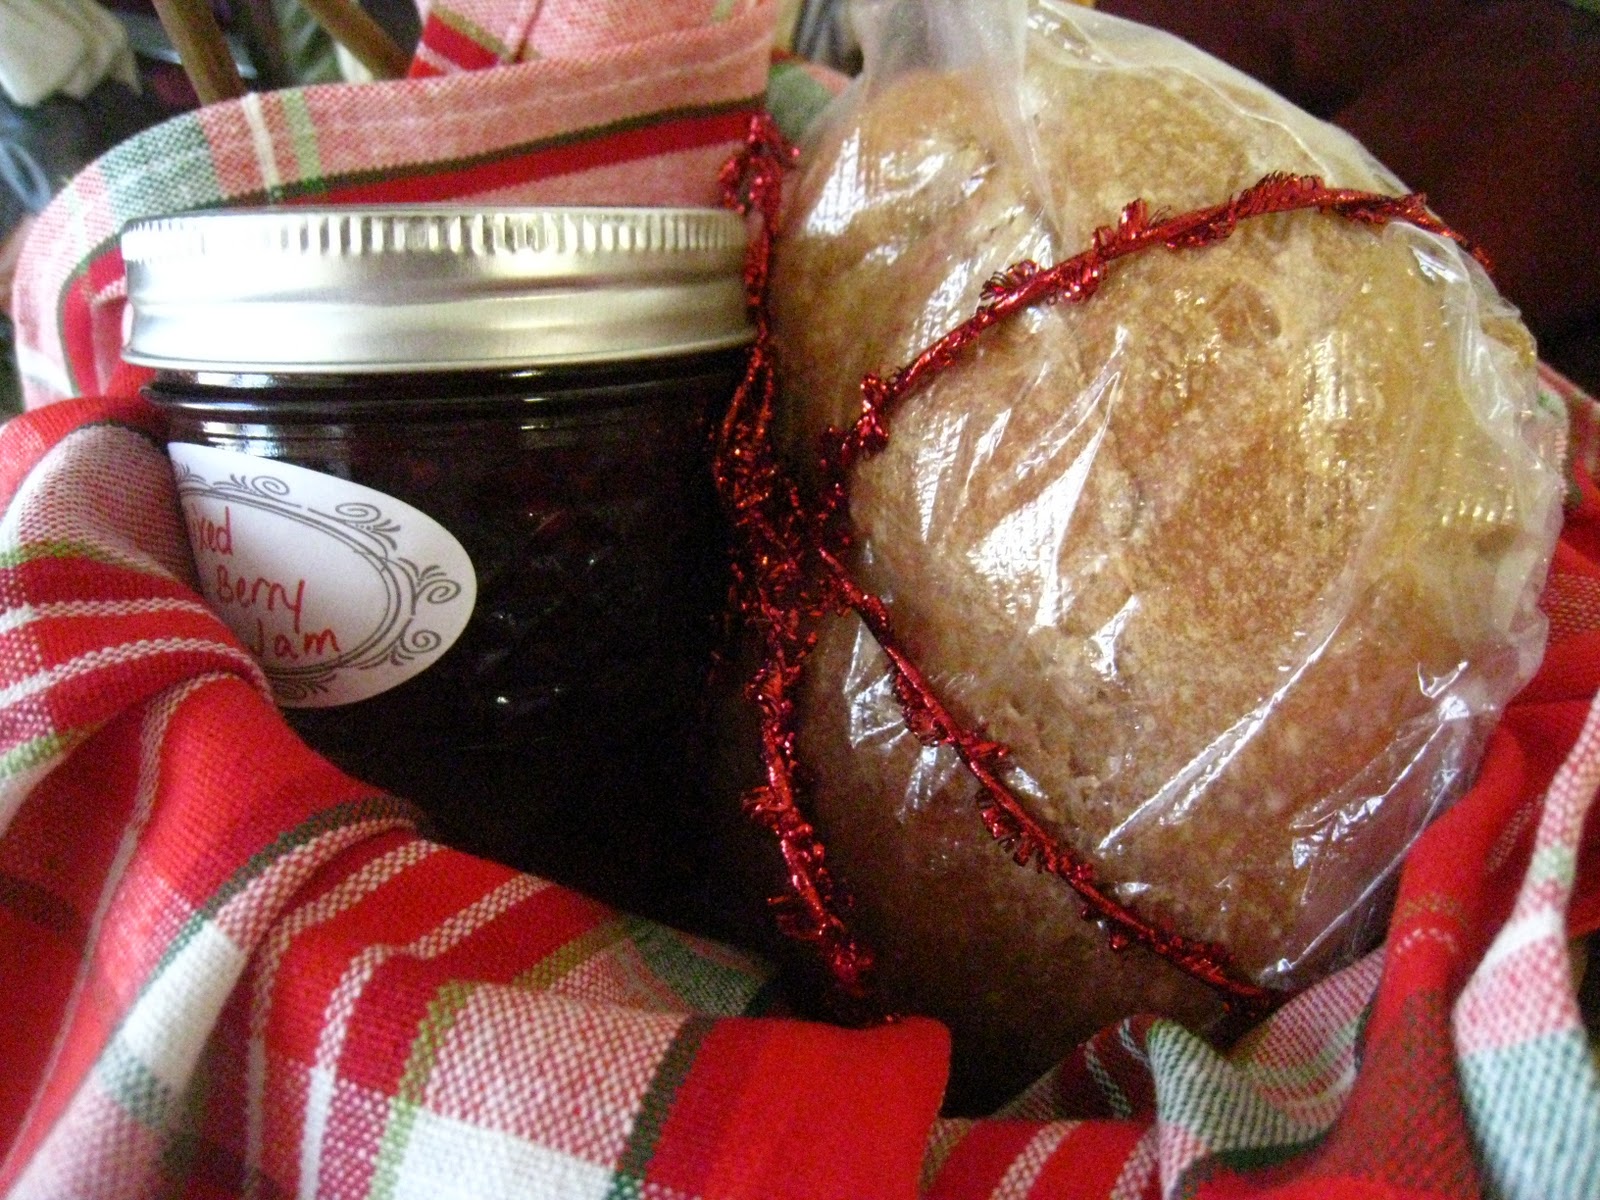
To present the bread as a gift:
When it is thoroughly cooled, place in a large plastic baggie (not the zippered kind). Tape the excess plastic on the bottom where it won’t be seen.
Wrap a pretty ribbon around the bread and tie it in a bow in front.
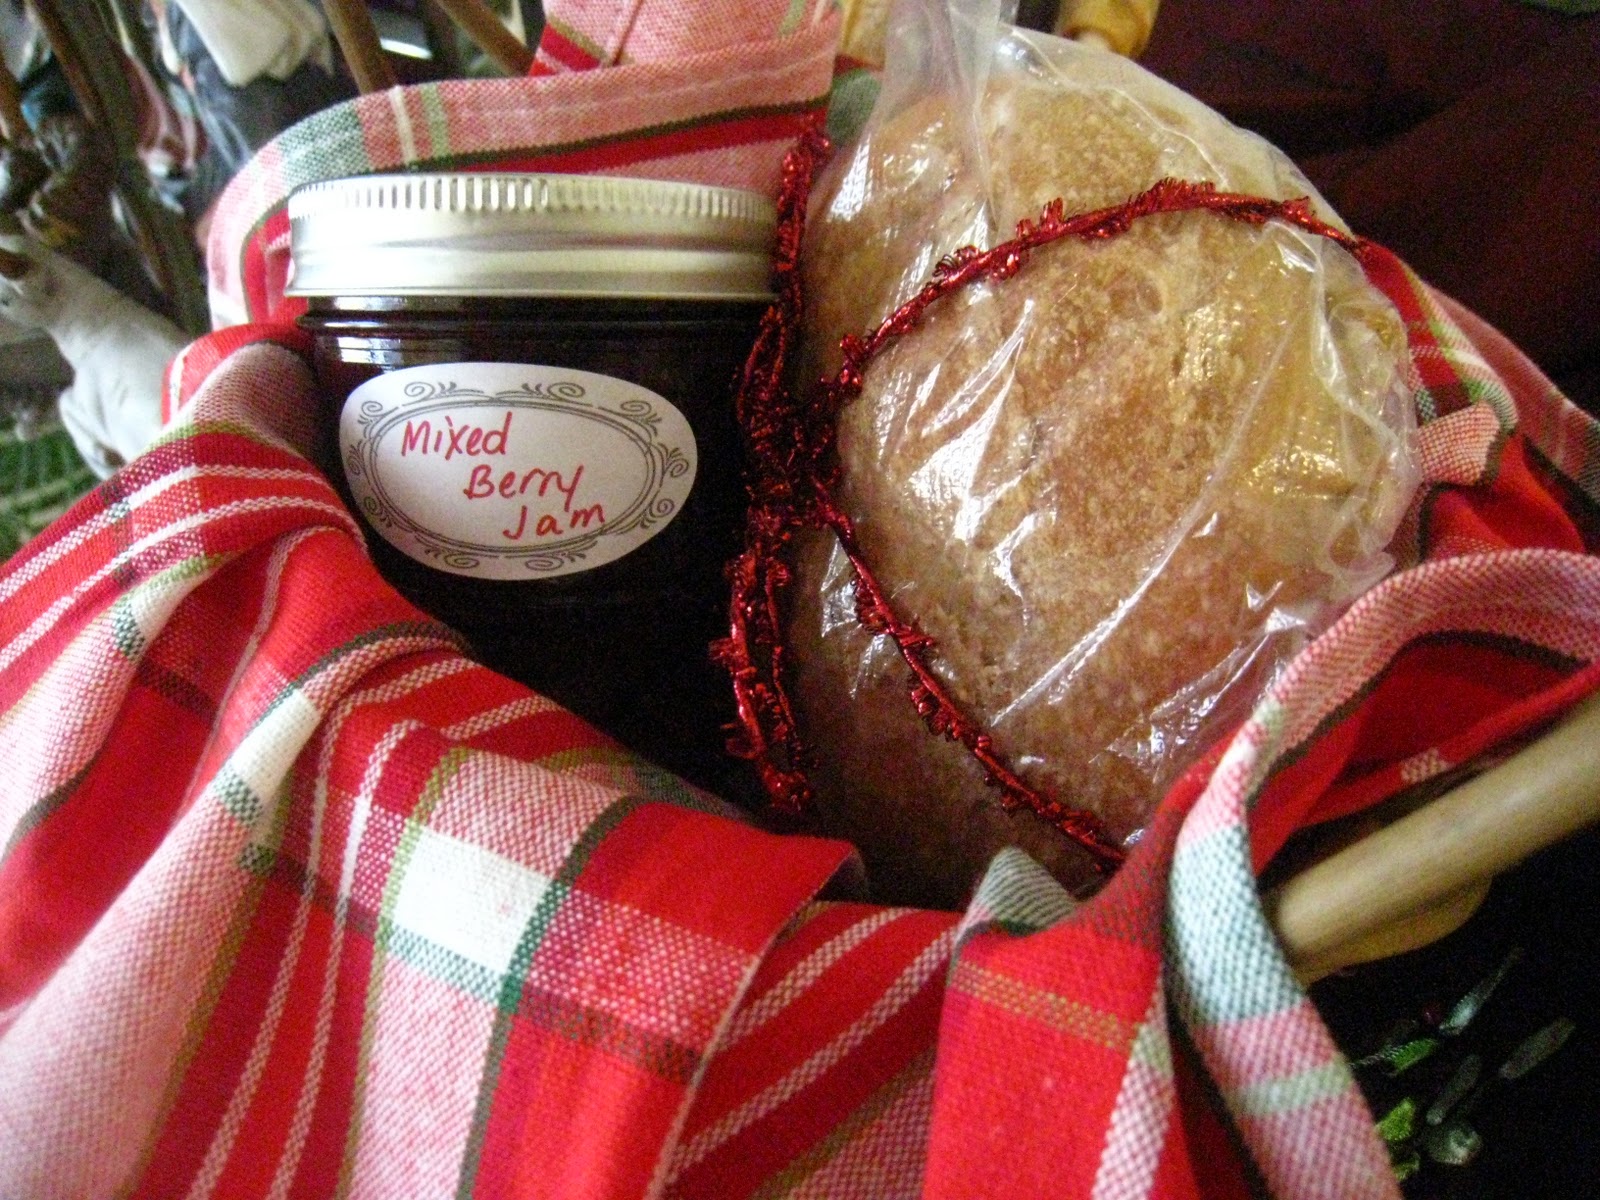
Line a basket with a Christmas tea towel and place the bread inside. Add jam or other condiments or treats as desired.
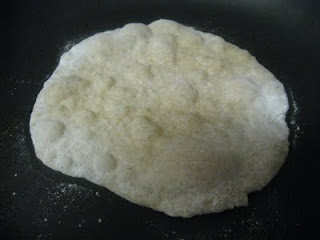
This is a QUICK method of bread-baking, with some caveats. Hands-on time is definitely minimal: 5 minutes a day or less as the title indicates. However, there is a LOT of resting and rising time, especially if you want to make loaf bread (flatbreads do not require the resting time, which is why I’ll make a foccaccia or the like when I’m in a hurry). Plus, as I mentioned, it’s really best to make the dough the day before you need to bake it, so some planning ahead is involved.
It is super EASY, though. There is something of a learning curve, even if you’ve made bread before, and I will admit I’m still learning more about this process. But anyone can do it! I love that there is no kneading involved, which is often where many would-be bakers trip up.
What could be CHEAPer? When you omit the vital wheat gluten, the other ingredients are so basic that the cost is minimal. I even like to use more expensive flours (like white whole wheat), but it’s affordable enough that I make a batch at least twice a month, sometimes every week. And as a gift? Unbeatable!
In fact, I’ll break the entire gift down for you, so you can see how affordable it can be:
Basket (purchased used at thrift store): $0.50-$1.00
Tea Towel (purchased a package of 5 on sale and with a coupon at Hallmark for a total of about $2.50. Similar deals can likely be found at Bed Bath and Beyond): $0.50
Loaf of Bread: approximately $0.25
Jar of Jam: $2 or less
TOTAL: approximately $3.75
This is a great price to give acquaintances and people you want to acknowledge at Christmas time, but don’t have a large budget to spend on them. Teachers, party hostesses, hair stylists, mail deliverers, doctors, etc. all would love a homemade gift like this!
It is very HEALTHY, too. I’ve actually been reading in different places recently that some research suggests using half white and half whole wheat flour might be gentler on your digestive system than using strictly whole wheat. The jury’s still out on that one, but it makes me happy to hear, since that’s what I usually do! The book contains a recipe for an entirely whole wheat bread if that is what you are looking for, but I have to admit I’ve never tried it.


