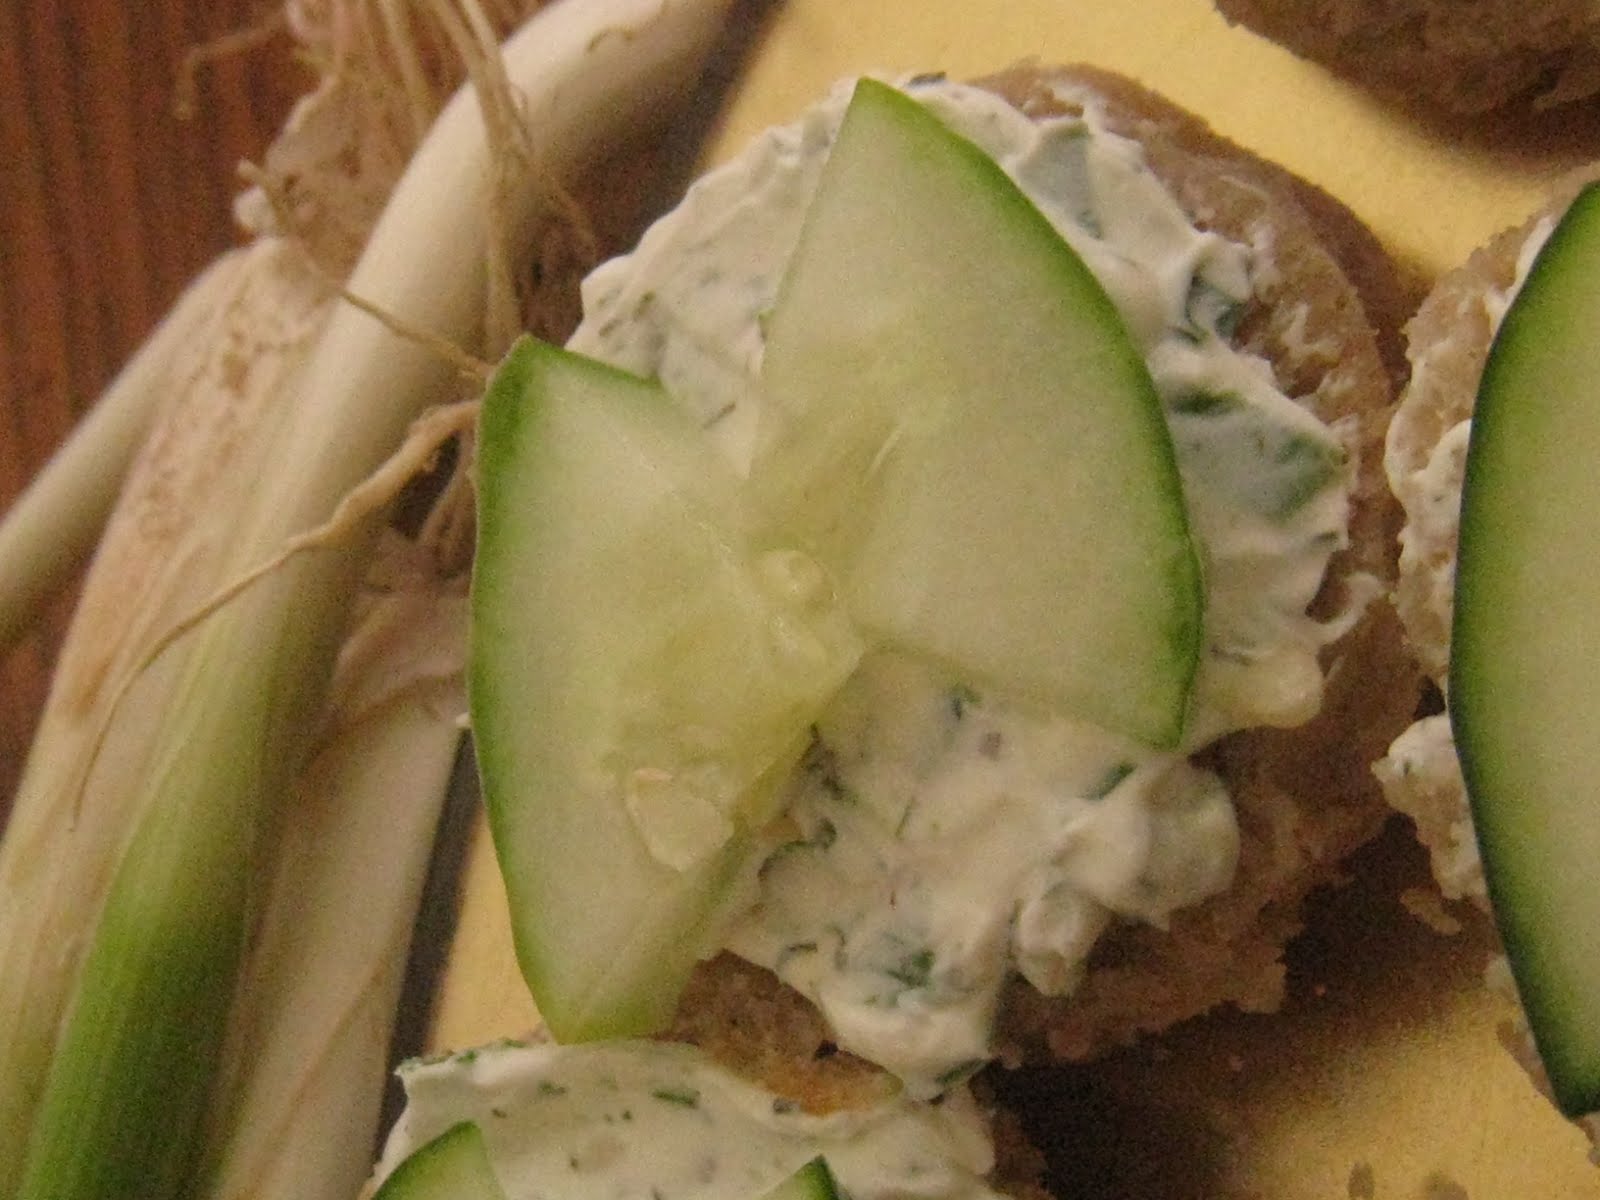
For my MIL and SIL’s birthday celebration, I wanted to have a menu that featured light, fresh foods that tasted like spring, whether or not the weather was cooperating. In fact, I really wanted to have a picnic, but the weather was definitely not cooperating with that dream!
Originally, my idea was to have chicken salad sandwiches, but when my batch of artisan bread dough uncharacteristically failed on me (or I failed it? one cannot exclude that possibility), I had to go to plan B. As often happens, plan B was even better than plan A and I should have just gone straight there in the first place.
This chicken salad actually surpassed all my expectations. I will admit I was a tiny bit apprehensive at the combination of ingredients (even though I was the one who came up with the combination, flinging things from the cupboard into the bowl with hardly a second thought), but my apprehensions were unfounded. After spending a day in the fridge getting to know one another better, those ingredients combined to create some pretty amazing results! Unfortunately, I meticulously wrote down every ingredient and the measurements I used on a scrap piece of paper… and in my efficiency, threw away said scrap piece of paper. *Sigh* This is my best approximation.
Crunchy Chicken Salad with Cilantro Vinaigrette
Vinaigrette:
1/4 cup fresh lime juice
zest from 1 lime
1 TBSP dried cilantro (or 1/4 cup fresh)
1 tsp ground cumin
1/2 tsp salt
dash paprika
freshly ground black pepper to taste
1/2 cup olive oil
Salad:
2 cups cubed cooked chicken
1/4 cup frozen or canned corn
1 stalk celery, finely chopped
2 TBSP dried cranberries
1 TBSP chopped almonds
1 TBSP sunflower seeds
For each serving:
1/2 cup baby lettuce (any kind or a variety)
1/4 cup chopped tomatoes
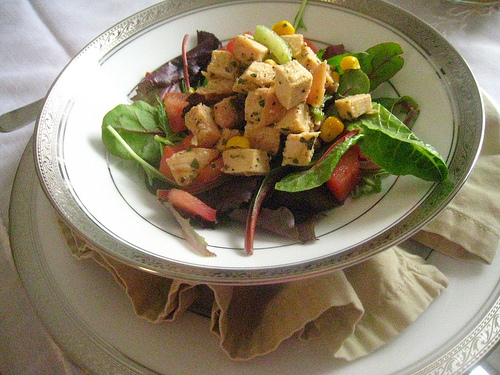
1 TBSP goat cheese or feta, crumbled (not pictured)
To make the vinaigrette, whisk together the lime juice, zest and spices in a small bowl. Continue whisking and pour olive oil in a slow stream. Whisk until well blended. In a large bowl, combine chicken and vegetables. Pour about 1/2 cup of vinaigrette over the salad and stir until coated. Refrigerate at least several hours or up to 24 hours. Assemble to serve: place lettuce leaves at bottom of bowl; top with tomatoes; scoop about 1/3 cup of chicken salad and place on top of tomatoes; sprinkle goat cheese over all.
If you have leftover or cooked chicken, this is a super QUICK recipe, perfect for a spring or summer weeknight dinner or lunch. It’s also, as you can see, perfect for entertaining as well, and sure to please your guests.
Pouring vinaigrette from a bottle might perhaps be EASY-er… but you have to admit this is pretty easy!
Overall, it’s very CHEAP, although I did have to buy the limes expressly for this salad. I’ve found that Trader Joe’s has the best price for limes, although now that I say that I can’t remember exactly what the price is! {ahem}
Alot of chicken salads have gobs of mayonnaise, or worse, Miracle Whip, but not this one. Instead, it’s chock full of nutritious, wholesome and HEALTHY ingredients and provides a wide range of nutrients, including healthy fats, fiber, and vitamins like vitamin C.
Sharing at The Local Cook’s Salad Recipes Link-Up and…