 Every now and then, I like to pull out all the stops and make a really elegant, really delicious, really impressive dessert. What better time than Christmas? Last year, I made this traditional Christmas cake for the first time, and while it was complicated, time-consuming, and expensive, it was worth every bit. We had guests over this past Sunday, which was the perfect excuse for me to take the time and effort to bake this gorgeous cake again.
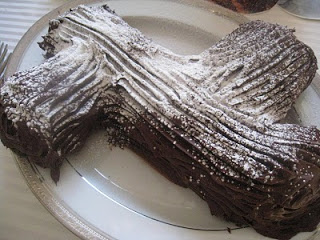
Not only is it a beauty, it tastes so good. The cake itself is light and airy, the filling is creamy, and the frosting just melts in your mouth. The main flavor is chocolate, but there are also hints of orange. If you’re having guests for Christmas dinner, that would be the perfect opportunity to create this Buche de Noel.
The original recipe was in the December 2008 edition of All You magazine, and you can find it here. I didn’t really change anything, so I will leave the recipe at that, but here is a pictoral guide to go along with the directions:
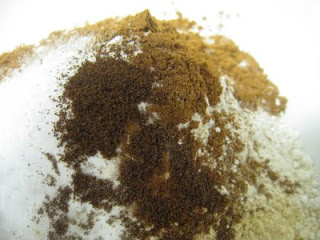
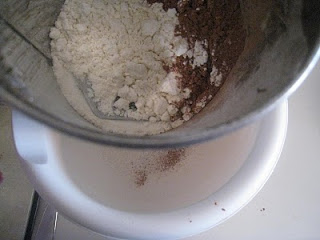
The recipe calls for sifting together the cocoa and flour, which means you need to measure first and then sift. (If the recipe had called for 1/2 cup sifted flour, you would have to measure after sifting. Just in case you were ever confused about the whole sifting thing, like I used to be.)
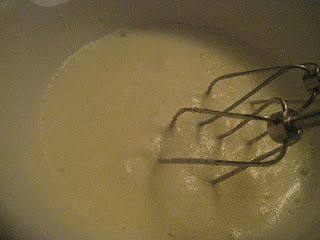
 Beat the egg whites until they’re fluffy, like this:
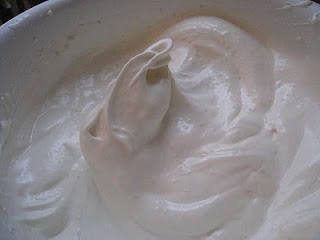
Then, add the sugar and beat them until they’re stiff and glossy, like this:
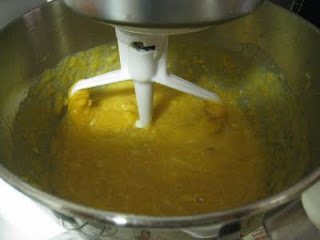
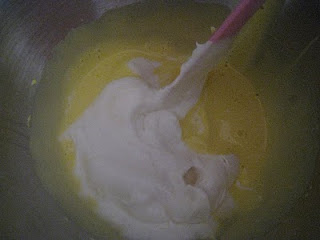
First, fold in just a portion of the egg whites with the beaten egg yolk mixture. Be very gentle, so as not to destroy all the hard work of beating those egg whites!
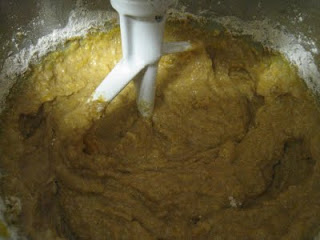
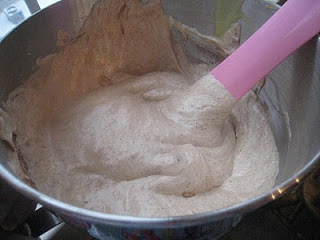
 Gently fold in remaining ingredients, being very careful not to overmix. You’ll have a nice fluffy, light brown batter:
The recipe suggests using parchment paper on the baking sheet, but if you don’t have it, you can use wax paper instead. It’s very important, though, to grease both the pan and the surface of the wax paper liberally so the cake will not stick.
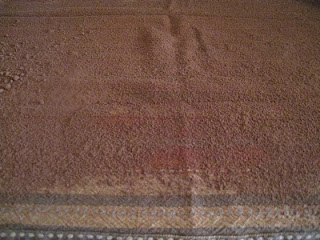
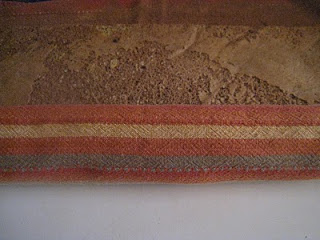
While the cake is baking, prep an old towel (you won’t be able to use it once we’re done with it here, so make sure it’s not a dear and near one) by sifting cocoa liberally all over it:
 When the cake is finished baking, flip it over onto the powdered towel, and carefully (very carefully) remove the parchment paper or waxed paper backing. Starting on the long side of the towel, roll the cake and the towel up together. This step is important because it allows the cake to cool in a spiral position so it will maintain that position when you assemble the cake. Also, using a towel allows it to breathe so moisture does not collect and make it damp and gummy.
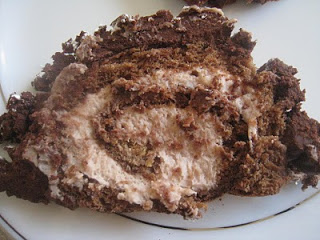
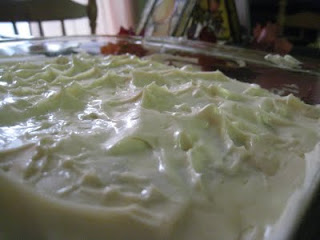
After letting the cake set for a while, remove the towel, and spread the filling all over the surface of the cake. Roll it back up (this time without the towel!) and place seam-side down on your serving platter. You may want to slide some pieces of wax paper under the edges of the cake so you don’t mess up your platter (I forgot to do that this time, and I regretted it.).
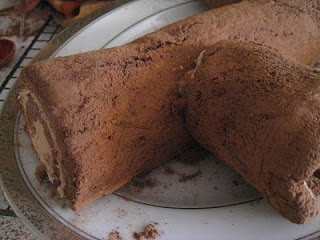
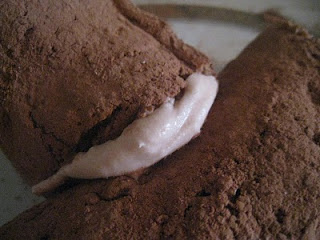
Cut about 3 inches off each end of the log and attach it to opposite of the log with some of the filling:
Here’s a close-up:
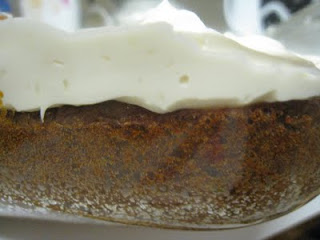
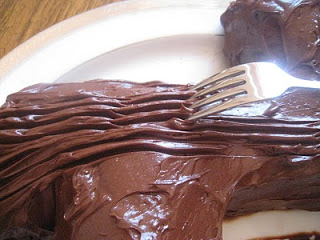
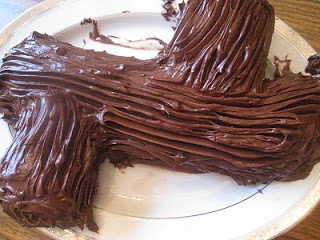
Cover the whole log with the frosting. Use a fork to create the look of bark:
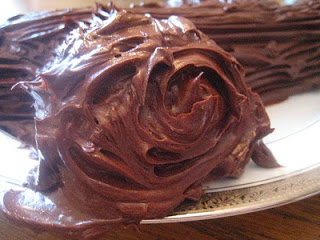
On the ends, use a circular motion with the fork to imitate the rings:
 This is what it should look like, more or less:
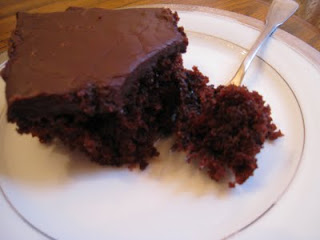
Keep it in the refrigerator, but be sure to remove it at least an hour before serving. I like to sprinkle mine with powdered sugar to resemble a dusting of snow.
This recipe is not QUICK.
This recipe is not EASY.
This recipes is not CHEAP.
This recipe is not HEALTHY.
Just so we’re all clear on that.