Canning - It’s Not What You Think!

Does the whole idea of canning scare you? Or do you feel like it’s just time-consuming? Or perhaps you think you just don’t have the skills necessary to can successfully.

A few years ago, that’s exactly how I felt: scared, apprehensive, and unsure about the whole concept of preserving at home by canning. But I took a deep breath, jumped in and started… and found, to my surprise, that canning was not at all what I thought it was!

If you’re still hesitant to experiment with canning, read my guest post today at Keeper of the Home that will reassure you about the ease and safety (not to mention the expense) of canning.

And be sure to come back on Thursday, because I’m going to have a nice little giveaway featuring one of the products I mention in that post!

Sharing at Works for Me Wednesday, Women Living Well Wednesday, Titus 2sDay, Allergy Free Wednesday, Whole Foods Wednesday,Traditional Tuesday, Real Food Wednesday, Frugal Days Sustainable Ways, Healthy 2Day Wednesday

BundleoftheWeek.com, 5 eBooks for $7.40!

How to Get Canning Supplies for Cheap or Free

Around here, the growing season is just about to get off to a booming start. The threat of frost is typically gone by the beginning of May, and that’s around the same time the farmer’s markets start back up again, too. And you know what that means? It’s almost time to start canning, baby!

(Or you can dehydrate and freeze, too, but that’s another topic for another day.)

Remember the grasshoppers of the old ant and grasshopper fable? The ants worked hard all summer to store up food for the cold winter, while the grasshoppers played the day away. Guess who was hungry come the first winter storm? Yep, those lazy grasshoppers. I’m thinking those ants were on to something, so I’m gonna follow their example. After all, if I want local, nutritious produce throughout the winter months, it’s going to have to come from my pantry or freezer because around here, nothin’ but nothin’ grows mid-December to mid-March.

In the past, I’ve just kind of winged it (wung it?) come the growing season. I just picked up cans here and there, bought a few lids here and there, canned stuff as I had extras. This year, however, I’m going to be much more intentional about the whole process. I actually have a plan. (Why, yes, the earth is trembling! Whoa, people, she has a plan!)

Part of my plan is having adequate supplies on hand for canning enough jam, apple butter, and pickles to last until next year at this time. I almost made it this year, so I know I can do it. I just need a few more jars. And guess what? I’m going to get them for free. Or at least for super cheap. Here’s my simple 3-step process for procuring free jars:

1. Search on Swagbucks

Swagbucks is a search engine that randomly awards you points for searching the internet. I don’t know about you, but I probably do at least - at the very least - 10 internet searches a day. If I get points for even a quarter of those searches, it adds up! And it adds up quickly! Plus, I can do other tasks, like watch short videos, answer surveys, or lots of other options, and earn points that way, too.

2. Buy Amazon.com Gift Cards

What does Swagbucks have to do with canning jars, you ask? This: once I’ve accrued 450 Swagbucks points (and this takes a couple weeks or less), I can redeem them for a $5 gift card to Amazon.com. I bet you can guess where this is leading.

3. Buy Canning Jars on Amazon.

With just 2 Amazon gift cards, I can purchase a case of 12 Jarden half-pint jelly jars. With 3 $5 gift cards, I can get a case of 12 Ball 16oz jars (and free shipping with Prime!). A case of 12 Ball 1-qt jars will set me back 4 $5 gift cards… but imagine all the pickles I could pack into one of those babies!

So there you have it… my cheapskate plan for acquiring all the necessary canning jars at little to no cost for me! I’ve actually already bought one set of half-pint jelly jars in this way, and I have a few gift cards lined up to purchase more. If you want to try your hand at canning, too, but can’t afford to buy all the supplies new, I have a few more suggestions on how to acquire them for nothing (or next to nothing).

Ask Around!

Last year, my mother-in-law very kindly gave me a whole bunch of used jars that she didn’t need. You never know who might have a collection of jars waiting for a new home! A couple things to keep in mind:

  1. Only use jars designed for canning. Store-bought jars are not guaranteed to survive the pressures of canning, and it’s not safe to attempt to use them. You need actual canning jars (the most common companies are Ball, Mason, and Jarden).
  2. Canning jars can be re-used, but inspect them carefully for nicks, chips and cracks. Discard any jars that are disfigured in any way, as they are not safe for canning.
  3. Do not re-use seals (the flat part of the lid that seals to the jar). Those must always be discarded after one use. A box of new seals will only cost you one $5 Amazon.com gift card! You can use the bands (the part that screws onto the jar) over and over again, as long as they are not bent or misshapen, and as long as they are not rusted. Eventually, they will bend or rust, and then they’ll need to be retired from active canning service.
  4. Canning pots and canning utensils can be re-used indefinitely without any danger.

Beg, Borrow, but Don’t Steal

If you know someone who cans (or used to), ask them nicely if you can borrow their equipment. You’ll still have to get your own jars, since they’ll probably want to use their own supply, but the pot and other utensils are easily borrowed for a day or two. Or suggest a canning party, and work together with your friend(s) to can a winter’s worth of food for everybody in one day!

Get Thrifty

Scour thrift stores and yard sales for second-hand canning equipment and jars, following the advice to ensure good quality. This is how I bought my canning pot and rack last year! Some people also have good success finding usable canning jars at second hand stores, but I’ve never had such luck. I’ve also found some great books with detailed canning and preserving instructions at thrift stores - those have been invaluable to me!

Do Without

Some things are absolutely essential when it comes to canning, like the jars and lids. Some things are really helpful, but not 100% essential. For example, I canned successfully for a couple years without a proper canning pot; I just used my large stock pot and put a towel in the bottom where I set the jars. It wasn’t a great method and I was really happy to find the canning pot and rack last year… but it worked! If you’re on a super tight budget, it can be done. Regarding other canning supplies, a funnel is very helpful when it comes to jam and sauces, but it’s not necessary for things like pickles. The magnetic lid-lifter is pretty affordable, but once again, not absolutely necessary. You really do need special canning tongs for lifting jars in and out of the hot water; otherwise that can be a pretty scary business.
Where do you get your canning supplies?
This post contains affiliate links.

Linking to:

Pennywise Platter

Simple Lives Thursday

Frugal Days, Sustainable Ways

Frugal Friday

BundleoftheWeek.com, 5 eBooks for $7.40!

The Best Use for All those Apples in Season Now!

homemade apple butter

If your farmer’s market looks anything like mine, it’s apples galore. Every farmer has baskets full of apples, all kinds, just ready to be snapped up and turned into all kinds of delicacies like pie, sauce, crisp, cake, and butter.

Oh yes, apple butter.

This is the first year that I actually attempted apple butter. I’ve made plenty of apple sauce over the years, but I never took the extra step and turned it into butter. For one thing, every recipe made it sound like it took for. ev. er. to make, on top of which most recipes I saw called for lots of sugar. I wasn’t really interested in either of those things.

But oh my, I do love apple butter.

apple butter

So this year, with all the glut of apples at my farmers’ market, I determined I was going to try my hand at it. Naturally, the whole process started with an intensive online search for an apple butter recipe! Unfortunately, most of the recipes I found required equipment I don’t have (food mill), lots and lots of sugar (as much as 1 cup per pound), or a lengthy list of ingredients, including random stuff I don’t usually have on hand (star anise, anyone?).

I stumbled across a promising one at Martha Stewart.com, though, which appealed to me because it seemed like the easiest way to get from Point A (fresh apples) to Point B (apple butter). I also liked that it included pears in the recipe, because I happened to have some pears also that needed to be eaten before they went bad.

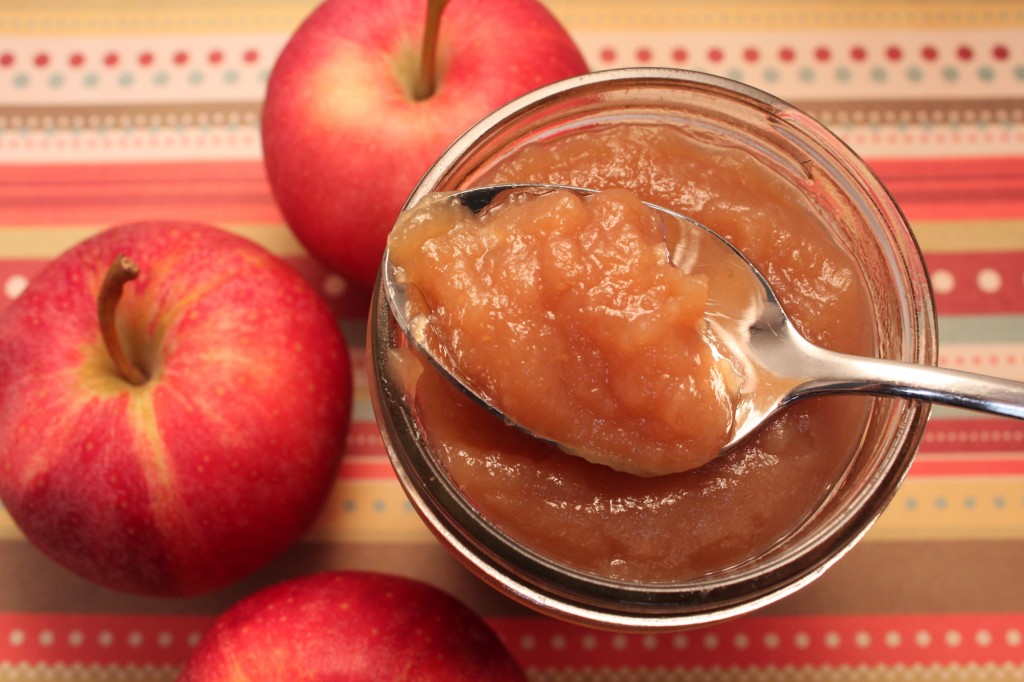
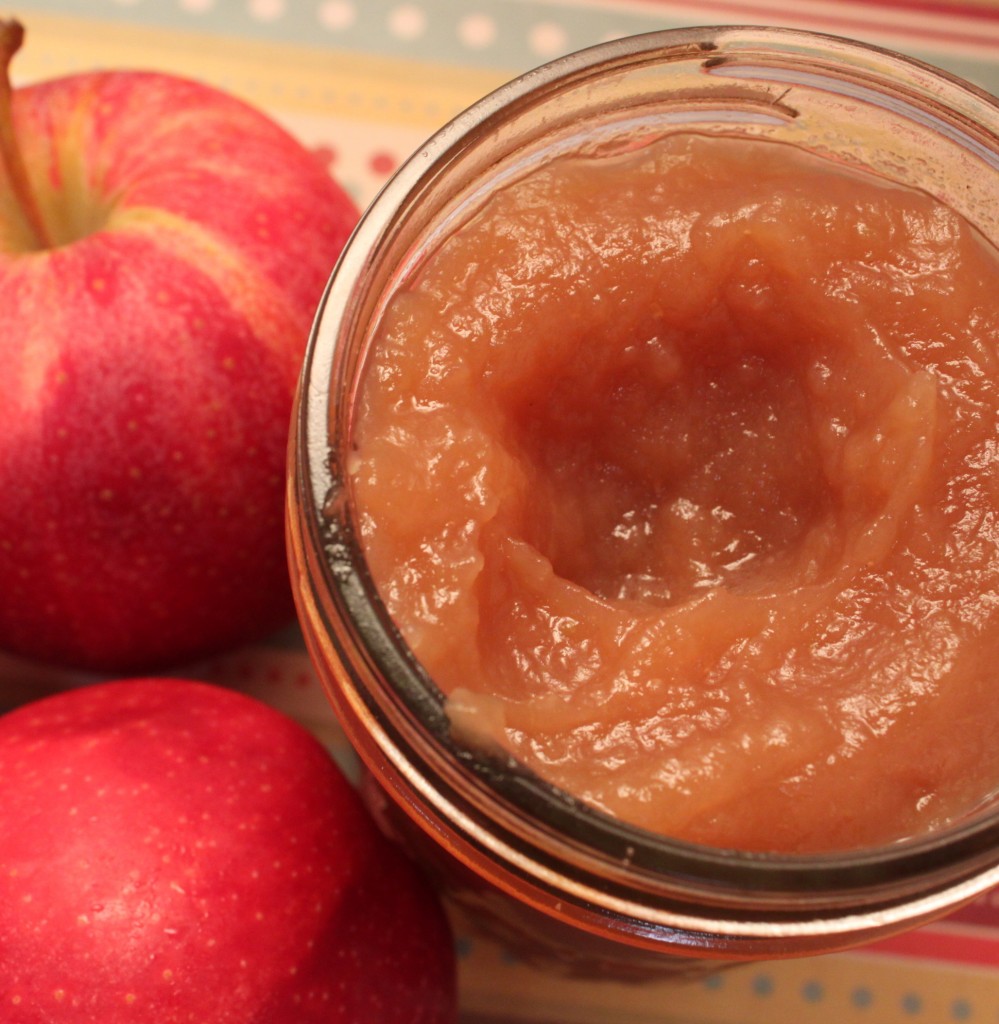
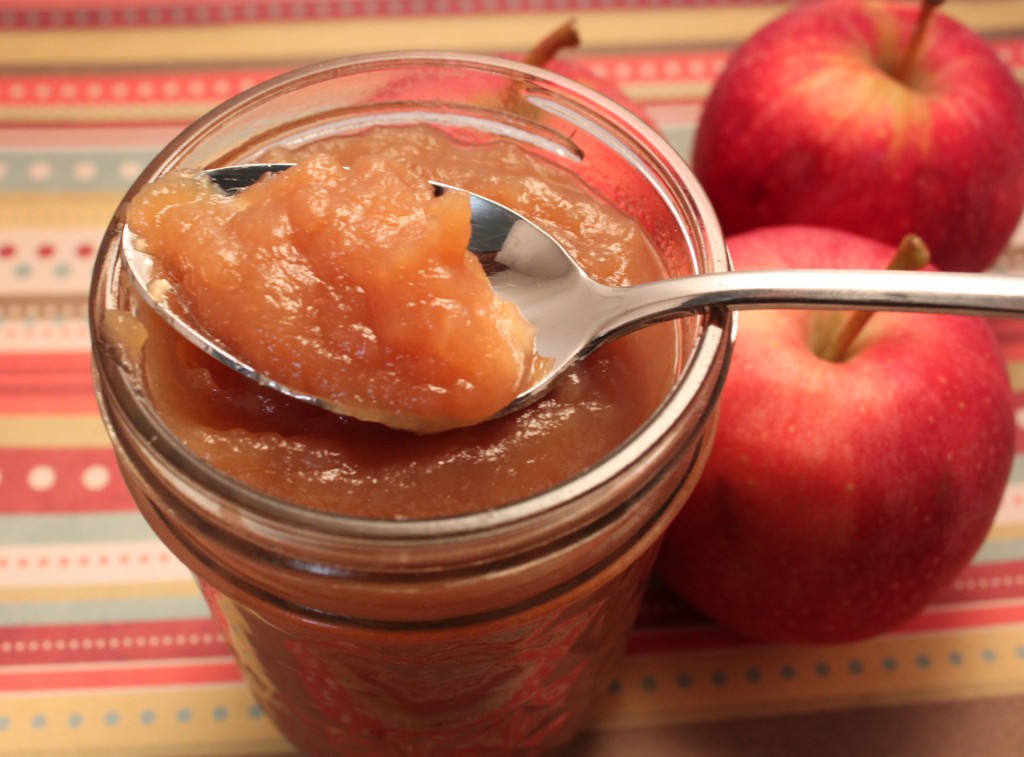
So here you go! I did all the research for you, and now you have the simplest apple butter recipe that you can make in your slow cooker all day while you’re busy with other things. You can even do it in phases: make it as far as the apple sauce stage, then finish it off into apple butter the following day.

And um, yeah, it’s delicious.

apple butter

apple butter

Note: It is very important to uncover the apple butter, or at least leave the lid vented, for the last half of the cooking process! Don’t neglect that little detail, or you will not have apple butter in the end.

Do feel free to substitute pears for at least some of the apples. Also experiment with additional spices and seasonings to your taste.

My favorite reference for canning, pickyourown.org, says that the sugar does not play a role in the preservation of the apple butter, so you can add as little or as much as you want to your taste. I found that 1/2 cup was plenty, but if you have tart apples or are used to sweeter apple butter, you may want to increase that amount. Next time, I think I might experiment with honey or apple juice instead of sugar.

So it’s not as QUICK as jam, which cooks up on the stove-top in no time at all. But if you have a food processor to do the grating of the apples (which I, alas, do not at the moment), it takes no time at all to prep for the slow cooker, and then the appliance does all the work while you can be busy with other things.

Again, if you have a food processor, it’s definitely the EASY-est apple butter recipe I found in all the recipes I researched.

Making your own apple butter, especially this time of year, is significantly CHEAPer than buying it. This recipe will make approximately 4 half-pint jars for the cost of 1 tote bag of apples ($4.00 at my farmers’ market). I’ve seen jars of low-sugar or unsweetened apple butter for as much as $5, so this is a definite savings!

When you can control the amount of sugar (and use organic or local apples), it makes the finished product so much HEALTHY-er! It’s not as healthy as biting into a fresh apple, of course, but if you’re going to have apple butter, this is the healthiest way to enjoy it.

Check out Tastetastic Thursday for more great recipes!


Miz Helen’s Country Cottage

BundleoftheWeek.com, 5 eBooks for $7.40!

Pickles 3 Ways: Fresh Pack Canned Pickles

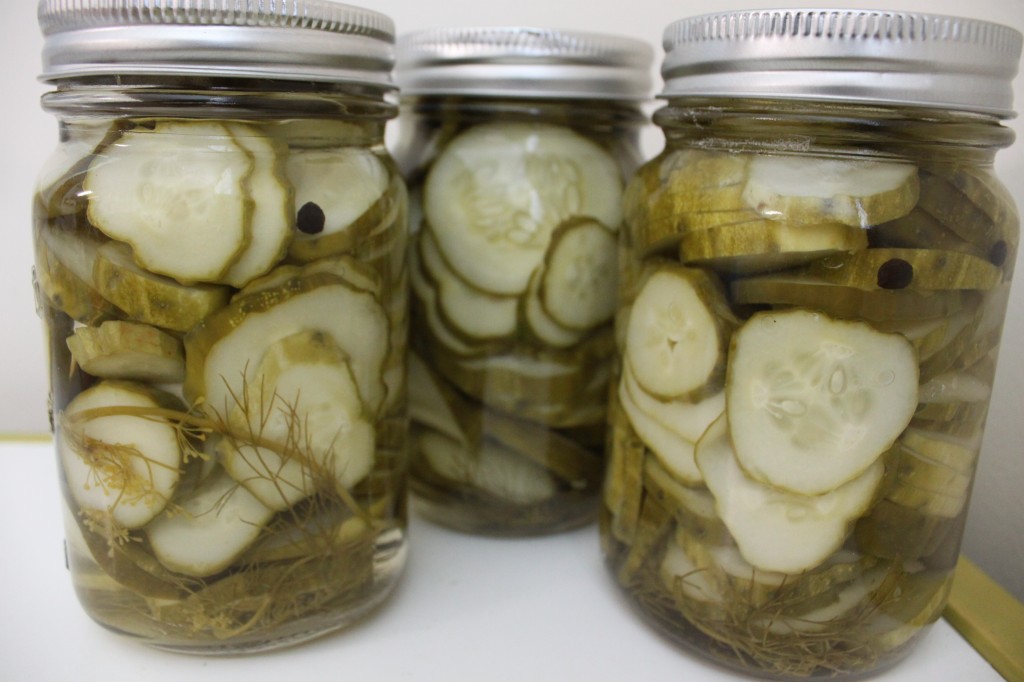
Canned pickles are the first kind that I attempted, and I was pleasantly surprised at how easy they were. In fact, I’ve discovered in the past few years that canning in general is not as great a mystery or even as overwhelming an undertaking as it always seemed to be. It’s quite simple and can be done with the most basic equipment. And it doesn’t take a whole lot of time, especially if you’re working in small batches, like I usually do.

Of the 3 pickling methods I’m describing, canned pickles last the longest, so are the best for long-term storage. In terms of taste and texture, unfortunately, they’re my least favorite. However, when you stack them up against store-bought pickles, they still win in the taste department, so it’s still worth it to can them if you want pickles to last through the winter.

As with any canning endeavor, a little prep is essential. Before you can start pickling, you need to get your equipment ready:

Sterilize the jars and lids.

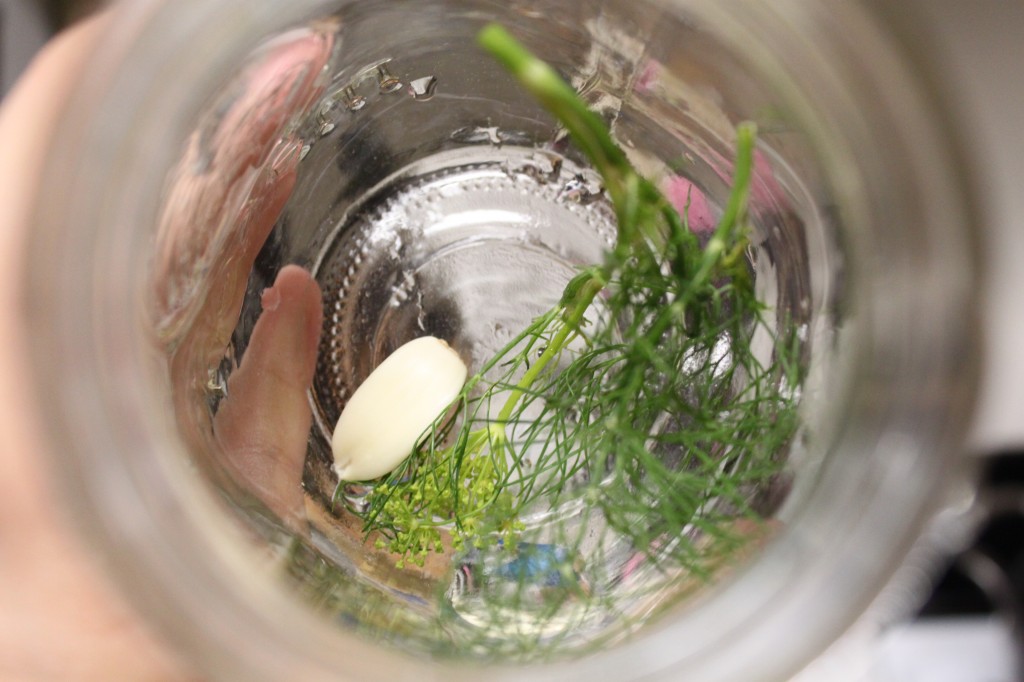
I like to use pint-size jars, because they fit in my stock pot for processing, and because we don’t go through pickles fast enough to warrant a larger jar. You can use any size you want, of course, but before you use them, you do need to be sure they are sterilized. You can run them through the dishwasher, but if your dishwasher is like mine, it is never empty! I usually set them in a pot of water and bring it to a slow boil. I do the same thing with the lids, but in a small pot; and I don’t boil them, just simmer gently.

Bring a large pot of water to boil.

This is the processing “bath”. If you have a canning pot, it’s useful, but right now I’m just using a plain old stock pot. I do put a hot pad in the bottom to provide a surface for the jars, but it’s kind of a pain.

Get your supplies ready.

The funnel and jar grabber in this canning kit are incredibly useful, and should be at the ready near the stove.

Prep your cukes.

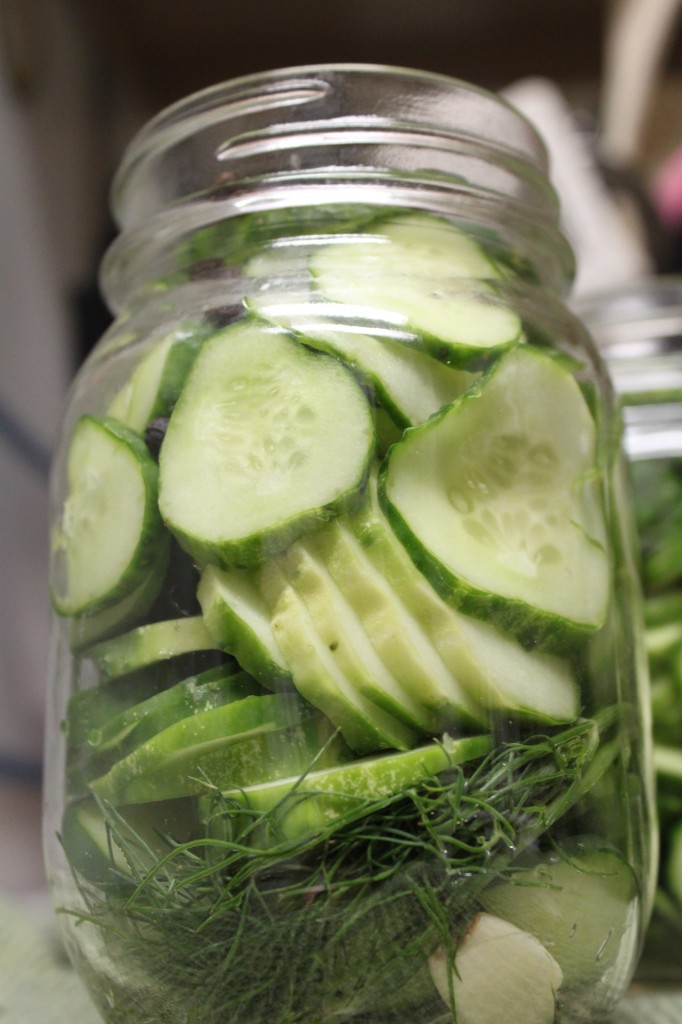
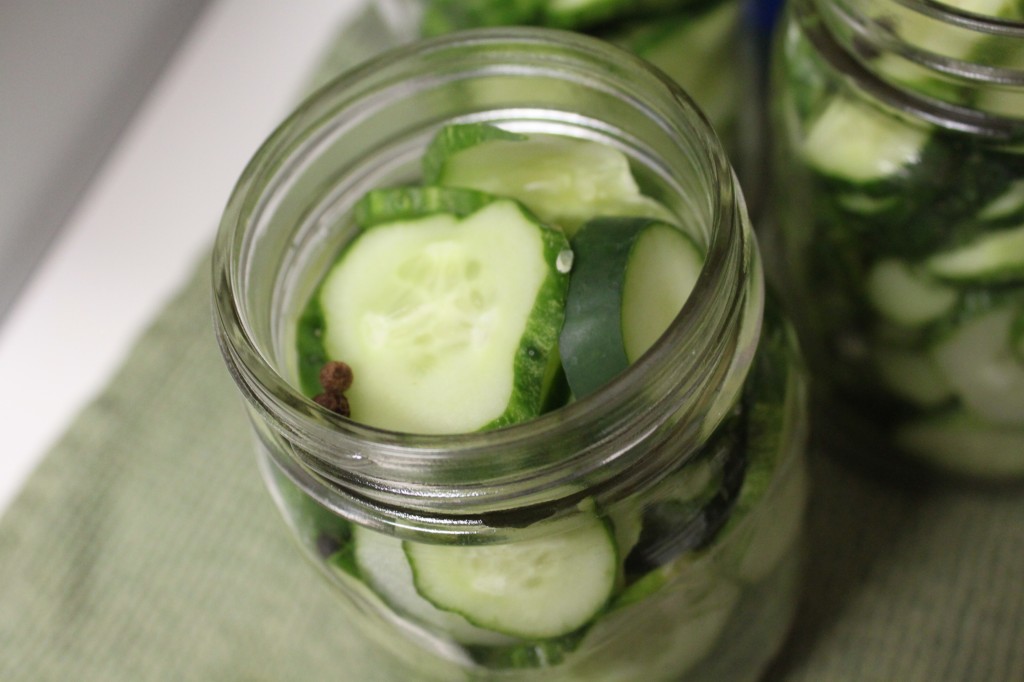
It goes without saying that they should be thoroughly washed (I like to soak mine for a little bit.). Then you need to slice off the ends. After that, you can leave them whole, slice them into “spears” or rounds or whatever you want. The brine in the recipe below is enough to fill 6 or 7 quart jars, and each quart jar will fit 5-8 pickling cucumbers, so that will give you an indication of how many cucumbers you will need (or adjust brine amounts accordingly).


Now you’re ready to do some pickling!

I guess the whole process takes about an hour, depending on how many cucumbers you have and if you slice them or not, and in my opinion that’s pretty QUICK for a winter’s supply of pickles!
Pickles are one of the EASY-est things to can, as well, as there really isn’t any cooking involved.

I paid $10 for a 1/2 peck of pickling cucumbers, and $3 for the dill plants, plus $0.50 for the garlic. From that, I got 5 pint jars of canned pickles, 3 jars of refrigerator pickles, and I would have had several more jars of freezer pickles… but that’s a story for another day. My point being that I paid a little over a $1 for each jar of pickles, which is really CHEAP, especially considering I canned them the day I got them from the farmer’s market. That is about how much I’m willing to pay for store-bought pickles, and the quality - and taste - of homemade is infinitely better.

These are pretty HEALTHY. Of the 3 methods I tried, canning is probably the healthiest because it doesn’t use any sugar at all. However, there is a fermented method that would be even more nutritious, and if I can adequately get my nerve up, I might try it some time.

Have you ever pickled cucumbers? Have you ever tried the fermented (crock) method?
Read all the posts in this series:

Pickling 101

Fresh Pack Canned Pickles

Refrigerator Pickles

Freezer Pickles


BundleoftheWeek.com, 5 eBooks for $7.40!

Pickles 3 Ways: Pickles 101

Check out the links at Eat Local Eat Fresh... and add your own!

It only seems appropriate that I follow up Ice Cream Week with a series on pickles…. they go together so well, after all! Or at least so the old joke goes; I wouldn’t know, having never tried them together myself. And no, by the way, I am not pregnant. Just in case you are curious.

And before I go any further, I should probably make it plain that when I say “pickles” I mean dill pickles”. I cannot stand bread-and-butter pickles, so if anybody wants to read about them on my blog, they will have to do a guest post for me because those things are not going to pass through my kitchen. Just sayin.

Last year was my first attempt at making pickles, and I didn’t blog about it because I was very unsure of myself and the whole process. One year later, I’m convinced: making pickles is easy as pie. Easier, actually, because you know how tricky pie crust can be at times. AND homemade pickles are much better than store-bought, guaranteed, hands down, no question. I made probably 4 or 5 jars last year, and we enjoyed each and every one tremendously, and I was very sad when I had to resort once again to Vlasic and Mt. Olive.

This year, I was able to get a great deal on pickling cucumbers at the farmer’s market and I had to deal with them immediately, but I didn’t have enough canning jars for all of them, so I branched out and made refrigerator and freezer pickles as well. You get the benefit of my excess pickling adventure because now I can compare the 3 methods in light of my QECH philosophy and help you decide which way to go.

First, though, let’s talk about pickling in general. Each of the 3 methods has some things in common: No matter which method you choose, pickles are made by soaking sliced or whole cucumbers in a brine seasoned with dill and garlic.

I chose the Fresh Pack (canning) method first, followed by Refrigerator andFreezer. There’s also the fermented kind, which is called a few different names depending on where you’re reading about it, but I haven’t been brave enough to try it yet (although I believe it’s probably the healthiest of methods).

The ingredients for basic dill pickles - whether you can, refrigerate or freeze them - are basically the same.

Cucumbers

You will need pickling cucumbers, which are currently widely available in my area at farmer’s markets. Typical cucumbers are too large, and have too many seeds, which you don’t really want in your pickles. Pickling cucumbers are small, and should be dark and firm. If they are light colored and feel soft anywhere, they’re too ripe and won’t result in crispy pickles. Ideally, they should also have lots of warts.

Vinegar

Vinegar is part of the brine used to soak the cucumbers. Plain old regular 5% vinegar does the trick.

Salt

Regular table salt is not going to cut it for pickles, because of the iodine and anti-caking agents, which will do funny things to your pickles. Most experts recommend purchasing salt made especially for pickling - called, ironically, pickling salt - but I just can’t bear to spend extra money on an ingredient with only one use if another multi-tasking ingredient will do. The experts are divided, but plenty of people say that sea salt is just as good as pickling salt, so that is what I use, and I’ve been happy with the results. (Side note: you should be using sea salt instead of regular old table salt anyway.)

Dill Weed

You will need some fresh dill weed for the best flavor. I actually bought 3 little dill plants at my farmer’s market the day I made my pickles, which was just perfect timing. If the dill is starting to flower, so much the better!

Garlic

Garlic cloves add so much essential flavor to pickles, you really can’t make them without it. Just plain old garlic cloves will work well.

Black Pepper

I like to add black peppercorns to my pickles, too, but not everyone does, so this ingredient is optional.

Sugar

Sugar is essential to the refrigerator and freezer methods, unfortunately. It’s just part of the preservation process. I used my regular raw sugar that I use for everything, and it worked well.

Come back tomorrow to learn all about fresh-pack canned pickles!

Have you ever made pickles? What method/ingredients do you use?

Read all the posts in this series:

Pickling 101

Fresh Pack Canned Pickles

Refrigerator Pickles

Freezer Pickles


BundleoftheWeek.com, 5 eBooks for $7.40!