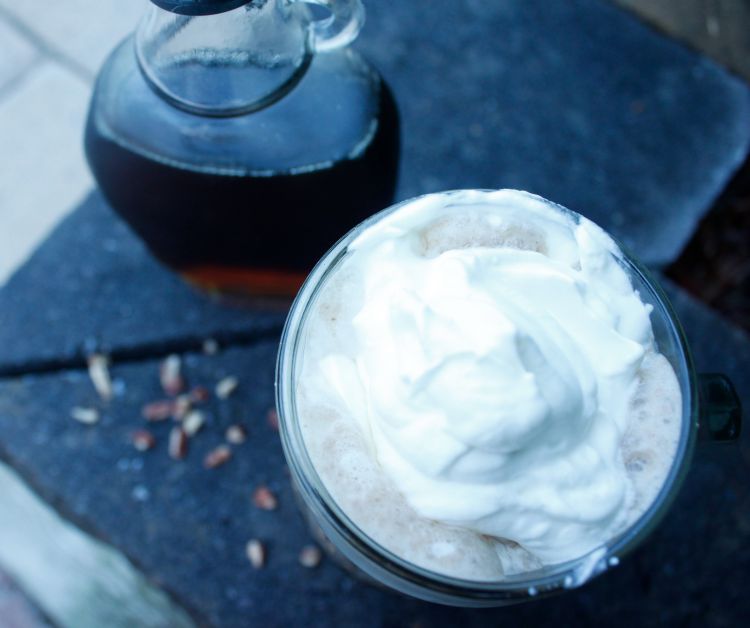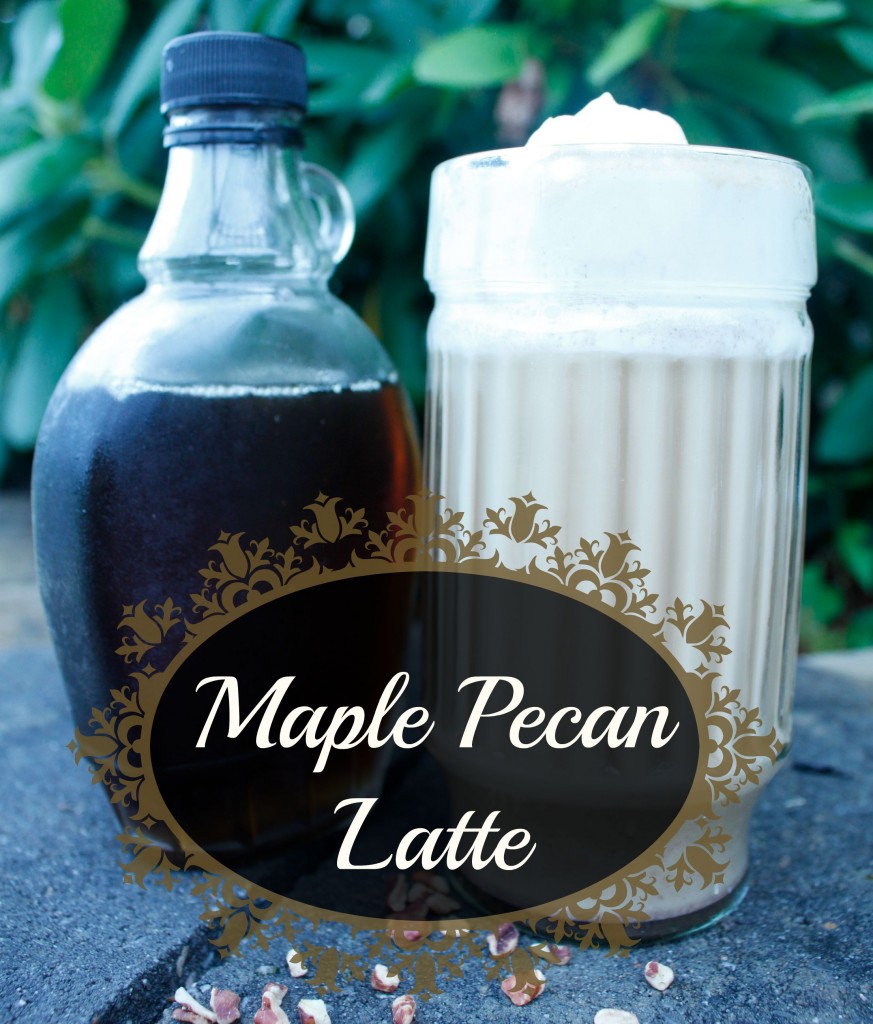
DIY Coffee Shop Drink: Maple Pecan Latte

Maple Pecan Latte #diycoffeeshop #natural #norefinedsugarI have a serious confession to make.

*Deep breath.*

Ok. Here goes.

The truth is. I’m addicted to fancy coffee shop coffee.

{insert shocked emoticon}

I know, right? The fact that it’s crazy expensive and that I would never consider spending that much money on anything else so trivial and transient does not deter me. The fact that it’s hardly good for me does not deter me. The fact that it doesn’t satisfy me as much as I think it will does not deter me. NOTHING deters me!

So I put myself on a coffee shop fast. I did it earlier this year in January, and it actually really helped! But then I fell off the wagon and I’m back to my usual tricks again.

{insert tragically sad emoticon}

So another coffee shop fast for me.

Thank goodness I have this amazing little diy coffee shop trick up my sleeve. It makes withdrawal so much easier.

Maple Pecan Latte #diycoffeeshop #natural #norefinedsugar

Maple Pecan Latte #diycoffeeshop #natural #norefinedsugarAre you also addicted to coffee shop drinks? Try my other DIY Coffee Drink recipes:

Chocolate Orange Coffee #diycoffeeshop

Chocolate Orange Coffee

Lavender Sy Lavender Iced Coffee #diycoff Lavender Iced Coffee #diycoffeeshop

Lavender Iced Coffee #diycoffeeshop


Cold Brewed Coffee #diycoffeeshop

Cold Brewed Coffee #diycoffeeshop

Brazilian Chocolate #diycoffeeshop

Brazilian Chocolate #diycoffeeshop


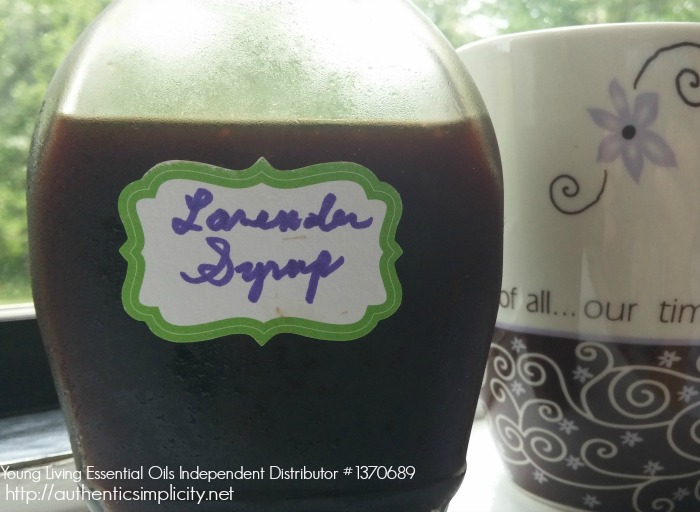
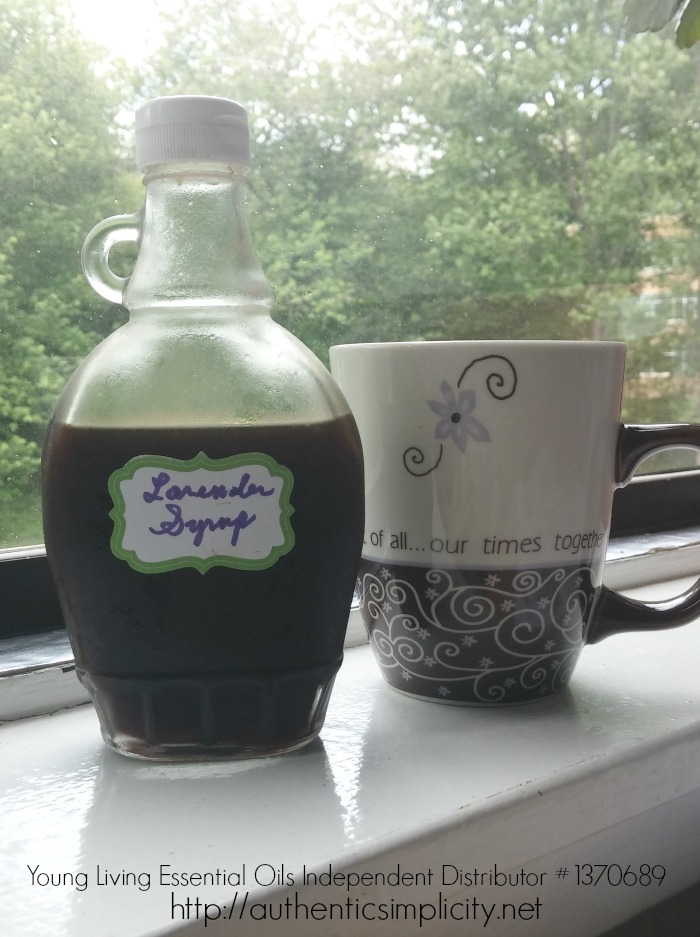
Lavender Syrup

Lavender Syrup  - 3 ingredients!  #yleo #essentialoilsI never ever would have considered lavender as a beverage flavoring were it not for a pleasant occasion a month ago or so when my sister and I went to a favorite coffee shop in Maryland, one we are rarely able to visit but enjoy very much. As we perused the lengthy menu board, the final item on the list caught my sister’s eye and she exclaimed that she *HAD* to try it.

What was that concoction she had to try? Lavender Iced Coffee.

Hmmm, I thought, unconvinced,but in the end, decided to follow my sister’s footsteps and give it a try. It sounded refreshing, and didn’t seem like it would be too horrible, plus I love to try new things.

A Refreshing New Twist

Word. It was amazing. Refreshing, yes! Also, quite delicious and crave-worthy. In a remarkable turn of events, however, I completely forgot about it once I got home and only remembered it when I was trying to brainstorm essential-oils-based refreshments for a class I was teaching.

In a flash of inspiration, I recalled the herbal goodness of the lavender iced coffee I had enjoyed, and realized it would be ridiculously easy to duplicate it by quickly boiling up a simple syrup and adding some lavender essential oil to it.

Easy peasy! And, of course, this versatile lavender syrup can be used for much more than coffee - splash it in lemonade, tea, punch, or anywhere else you’d like a dash of flavor.Lavender Syrup  - 3 ingredients!  #yleo #essentialoils

Recipe: Lavender Syrup

Summary: a refreshing flavored syrup you can add to hot and cold beverages

Ingredients

  • 1 cup sugar (I used coconut sugar)
  • 1 cup water
  • 3-4 drops lavender essential oil*

Instructions

  1. Combine water and sugar in a small saucepan. Stir and bring to a boil.
  2. Reduce heat and simmer for 10 minutes or so.
  3. Cool to room temperature and add lavender oil. Store bottled in the refrigerator.

*Most lavender oil available on the general market today is more than likely adulterated in one way or another. I only use Young Living lavender oil because I know that Young Living controls the process from planting the seed in the ground to putting the seal on the bottle, and I know there’s nothing in it but the best and finest lavender oil available!

Simple Hospitality: Host a Kaffeeklatsch

Some times I think we have the idea that hosting guests in our home has to be a big ordeal complete with written invitations (or at least an evite), a set of fine china, a sparkling clean home, and the perfect balance of dinner guests. And sometimes I think that our hours spent browsing on Pinterest have convinced us that no event is complete without handmade decor, cute-si-fied mason jars, and/or an assortment of creative, delicious, and - of course - uber-healthy treats for every dietary need possible.

Simple Hospitality

Forget all that stuff. That is not what hospitality is all about!

Hospitality is about people getting together, plain and simple. The setting doesn’t really matter - you don’t need to spend hours of time impressing your friends with either your millions… or your ability to create what looks like a million bucks out of nothing.

Sure, we all love good food, and I love a themed party as well as anybody! Cute decorations and creative touches make me smile and say “awww”. But really, when I host (or attend) a get-together of any kind, what I’m really looking for is good conversation and fun with other people. All that other stuff is auxiliary and completely unnecessary.

So if you’re not feeling up to scrubbing the house top-to-bottom, or if you don’t have a crafty bone in your body, or if the thought of cooking up a full-course meal for other folks makes you sick to your stomach… well, then, don’t. Don’t do all that stuff.

But do have other people over. One of the easiest ways to get some friends over to your house for a good time of conversation and fellowship is to have them over for coffee. The Germans even have a name for it - Kaffeeklatsch - so if you want to make it sound a little more exciting, then that’s what you can call it!

A Kaffeeklatsch is super simple, inexpensive, and enjoyed by just about everybody (even the non-coffee drinkers; I’ll get to that in a minute).

How to Host a Kaffeeklatsch

Here’s how I recently hosted a Kaffeeklatsch myself:

  • I invited my guests by text, Facebook message, and cell phone. No fancy-schmancy invitations needed!
  • I ran to Safeway (literally at the last minute) and picked up some coffee (Did you know, by the way, that Gevalia coffee is now available in grocery stores? It used to be mail-order only back in the day, but now it’s available to pick up any time! And it’s yummy stuff, so that’s what I got. Decaf for the sleepy folks who wanted to stay that way, and regular for the rest of us.)
  • While at Safeway, I also picked up some healthy-ish treats. Since this was a total impromptu gathering, I didn’t bother taking the time to make some truly healthy treats at home; I chose instead to compromise health for the sake of hospitality! So we had all-natural ice cream, Newman-O’s ginger creme cookies, dark chocolate with fruit and nuts, and some bake-at-home cookies from the Immaculate Baking Company (also all natural).
  • Once home, I set out the cookies and treats on trays, and got my French press ready to go.
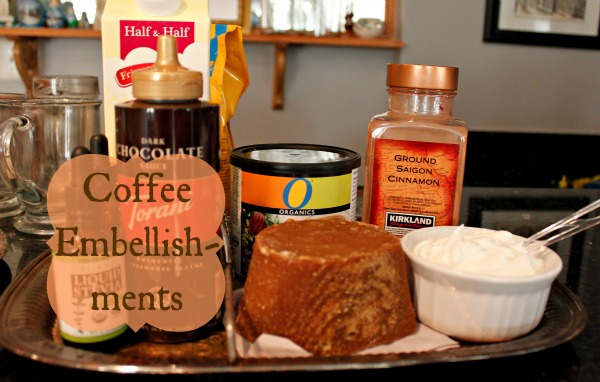
  • I also set out different kinds of sweetener (chocolate-flavored stevia, for one - yum!), some chocolate syrup (all natural again), real whipped cream, and cinnamon for my guests to dress up their coffee.
  • I also had some organic hot chocolate mix ready for friends who preferred not to drink coffee. And if I had any tea-drinking friends present, I would have set out some options for hot tea as well.
  • And we all sipped our coffee, nibbled our treats, and chit-chatted until it got dark!

That’s it, friend! All there is to it.

What’s your favorite easy hospitality?

I was selected for this opportunity as a member of Clever Girls Collective and the content and opinions expressed here are all my own.

Secret Recipe Club: Brazilian Chocolate

Brazilian Chocolate #diycoffeeshop

Welcome to the March edition of the Secret Recipe Club (Group A), the part of the show where the bloggers sing write about each others’ recipes (which they have secretly been testing on the sly).
My secret assignment this month was none other than our host for the week, The Heritage Cook. Jane, the heritage cook, is the one who keeps our Group A organized and ready to go every month. (Thanks, Jane!) Jane is passionate about eating local, organic and seasonal food, which appeals to me, as you can imagine. She has tons of recipes, and she knows what she’s talking about when it comes to the kitchen, so go check out her blog and be inspired!

My absolute favorite feature over at The Heritage Cook is Chocolate Mondays! Monday is bad, but Chocolate Monday? Good. Very very good.

So of course, I had to choose one of her delicious chocolate recipes; I simply had no choice! One of her more recent Chocolate Monday posts caught my eye because it featured not one, not two, but three chocolate drink recipes! You could take your pick of Orange Chocolate Ice Cream Shake, Copacabana Milkshake, and Brazilian Chocolate Drink.

Brazilian Chocolate #diycoffeeshopI went with the Brazilian Chocolate drink because:

  • It was hot and I was cold.
  • The other two had ice cream. I was cold.
  • And I didn’t have any ice cream.
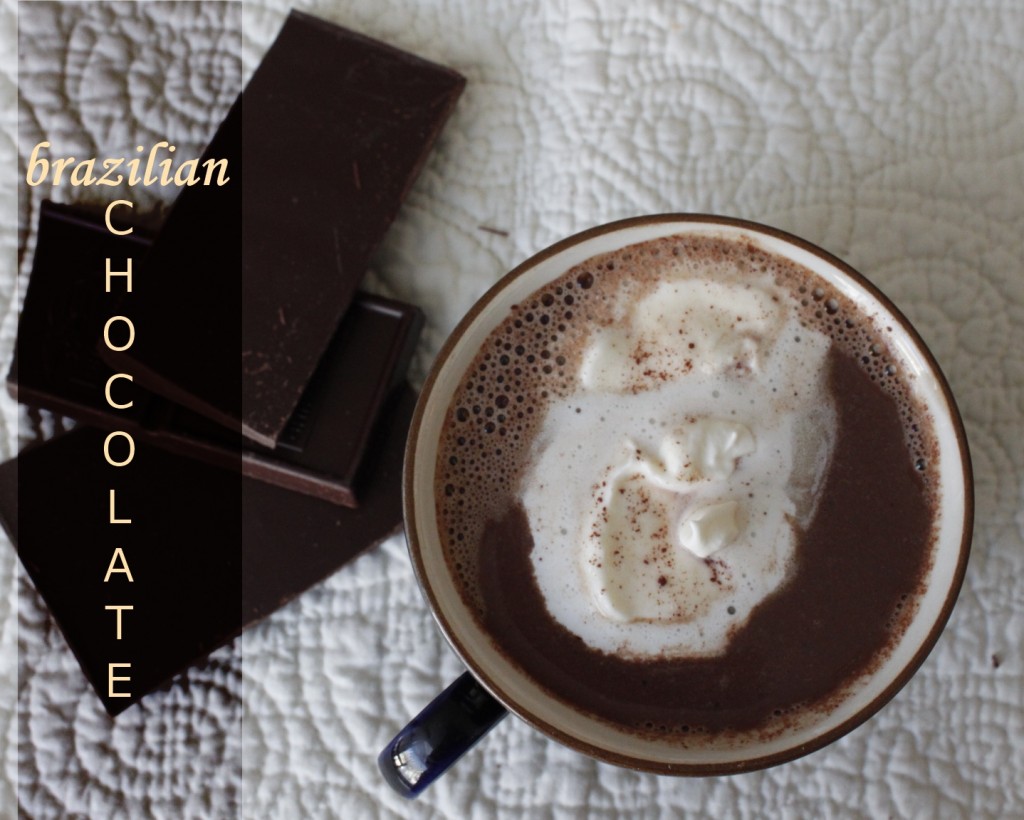
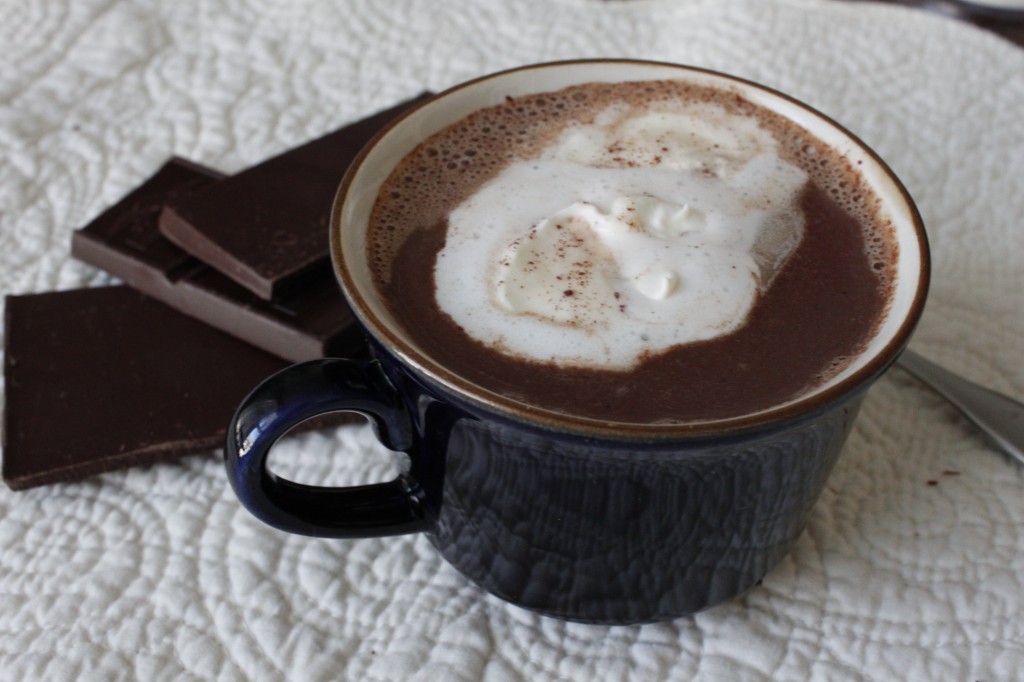
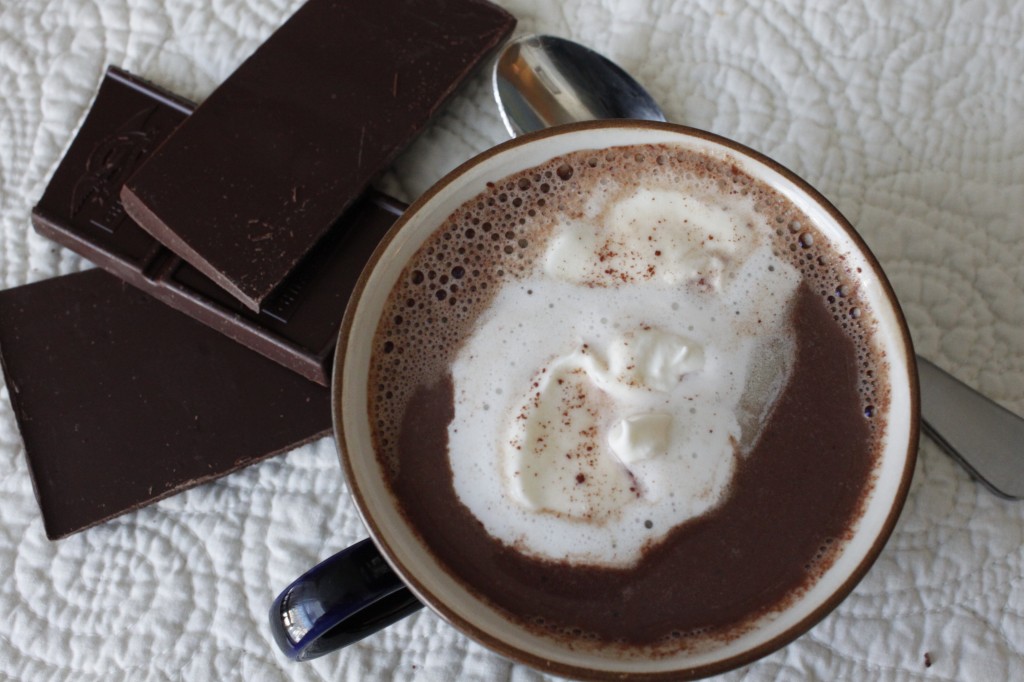
Excellent choice, if I do say so myself! Brazilian Chocolate is kind of like a mocha in reverse: instead of a little bit of chocolate added to coffee, it’s a little bit of coffee added to chocolate. Either way works for me - those two are a match made in heaven! - but I think this Brazilian Chocolate drink would probably appeal even to die-hard coffee haters. The addition of strong coffee doesn’t really add any extra flavor, but it does bring out the chocolate flavor in a delicious way.
Really, the only change I made to the recipe was that I scaled it down for an individual serving. Sadly, my DH does not share my obsession with either chocolate or coffee, and my Certain Little Someone is allergic to milk. Baby Boy is too young for chocolate and coffee. So I just made one little delicious cup all for me. Ahhhhhh…
Oh, and the original recipe does not specify what kind of chocolate to use, but all I had was semi-sweet, so that’s what I used. If you use darker chocolate, you may need to add a bit more sugar or other sweetener.
Brazilian Chocolate #diycoffeeshop


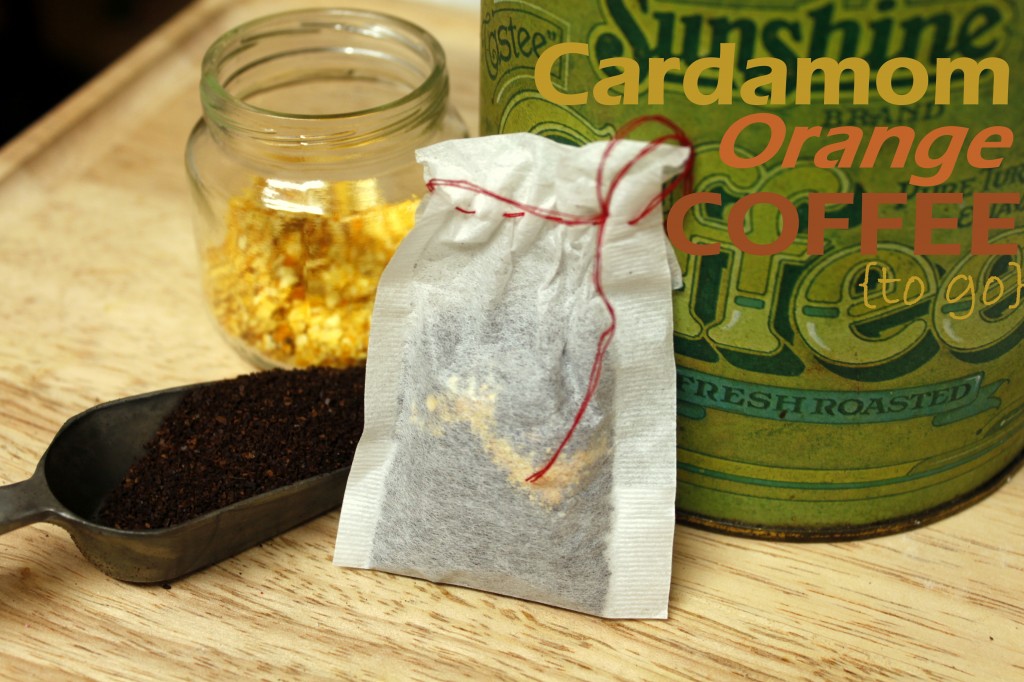
Gifts from the Kitchen: Cardamom-Orange Coffee {To Go}

cardamom orange coffee to go

My friend Sheila of Alice and the Mock Turtle knocks my socks off with her creativity. Her active mind is always churning with ideas and new ways of looking at things to come up with such unique solutions and fun stuff of all kinds.

One of her recent blog entries totally blew me away with its simplicity and just sheer genius! She used empty tea bags to create individual instant coffee bags and dressed them up for gift giving. I didn’t even know you could buy empty tea bags!

Anything with the word coffee instantly grabs my attention, so I was all over this idea like white on rice (or brown, I guess I should say) and I started thinking about how I could incorporate this into my gifts from the kitchen for Christmas.

And since I can’t leave well enough alone, I began dreaming of different flavored coffees - my own coffee blends, so to speak - that could be placed into these little tea bags for sheer coffee-drinking pleasure. Cardamom-Orange Coffee to Go is the result of that mental brainstorming.

coffee bag

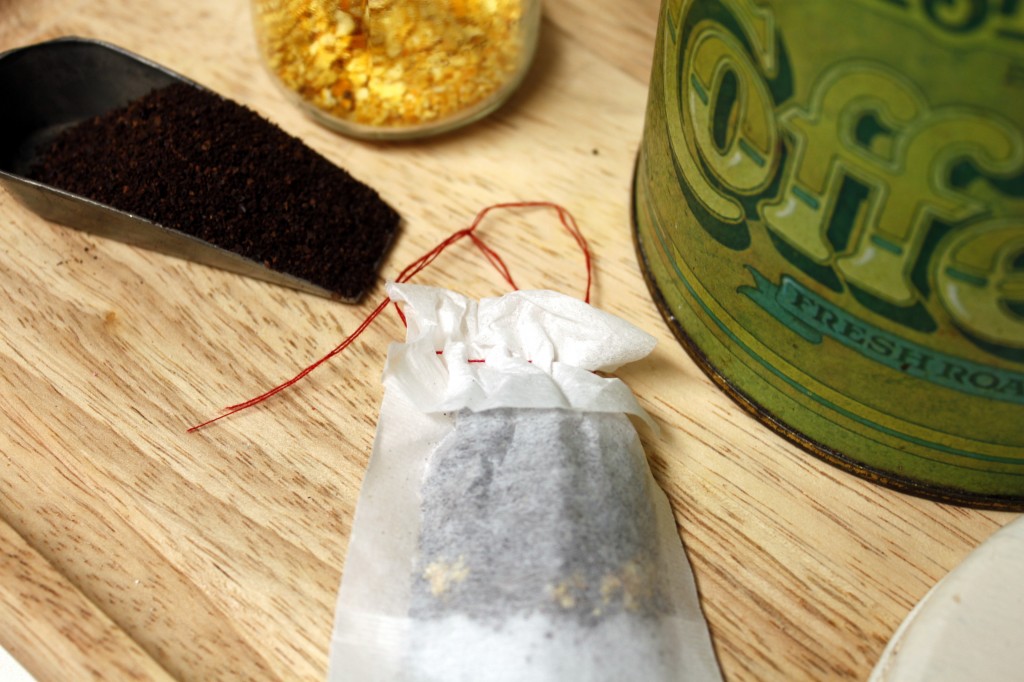
Sheila had found these amazing press-and-seal tea bags that you can iron after filling to create a completely sealed envelope of coffee. For some reason which I can’t remember now, I opted to go with Teavana’s PerfecTea paper filters instead. These tea bags don’t require any ironing (not my favorite chore), but neither do they have any way to seal them at all. I found that for my own use, simply folding over the top (as they were designed to do) was sufficient, and not even one teeny tiny coffee grind found its way into my coffee.

For gift-giving, though, I wanted to be sure that the envelope didn’t spill, so I simply used a doubled length of thread and a needle to make a running stitch through the top of the folded filter. I left a 3″-or-so length of thread on either side and tied those together into a knot. Not only did this keep the coffee grinds from spilling out of the bag, but it also created a useful handle for pulling the filter in and out of a cup of hot water. And it gathers, so it can be used to help squeeze out all the coffee goodness! The whole process took maybe 30 seconds for each coffee bag (and I am by no means a proficient sewer!).

Unfortunately, it’s too late for you to order the tea bags in time for Christmas at this point, but they may be available at your local Teavana store (or other tea specialty shop). If you can find the tea bags, filling them up is super quick and easy, making them a great Christmas gift or stocking stuffer!

Some gifting suggestions:

  • in a coffee-themed basket for a coffee lover (with mugs, coffee-themed decor, flavored syrups, etc.)
  • in a tin full of home-baked goodies
  • with homemade (or storebought if you’re running out of time!) biscotti
  • by itself in a jar, as Sheila suggested, together with cream and sugar
  • in a portable re-usable coffee mug (I did this for a friend)
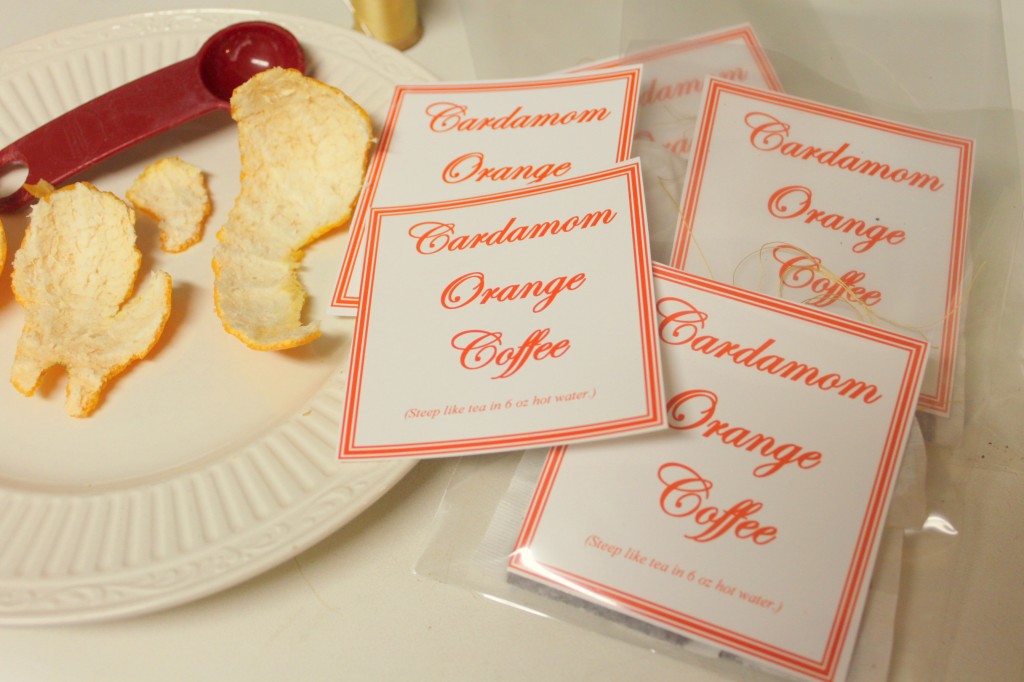
I had some small “transparent archival plastic bags” (similar to these, except not self-sealing), that I used to hold the coffee bags, both to help keep the coffee fresh, and to give it a nice clean look. You can just use a plain old zip-top plastic bag if you don’t have anything like that, or a jar, like Sheila used.
And just to make it all the more elegant for gifting, I even created some tags to go with my original coffee blend. I made it into a PDF just for you, friends! Cardamom-Orange Coffee {to go} label
Now… what to put in the coffee bags?! You can just use some plain good quality coffee beans, like Sheila did, or you can get all adventuresome with me and try out some exotic homemade naturally infused flavored coffee blends! I’ve been working on this cardamom-orange coffee flavor for a couple weeks now, so I’ll share it with you, but the sky is the limit as far as what you can put into the coffee to flavor it. Pretty much any spice or dried (dried to the point where it can be powdered) fruit can be added to the coffee beans to produce delicious flavored blends. If you experiment and come up with an awesome new flavor, tell me about it so I can try it, too!
And here’s a tip: the easiest way to get dried orange zest is to take the peels from an orange or clementine and set them out in a single layer on a plate to dry. When they’re completely dry, run them through the coffee grinder. I even just added a couple of the pieces of orange peel into the grinder with the whole coffee beans.
To use the tea bag, just place about 3 tsp of this coffee blend into the bag, seal as desired (or as required by the manufacturer), then place in a coffee mug. Pour 6 oz of hot water over the coffee bag and allow it to steep for several minutes, or until desired strength. I found that the tea bag filter limited the strength of the coffee, so any more than 6 oz of water resulted in a rather weak cup of coffee.
Once you have your little tea bags full of this yumminess, you will have super QUICK coffee at the ready wherever you are. You can fill your to-go cup with hot water , place one of these babies in there and run out the door!
Just as EASY as plain old coffee! OK, dealing with the paper filters is a little more effort, but not much.
Purchasing the filters is some additional expense that I normally don’t have, but for gift-giving, it can’t be beat! Definitely a CHEAP option for all the coffee-lovers in your life. And it’s way CHEAPer than buying the famous nationwide-brands line of naturally infused flavored coffee blends. Or even their instant coffee (does anybody really pay that much for instant coffee? You do? May I ask in the name of heaven WHY?!)
Infusing your coffee with natural elements like orange zest and cardamom is a lot HEALTHY-er than purchasing the artificially (read: chemically) flavored kinds available elsewhere.

Orange + Chocolate = Tastebud Heaven

Have you ever had a chocolate orange? They’re more readily available in Europe than here in the United States, but you can still find them around. If you’ve never had one, and you come across one - snatch it up! It’s pricey, but it’s worth every penny (well, once in a while anyway!).

It’s been a loooooonggg time since I’ve had one, but I remember well the amazing (and yet unlikely) combination of chocolate and orange. Whoever first put those two flavors together was a genius! Lately, I’ve been experimenting with the combination myself… and having a great deal of fun in the process! This morning, for example, I treated myself to orange chocolate pancakes. Wow. Orange juice in the batter and shaved chocolate stirred in - to die for!

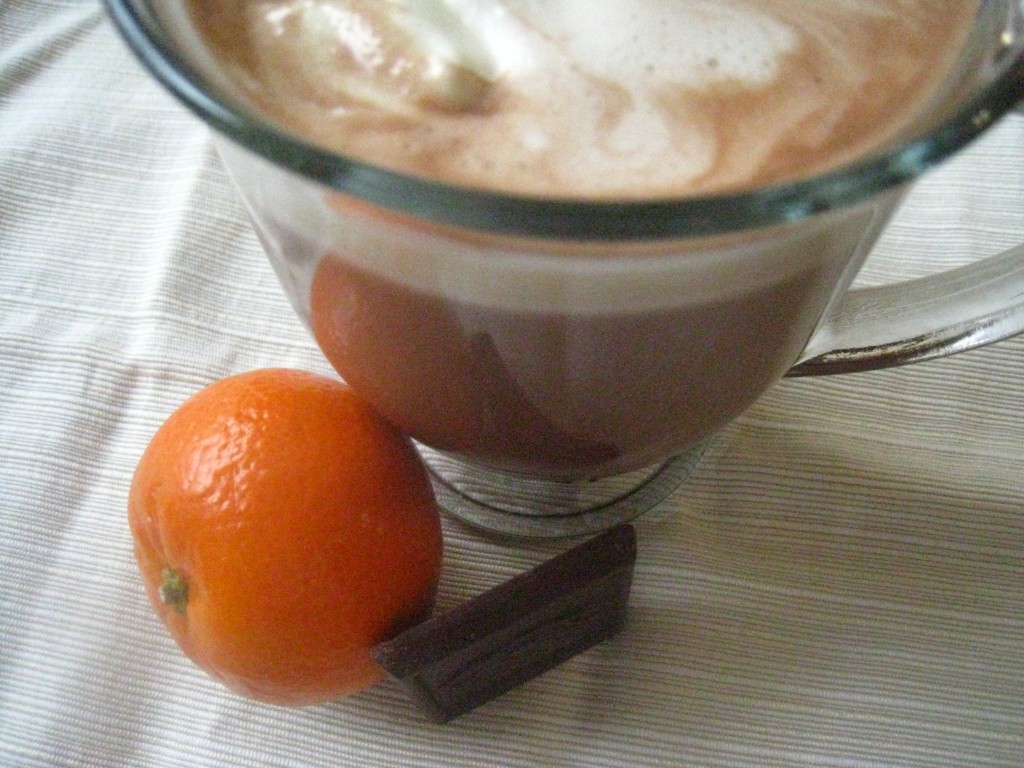
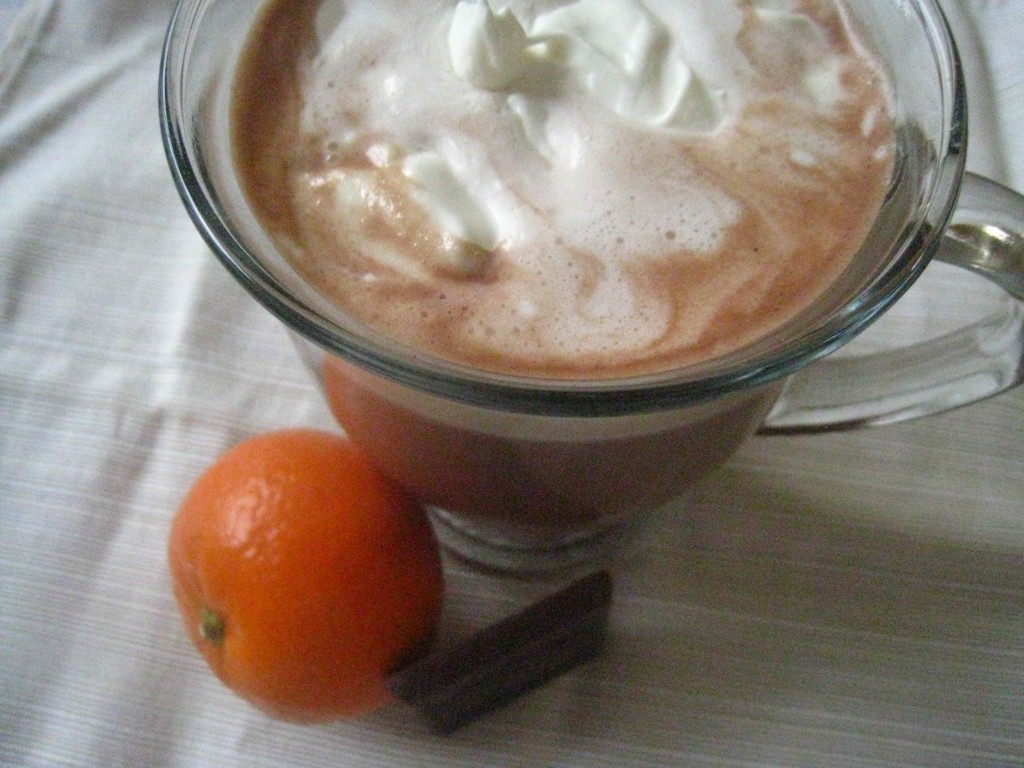
Mostly, though, I’ve been experimenting with an orange mocha drink, or perhaps better entitled, “Chocolate Orange Cafe au Lait“. It’s a tough job, but somebody’s gotta do it.

The orange flavor is more of a faint reminiscence than a full-on tastebud explosion, but that’s probably a good thing considering all the other stuff going on in this drink. It starts with a simple syrup, to which is added a very basic hot chocolate, and a splash of coffee, all topped off with whipped cream (if desired). Once you’ve made the syrup, you can enjoy more Chocolate Orange Cafe au Laits for the next couple of weeks (if you don’t share! and I wouldn’t blame you.).

Chocolate Orange Cafe au Lait

Orange Simple Syrup:

1/2 cup sugar

1 cup water

rind from 1 small orange or clementine

Mocha:

1 TBSP cocoa

1 TBSP water

1/2 cup milk

1/2 cup brewed coffee

whipped cream, optional

To make the simple syrup, bring water, sugar and orange rind to boil in a small saucepan. Reduce heat and simmer for 10-15 minutes. Remove from heat and allow to steep as long as you’d like. Strain and store in refrigerator.

To make the cafe au lait, stir together the cocoa and water in the bottom of a large mug until you have a smooth paste. Stir in milk. Heat in microwave on High for about a minute. Stir until well blended; stir in coffee and 1-2 TBSP of simple syrup (or to taste). Top with whipped cream (if desired). Enjoy!

Once you’ve made the simple syrup, assembling the drink is super QUICK: quicker than standing in line at the coffee shop at any rate!

It’s very EASY, too. (That’s why being a barista doesn’t require any kind of culinary expertise!)

It’s also much CHEAPer than purchasing a fancy drink at a coffee shop (or even cheaper than purchasing store-bought orange simple syrup, especially since you’re using a part of the orange that is typically discarded).

It’s a lot HEALTHY-er than coffee shop drinks, too, because all the ingredients are natural, and you can use organic ingredients too!

Photobucket
Tempt my Tummy Tuesdays

International Fare: Russian Blini, Greek Yogurt and Cardamom Coffee

Every year in October, my church has a “Missions Banquet”, where, ideally, everyone brings a dish representing their ethnic background. Both my DH and I have a lot of mixed European blood, but we also each have a strong presentation of one particular European country that dominates the mix. My mom is 100% Finn, and my DH’s mom is mostly Greek, both of which provide a great deal of inspiration for a variety of delicious ethnic foods. On top of that, I spent some time in Russia in my teen years, and gained an appreciation for a variety of Russian foods, my favorite of all time being blini.

Blini are kind of like the Russian version of crepes, or very thin pancakes. They can be served with savory or sweet accompaniments. Caviar is a favorite (not for me, but for people who happen to like caviar!), and sour cream (or plain yogurt/kefir) is also very common. Smoked salmon is popular, and I recall once having them as a snack for tea in a Russian home, served with jam. In my brief research, it seems like there are about as many different recipes for blini as there are people in Russia, but I use a recipe very similar to what was taught to me by a friend in Russia.

I am no blini expert, so I will just give you the ingredient list that I used, and then direct you to this site, which has very specific instructions for the method that is a lot more precise and helpful than I would be. In Moscow, my friends would say that the first blin was for the cook, meaning that the first blin never quite turned out the way it should. When I make them, the first 2 or 3 are for the cook!

Here is the ingredient list that I used (more accurate, I think than the one in the link above. My recipe doesn’t have buttermilk or kefir, but you can certainly substitute part of the milk with either of those).

Russian Blini
2 eggs
1 TBSP sugar
1/3 tsp salt
3/4 flour
2 cups milk
1 TBSP oil

Whisk together the eggs, sugar and salt. Sprinkle the flour over the mixture, and then stir as you slowly add the milk. Mix until smooth and well blended - no lumps of flour. Stir in oil. Continue as directed here.

The other component of my international potluck offering was Greek yogurt. Oh. My. Word. I’d eaten Greek yogurt from the store before, but this was homemade, and WOW! It was sooooo good. The best yogurt I’ve ever had. I made my own yogurt with whole milk in my yogurt machine the day before, but you can use any plain yogurt.

Greek Yogurt with Honey and Vanilla
2 cups plain yogurt
1 TBSP honey
1/2 tsp vanilla

Line a strainer or colander with cheesecloth (or…. paper towels, she whispers embarrassedly. No cheesecloth here, so I had to make a quick substitute. And no, there were no flecks of paper in the yogurt!). Pour the yogurt into the colander or strainer and place over a bowl. Allow to sit for several hours to drain out all the liquid in the yogurt (I left mine in the fridge for a large part of the day). You should have almost a sour cream consistency with the remaining yogurt.

Remove yogurt to serving bowl, and stir in honey and vanilla until well blended. Prepare for bliss… and taste!

SOOOO EASY, and aside from the draining time, very QUICK too. It’s a great CHEAP dessert (or snack or breakfast) AND it’s very HEALTHY to boot. And did I mention that it’s fabulously delicious?! A winner in my book!

My final contribution was cardamom coffee, a nod to my Finnish heritage which I have already blogged about, so you can read here if you’re interested.

I think I have just given you the components for a yummy breakfast… Enjoy!

More About Coffee

You’ll have to forgive me. Coffee is a passion of mine, so it’s easy for me to go on and on about it. There’s so much to say about it, too! Seriously, there are entire blogs devoted entirely to the subject of coffee, so I think I can be excused for allowing a few posts on the topic on my own blog.

I used to drink my coffee with a splash of non-dairy flavored creamer; you know, the CoffeeMate or International Delights kind. Then, in an effort to improve my diet, I began to read books, websites and articles about nutrition, and I stumbled across a description of non-dairy flavored creamer that didn’t really sit well with my stomach. I forget now what book it was, but the description has stuck with me: flavored liquid margarine. Yuck. By that point, I had been avoiding margarine for a while already, and it struck me as rather hypocritical (not to mention disgusting) that I continued to use a margarine-like product while studiously avoiding margarine itself. Such a revelation led me to give up the non-dairy flavored creamer (although I will admit, in the interest of complete and total honesty, that when I encounter said creamer at someone else’s house or at a special event, I can’t help but indulge in a little bit) altogether, and left a rather sad and empty hole in my coffee heart.

I am not one of those people who can drink coffee black. I have, when forced to, but it’s not my favorite preparation. I even weaned myself from sweetened coffee, and can now happily drink unsweetened coffee with a splash (or two) of half and half or whole milk. However, I still like to enjoy a variety of flavors in my coffee, without artificial flavors or other unnecessary ingredients. I tried making my own flavored “creamers” or sugars but that was too much of a pain.

It turns out that the simplest way to add a little flavor to your coffee is by adding it to the grounds before you brew. People around the world enjoy their coffee this way, and it is about as healthy and natural as you can get. And tasty, too!

My favorite flavored coffee is actually a recent discovery by my sister, and it’s the one featured in the picture above: cardamom. I tasted some made by my sister and searched heaven and earth (OK, well a few grocery stores) until I found cardamom and made it for myself. Let me tell you, heaven in a cup! Apparently, this special coffee treat is a favorite in Arab countries. It’s also a nod to my Finnish heritage as Finns add cardamom to just about everything and they are prolific coffee drinkers as well.

I found the cardamom at an Amish farmer’s market for half the price it was available in the store. I believe my sister said she found it for a reasonable price at Whole Foods market.

To make cardamom coffee, all you do is add some ground cardamom to the coffee grounds before you brew. I use a coffee press, and I like to think it intensifies the flavor, but you can employ any coffee-making method with great results. A little bit of cardamom goes a long way - I use 1/8-1/4 tsp for one full French press, which makes about 2-3 8oz cups of coffee.

Cardamom isn’t the only spice you can add to your coffee. I’ve tried all of the following in various itinerations and they’ve all been delicious:

Ground cinnamon
Whole cloves (ground cloves were a bit much for me)
Ground nutmeg
Vanilla

If you like the taste of ginger, you could try dried ginger as well.

Of course, there are other healthy ways to flavor your coffee… but I’ll leave that for another post, because it’ll give me an excuse to talk about coffee some more!

It’s QUICK: just as quick to add a spice before you brew as it is to add flavored creamer afterwards.

What could be EASY-er?

It is CHEAPer by far than purchasing the bottles of flavored creamer, or flavored syrups.

It is so much HEALTHY-er, too. No hydrogenated oils, no artificial colors or flavors, no preservatives, and most importantly, no margarine.

Picture from Autopilot at Wikipedia.

Easy Cold Brewed Coffee

For my birthday recently, I was given quite a bit of cash, so I spent it wisely and used a portion on a new French press. I was deeply in love with my old French press when, alas, it fell off the counter and onto the floor, shattering in a million pieces. I promptly ordered a replacement online, not realizing that my replacement was only large enough to make one (espresso-sized) serving at a time. Oops. Not wanting to waste anymore money on my addiction, I settled for a regular old drip machine that I acquired at a swap party. I was happy enough, but you can bet the first thing I bought with my birthday money was a nice, brand-spanking-new large French press.

It’s a beautiful thing.

And with my beautiful new coffee press, I decided to try something new, at least new to me: cold-brewed coffee. One of my favorite hot-weather drinks is iced coffee (iced tea is a close second), which I usually make with chilled regular coffee and milk. It’s much easier, though, if the coffee is cool to begin with! Cold-brewed coffee can be kind of a tricky process, but not if you have a French press! Using a press eliminates the need for multiple jars, strainers, spoons and what-have-you and really simplifies the process.

Here’s what you do:
1. At night, before you go to bed, place ground coffee in the French press. The amount depends on how much you want to make and how strong you want it to be, but the general rule is 1 part coffee to 4 parts water.

2. Add lukewarm water to the ground coffee. Gently stir the coffee grounds and water together, and place the plunger on top (don’t push it down).

3. In the morning, push down the plunger. Pour the coffee over ice and add milk or cream to taste.

The only trouble with cold-brewed coffee is that there is no way to dissolve sugar in it. Many people find that iced coffee doesn’t require sweetener, and you might also find that the cold-brewed method results in a less acidic and less bitter coffee that doesn’t rely on sugar to render it more palatable. If it’s really not sweet enough for you, here are a few options:

1. Try stevia. It’s now sold in regular grocery stores under several different labels. It’s a natural calorie-free sugar replacement that dissolves easily in cold liquids.

2. Honey will dissolve to a certain extent in cool or lukewarm liquids, but you will probably still end up with a small pile of it at the bottom of your glass.

3. Simple syrup (try this lavender flavored kind), which is often used in iced tea, can also be used in iced coffee. It’s also easy to make: just boil equal parts water and sugar together until the sugar is dissolved. Pour the desired amount of syrup into your coffee.

4. Use sweetened condensed milk to both replace the milk or cream and to add sweetness. It will also add an additional taste to your coffee, so you may not like this if you’re a coffee purist. However, many people all around the world drink coffee with sweetened condensed milk as a matter of course, so it’s a very popular option.

Is it QUICK? Well, certainly in terms of time, cold-brewed coffee is not as quick as any hot-brewed method. However, because you can put it together and let it sit overnight, all the work is done while you are sleeping, and you can wake up with a nice refreshing glass of iced coffee. If you forget or can’t set it going at night, just keep in mind it needs at least 3 hours to steep, just in time for an afternoon pick-me-up.

It’s certainly EASY! It is just as easy as making regular hot-brewed coffee in the French press. Even easier, because you do not have to heat the water. And as I mentioned, using the French press eliminates the need for dirtying extra dishes and the messy process of straining.

It’s just as CHEAP as any kind of coffee. It’s certainly cheaper than purchasing iced coffee at your local coffee shop.

The eternal debate: Is coffee HEALTHY? I have read reports of numerous studies about the affects of coffee and caffeine on the body, and despite the arguments that persist, they all seem to arrive at the same conclusion: coffee (and caffeine) in moderate amounts (no more than 2-3 cups a day) has no negative effect on the body and in some cases may have a positive effect. To your health!

The Twelve Treats of Christmas: Eggnog Latte

Last but not least… I’m sure you’re either too busy to think about baking anymore, or too wrapped up in Christmas dinner plans, or maybe you’re actually just relaxing and enjoying the holiday. Perhaps, like me, you’re rushing off to a Christmas Eve service. In any case, here’s a really easy, really simple treat to enjoy on Christmas Day with a late breakfast (after all the presents are open, of course!).

Almost as QUICK as pouring a cup of coffee!

Nearly as EASY.

CHEAP if you have eggnog on hand (or have homemade). Eggnog is on the expensive side to buy just for this… but I confess: that’s the only reason I buy eggnog anyway!

Fairly HEALTHY, depending on what ingredients are in your eggnog. High fructose corn syrup or hydrogenated fats, not so much. All natural ingredients? You’re good to go!

Have a VERY MERRY (quick, easy, cheap and healthy) CHRISTMAS!