
The decorations were the easy part of Baby Boy’s UNO themed birthday. The next item on the checklist - the food - was a lot trickier.
Let me count the reasons why:
- It was right after Christmas, so we weren’t exactly loaded with cash if you know what I mean.
- I wanted all the food to be safe for both him and his brother and their allergies.
- I also wanted it to appeal to all the guests at the party.
- I didn’t have a huge amount of time to prepare it because I only officially settled the date of his party less than a week in advance! Oy!
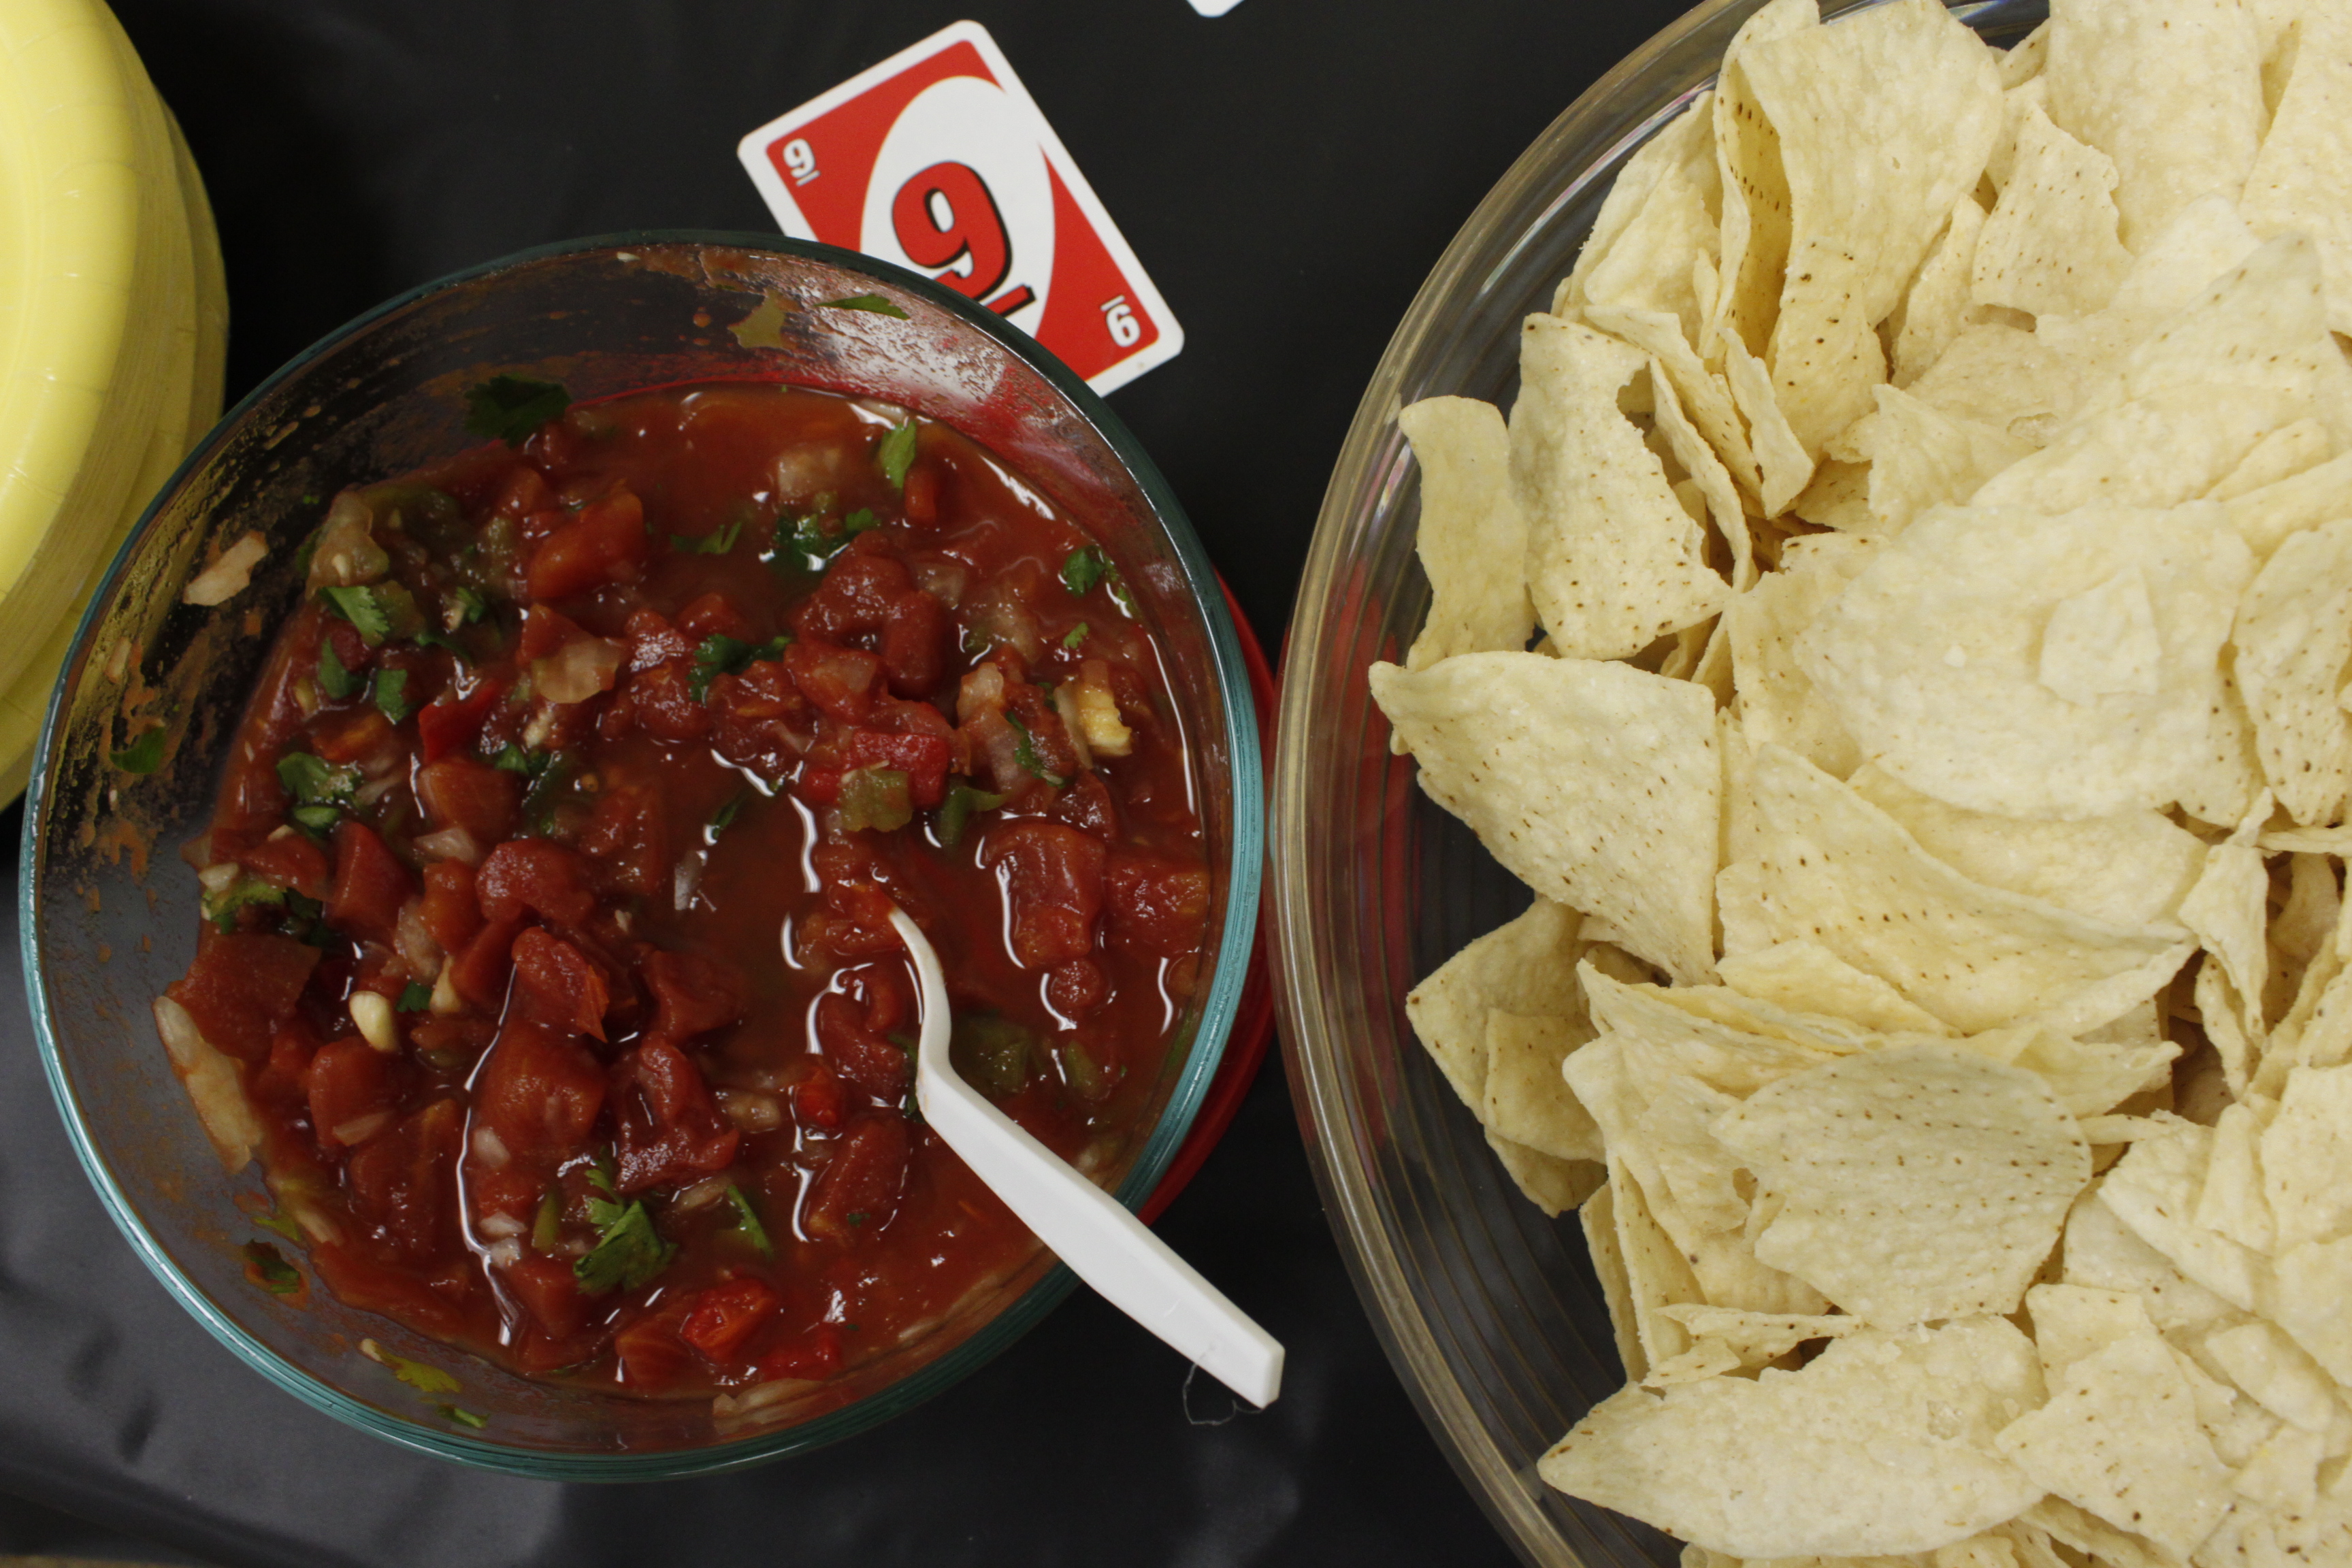
Tortilla Chips, Salsa and Guacamole
The guacamole (not pictured) was a big hit, possibly because of my addition of cumin, and possibly because I followed my sister’s recommendation to use fresh rather than dried cilantro. Both add a lot of flavor.
Guacamole
Ingredients
- 3 soft avocados
- 1-2 cloves garlic, minced
- handful fresh cilantro, chopped
- 1 tsp cumin
- salt & pepper to taste
Instructions
- Slide a knife through the side of each avocado until you feel the tip reach the pit. Continue cutting all the way around the circumference of the avocado, then pull the sides apart from each other. Remove the pit, then scoop the avocado into a bowl. Mash the avocado flesh with a fork until it is creamy.
- Stir in the remaining ingredients and serve immediately.
I used canned diced tomatoes for the salsa because it’s not tomato season around here, and I didn’t want to risk mealy tomatoes (blech!) in my salsa. In the summer, it’s fresh tomatoes all the way, baby. I do still have some frozen peppers from the farmers’ market this past summer, so a couple of them went into this salsa. The freezer is like a time machine sometimes! Fresh peppers in December… mmmm. This is a very basic salsa recipe, and how I usually make it.
Semi-Fresh Salsa
Ingredients
- 1 large can diced tomatoes, drained
- 2 cloves garlic, minced
- 2 Carman peppers, chopped
- 1/2 onion, chopped
- 1 jalapeno, chopped
- handful fresh cilantro, chopped
- splash of lemon juice
- dash of salt
Instructions
- Stir ingredients together (or chop them into chunks and run them briefly through a food processor). Refrigerate at least several hours before serving to blend flavors.
UNO Veggie Tray
 Following the success of my Christmas tree-shaped veggie tray, I was inspired to try my hand at an UNO-card shaped veggie tray. You can be the judge of how successful I was, but honestly, I wasn’t 100% satisfied. It was OK, but not great. I’m open to suggestions on how to make it a little more obvious about what I was going for!
Here’s how I did it:
- Wrap a cookie sheet with a large piece of black plastic (from a plastic table cloth), securing it in back with tape.
- Set it in a “portrait” orientation (vertical).
- Slice 1 1/2 large cucumbers in thin rounds. Cut the remaining 1/2 cucumber in sticks.
- Cut the florets off about 3/4 of a head of cauliflower.
- In the middle of the “tray”, shape a number 1 using the cucumber sticks.
- Surround the “1″ with the cauliflower florets in a slanted oval.
- Overlap the cucumber rounds above and below the cauliflower oval to finish out the card shape.

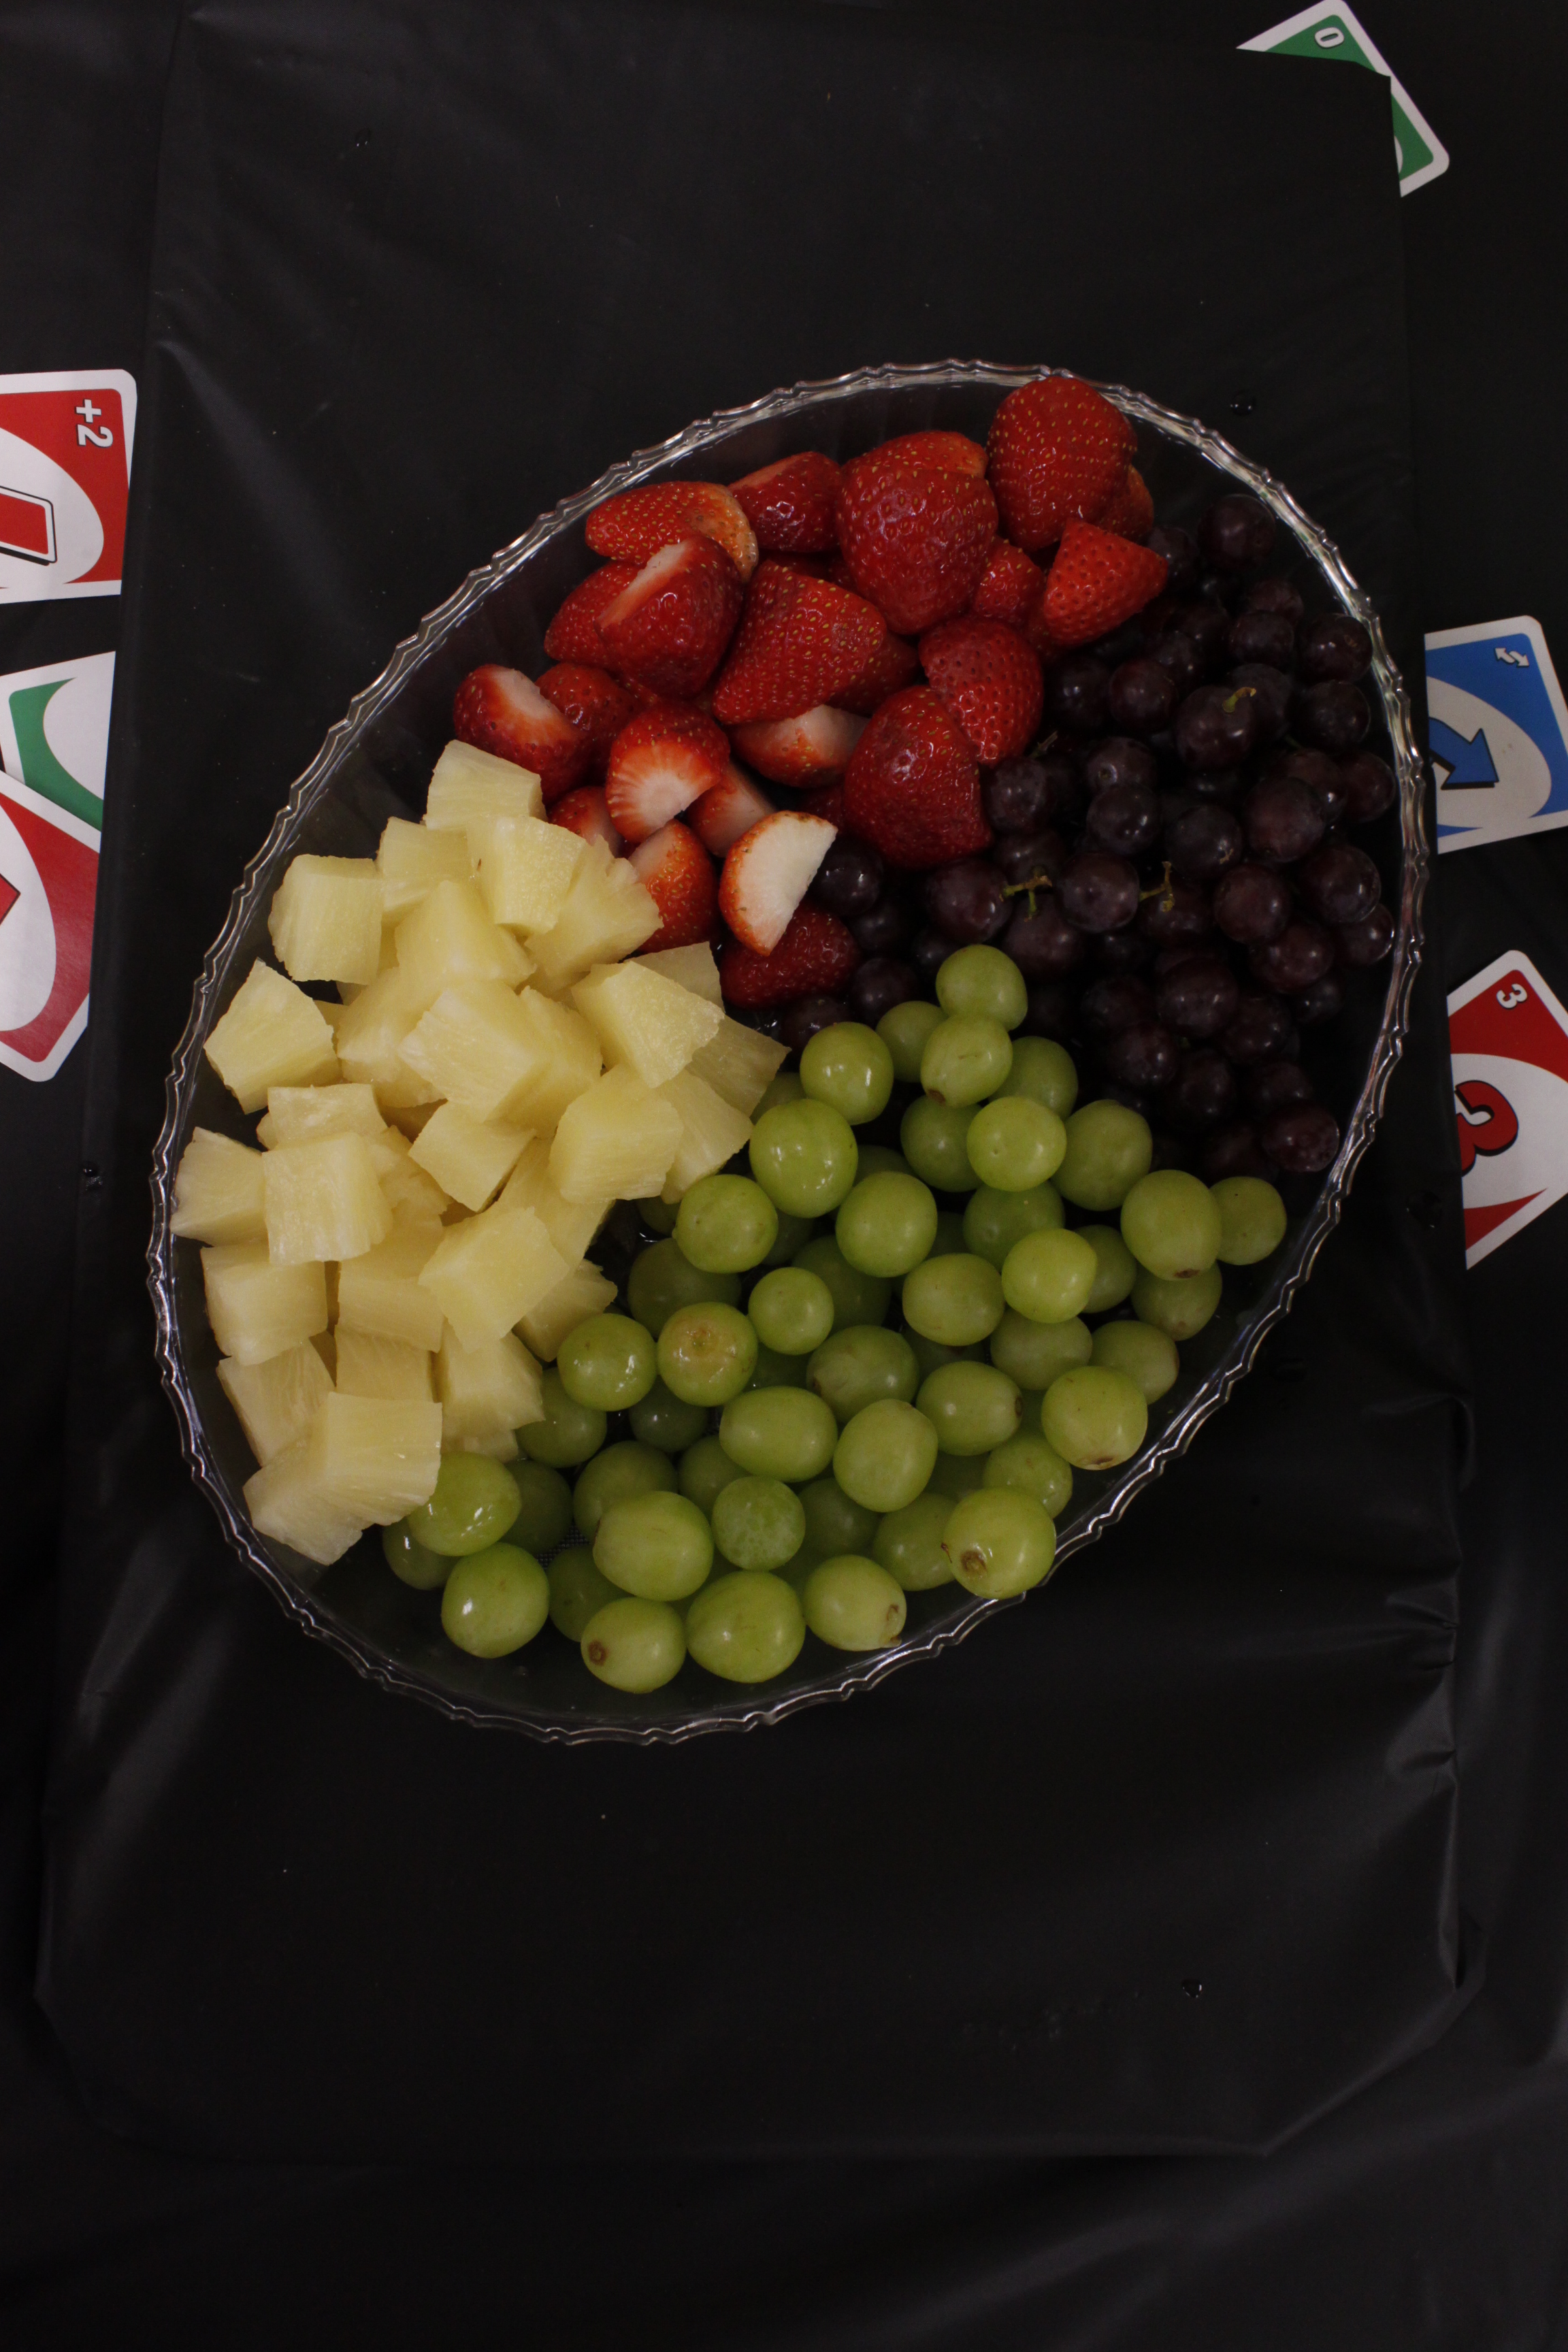
Wild Card Fruit Tray
- Cover a cookie sheet with part of a black plastic table cloth, and secure in the back with tape.
- Place an oval tray at a slant, centered lengthwise, on the cookie sheet (oriented “portrait” style, once again).
- Mentally divide the oval into 4 equal parts: in the top left, place chopped strawberries; in the top right, grapes (or blueberries); in the bottom left, chopped pineapples; in the bottom right; green grapes (or kiwi).
Read the Rest of An Uno Birthday Series:The DecorThe Cake

![]()


