Apple Pectin: How to Make It, How to Use It, and Why I Don’t

Fall Sunday 2010

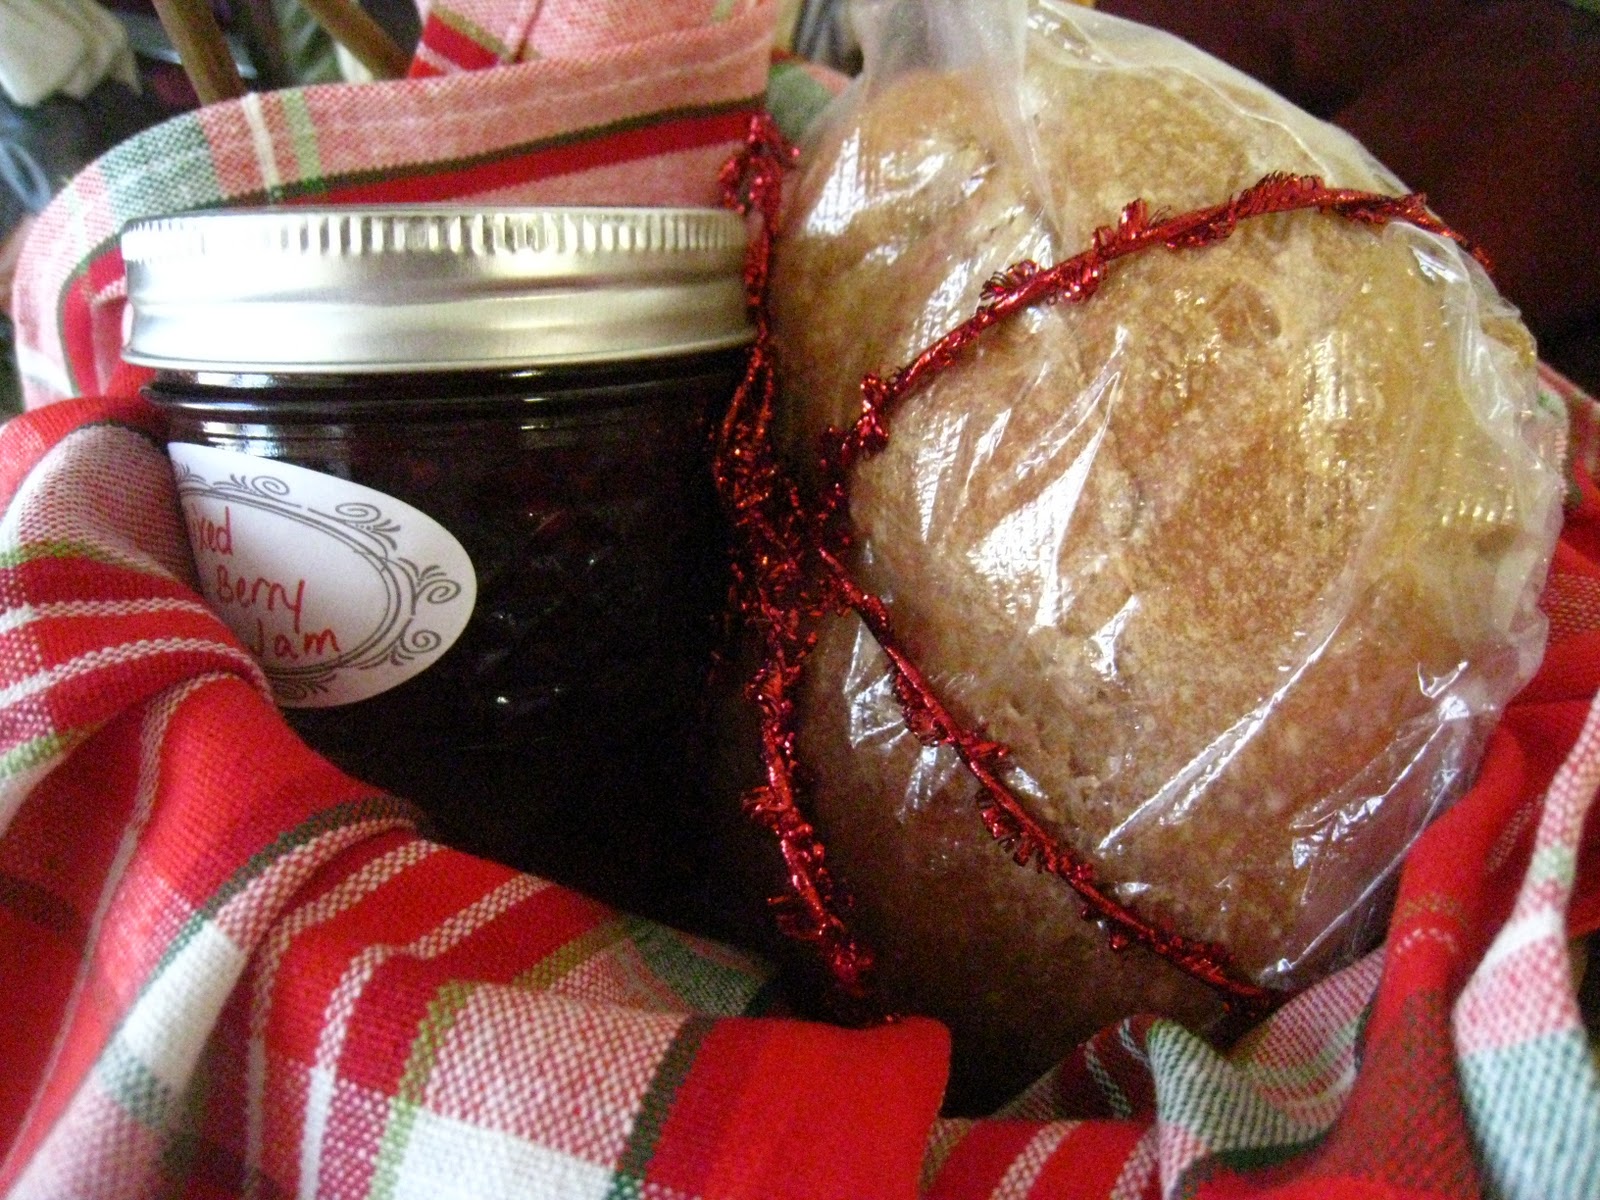
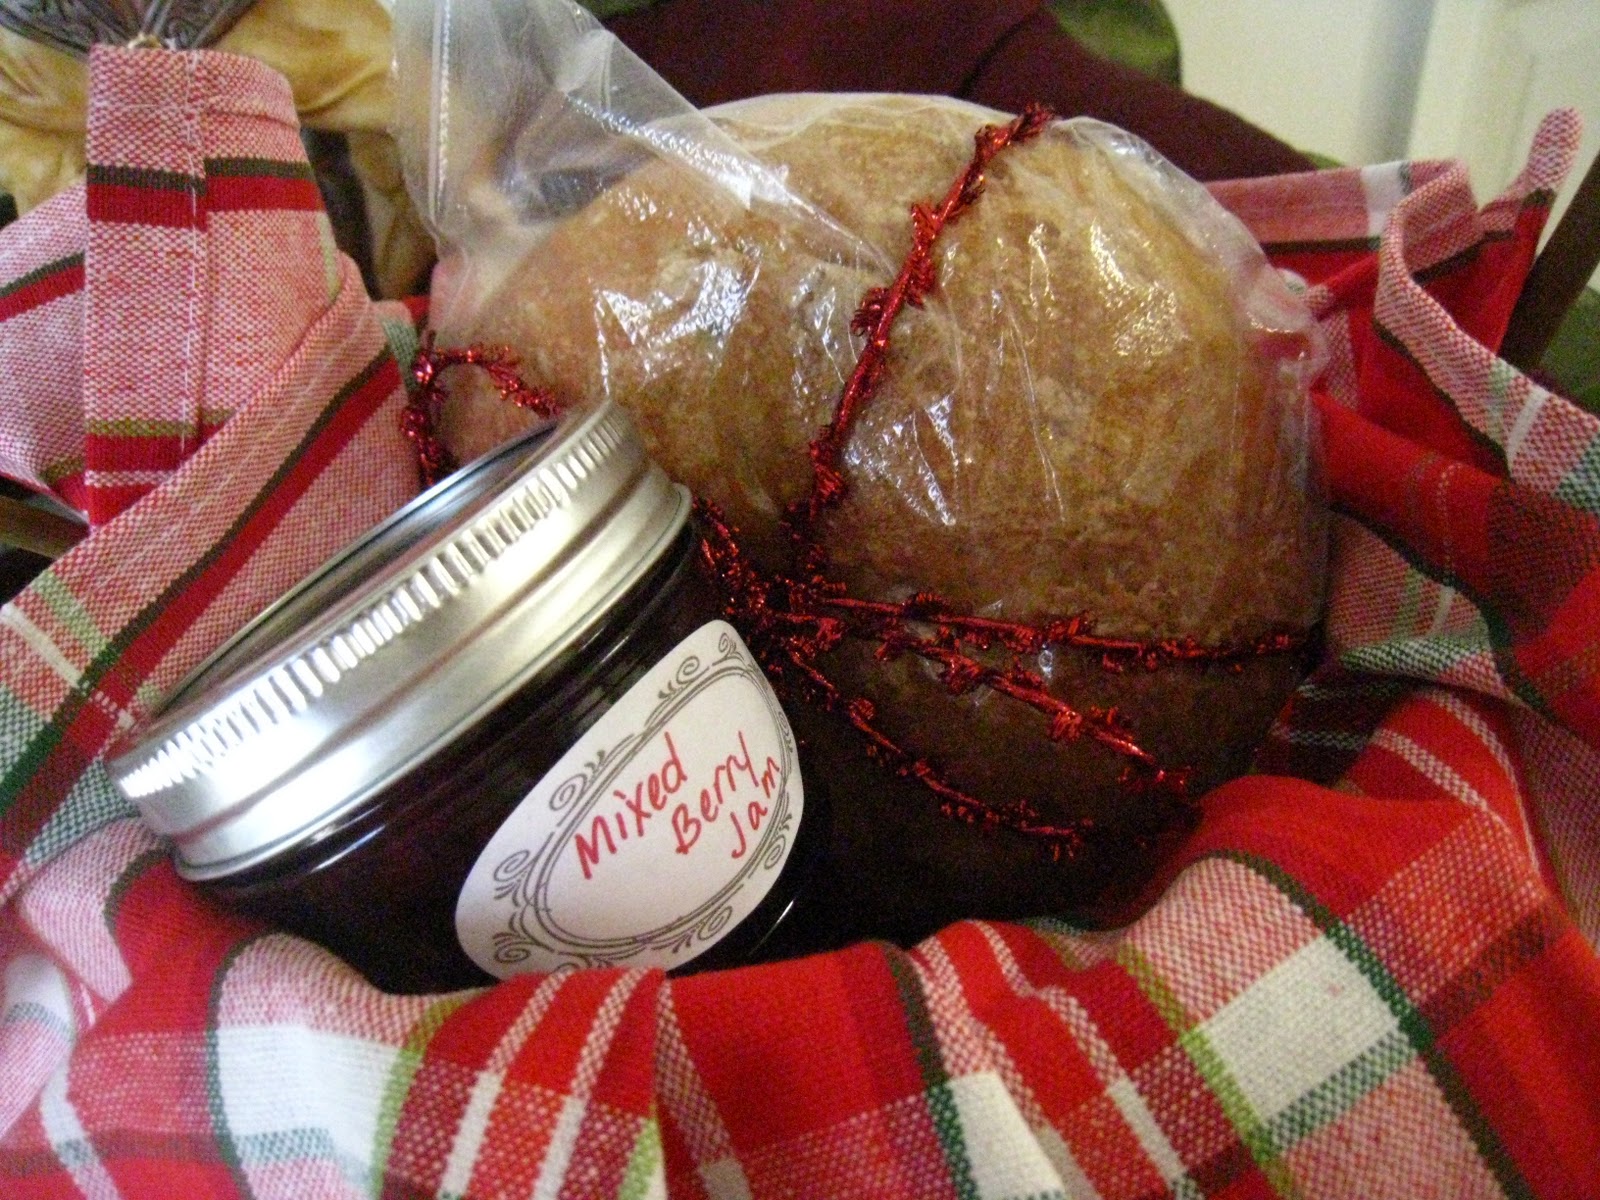
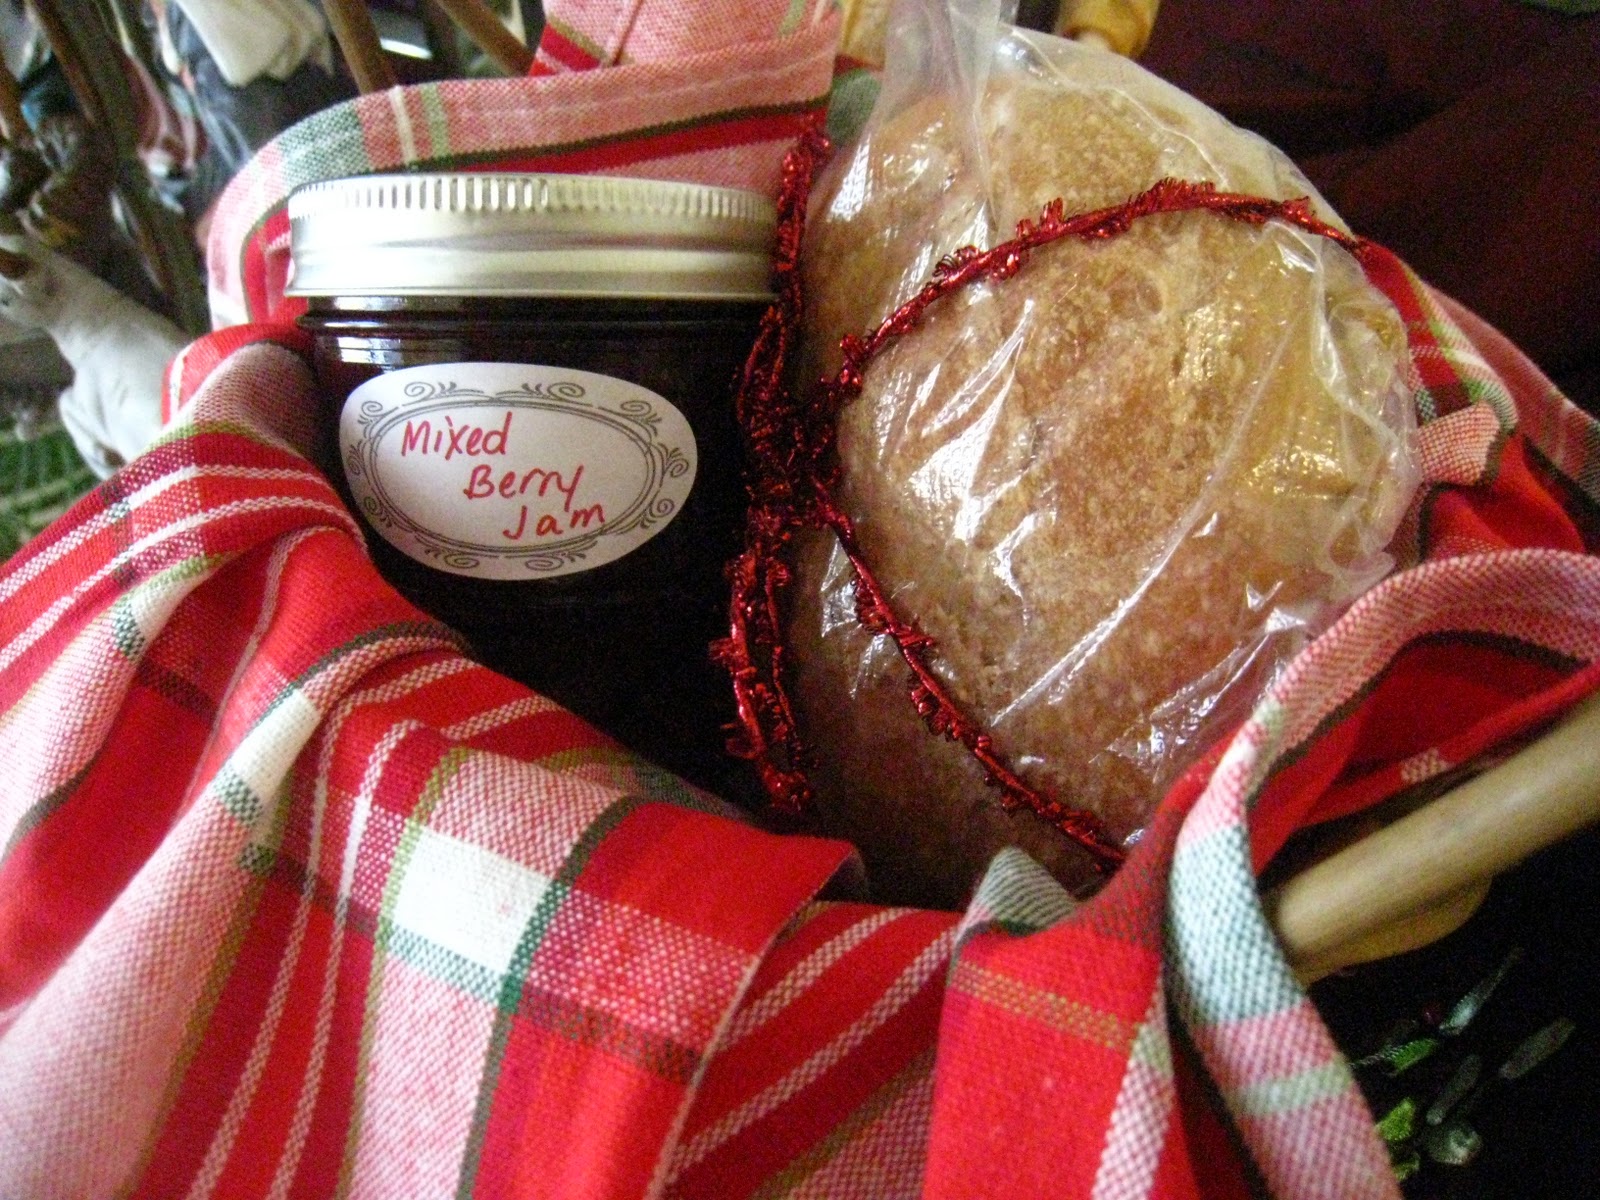
For the past few years, I have enjoyed making my own jam. I love that it’s healthier than storebought jam because I use fresh local fruit and very little sugar (sometimes I even use honey!). I also love that it’s very easy to make and doesn’t take a great deal of time.

Last year, feeling comfortable with the whole jam-making process, I decided to step it up a notch and try my hand at homemade pectin.

What Homemade Pectin Is

Pectin, as I’m sure you know, is what holds the jam together. Pectin is what causes the jam to “set” and become more solid than liquid. Pectin comes from fruit, and apples are particularly rich in pectin.

Most people are familiar with store-bought pectin that comes in powder form and is sold in little boxes. Sometimes people do without any specific source of pectin at all and just boil the living daylights out of their fruit to release the pectin inside it. And sometimes people make their own pectin by boiling the living daylights out of apples.

How to Make Homemade Pectin

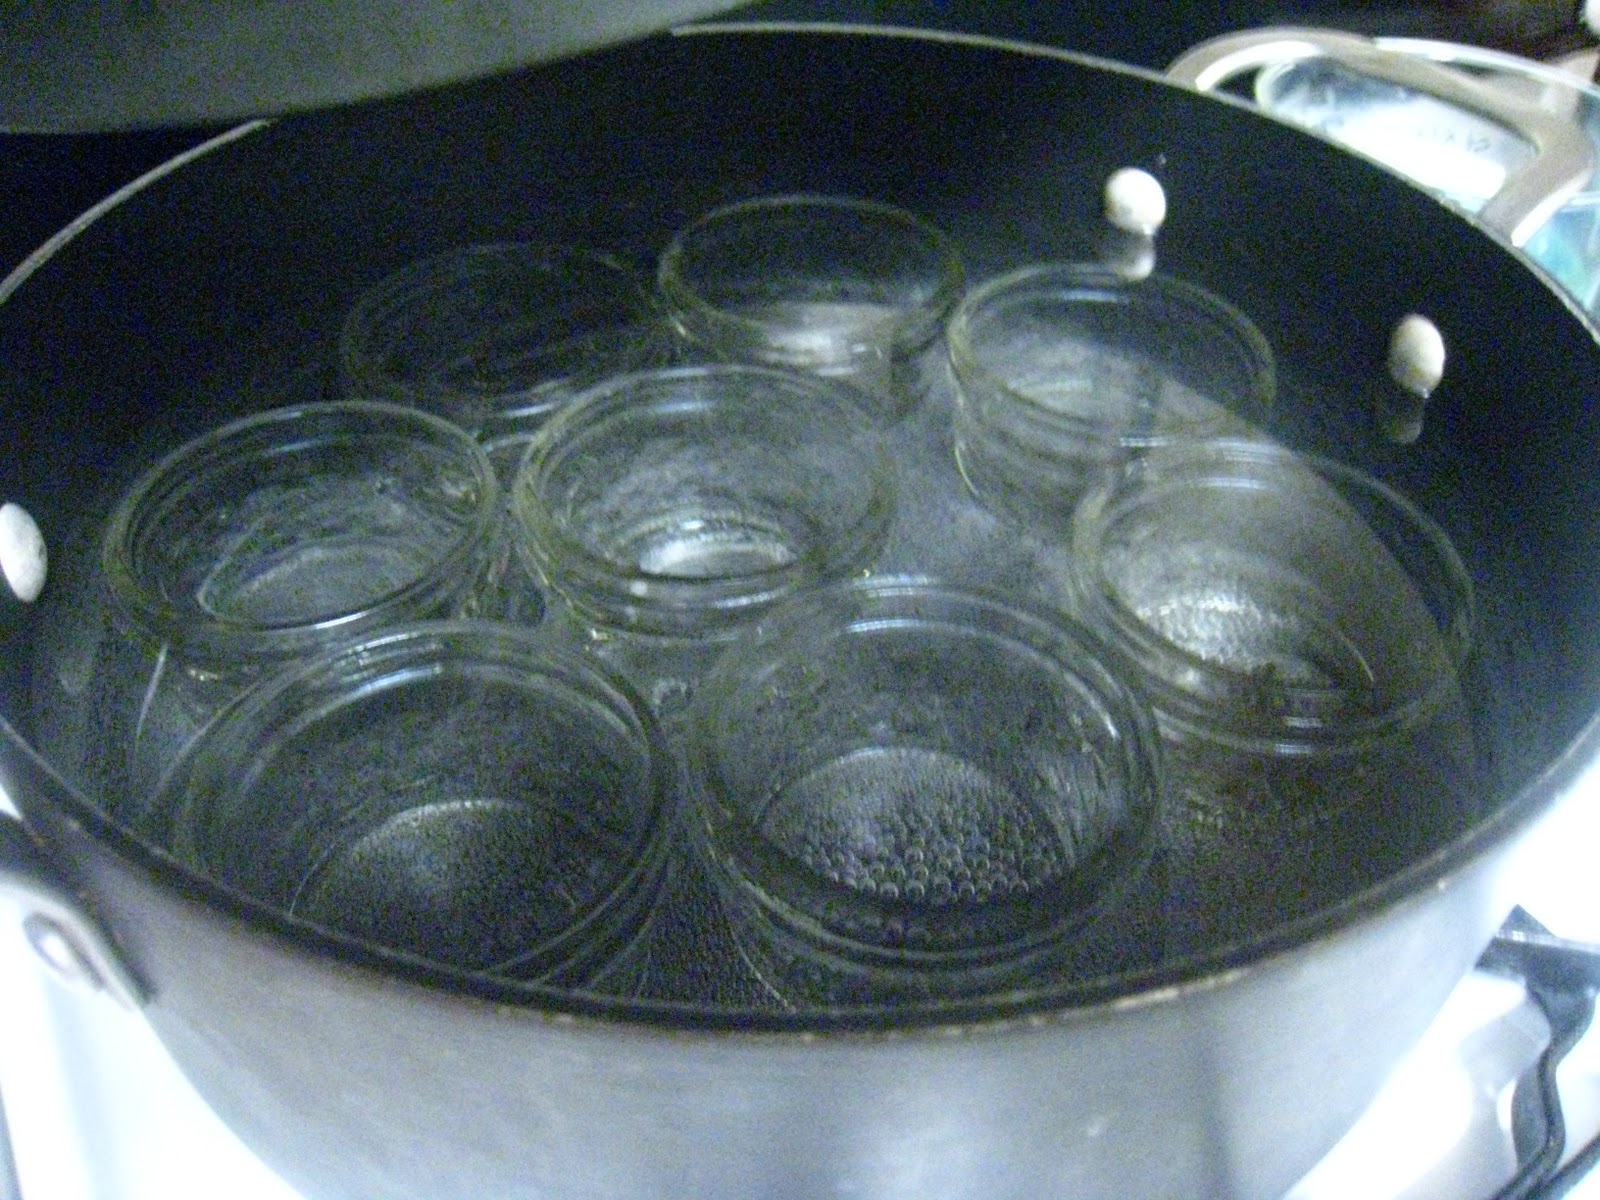
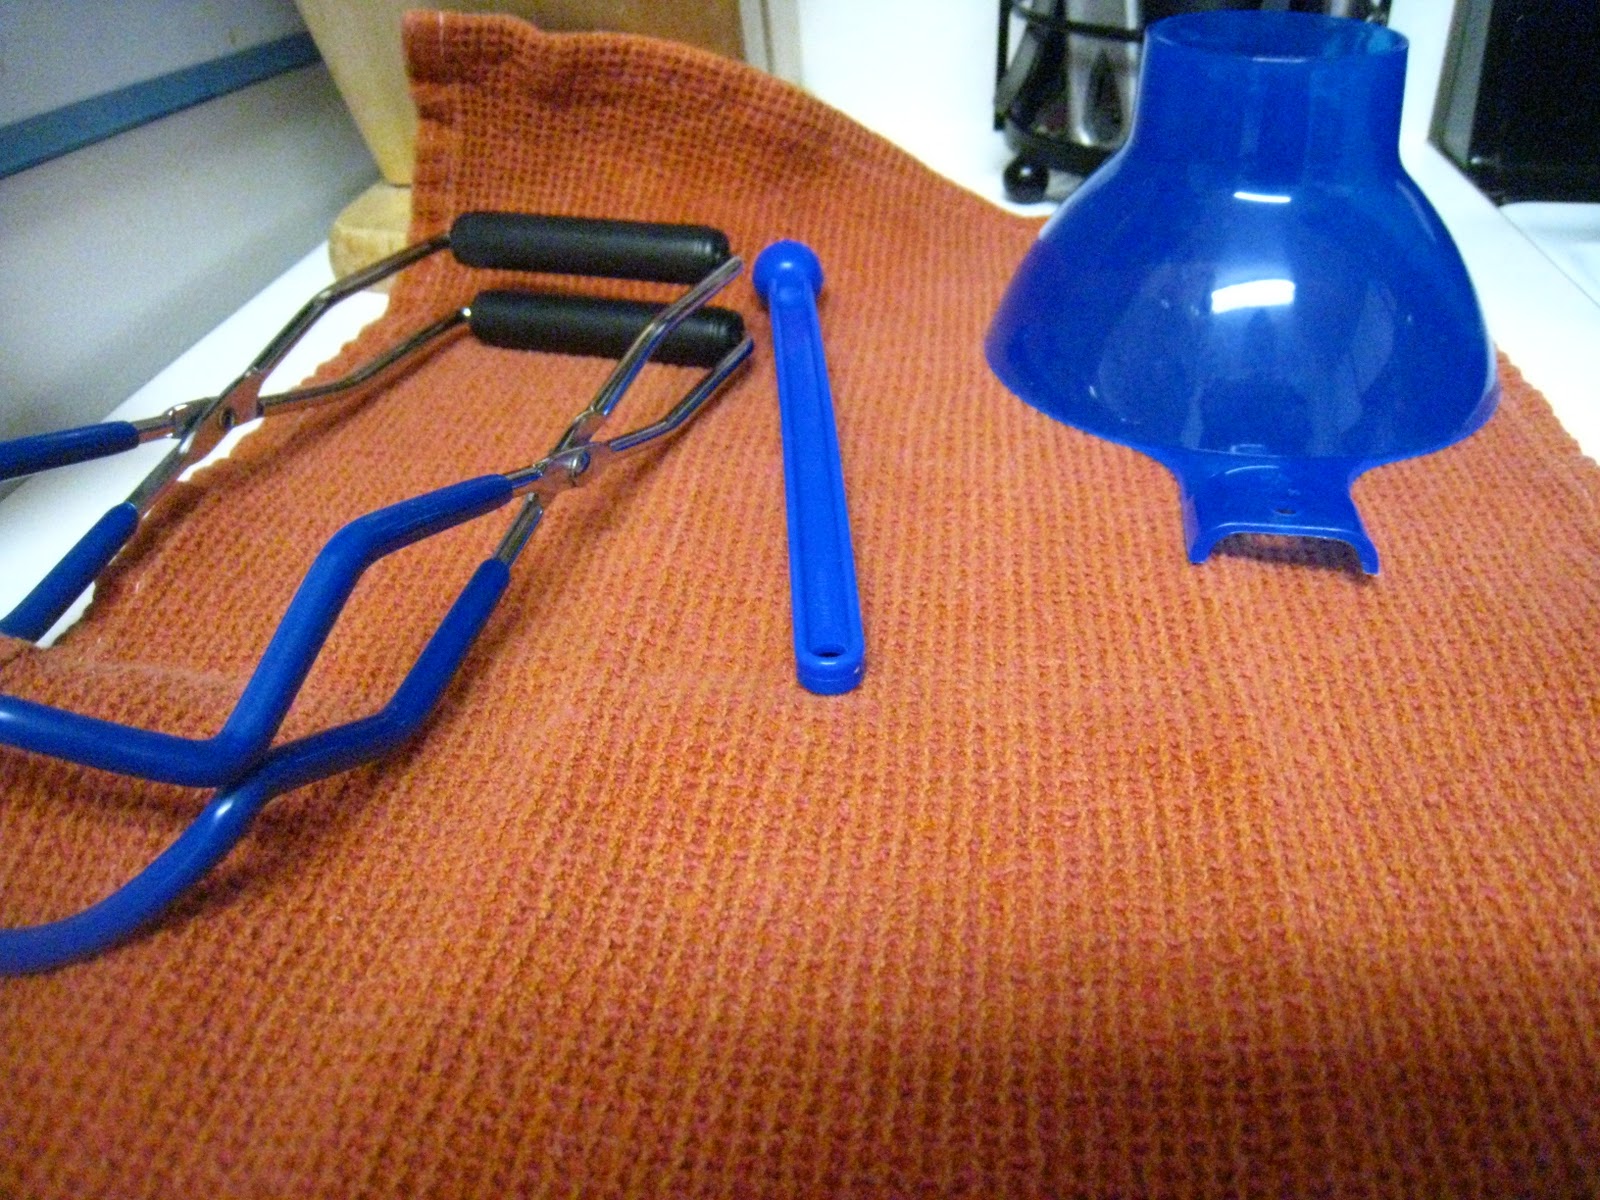
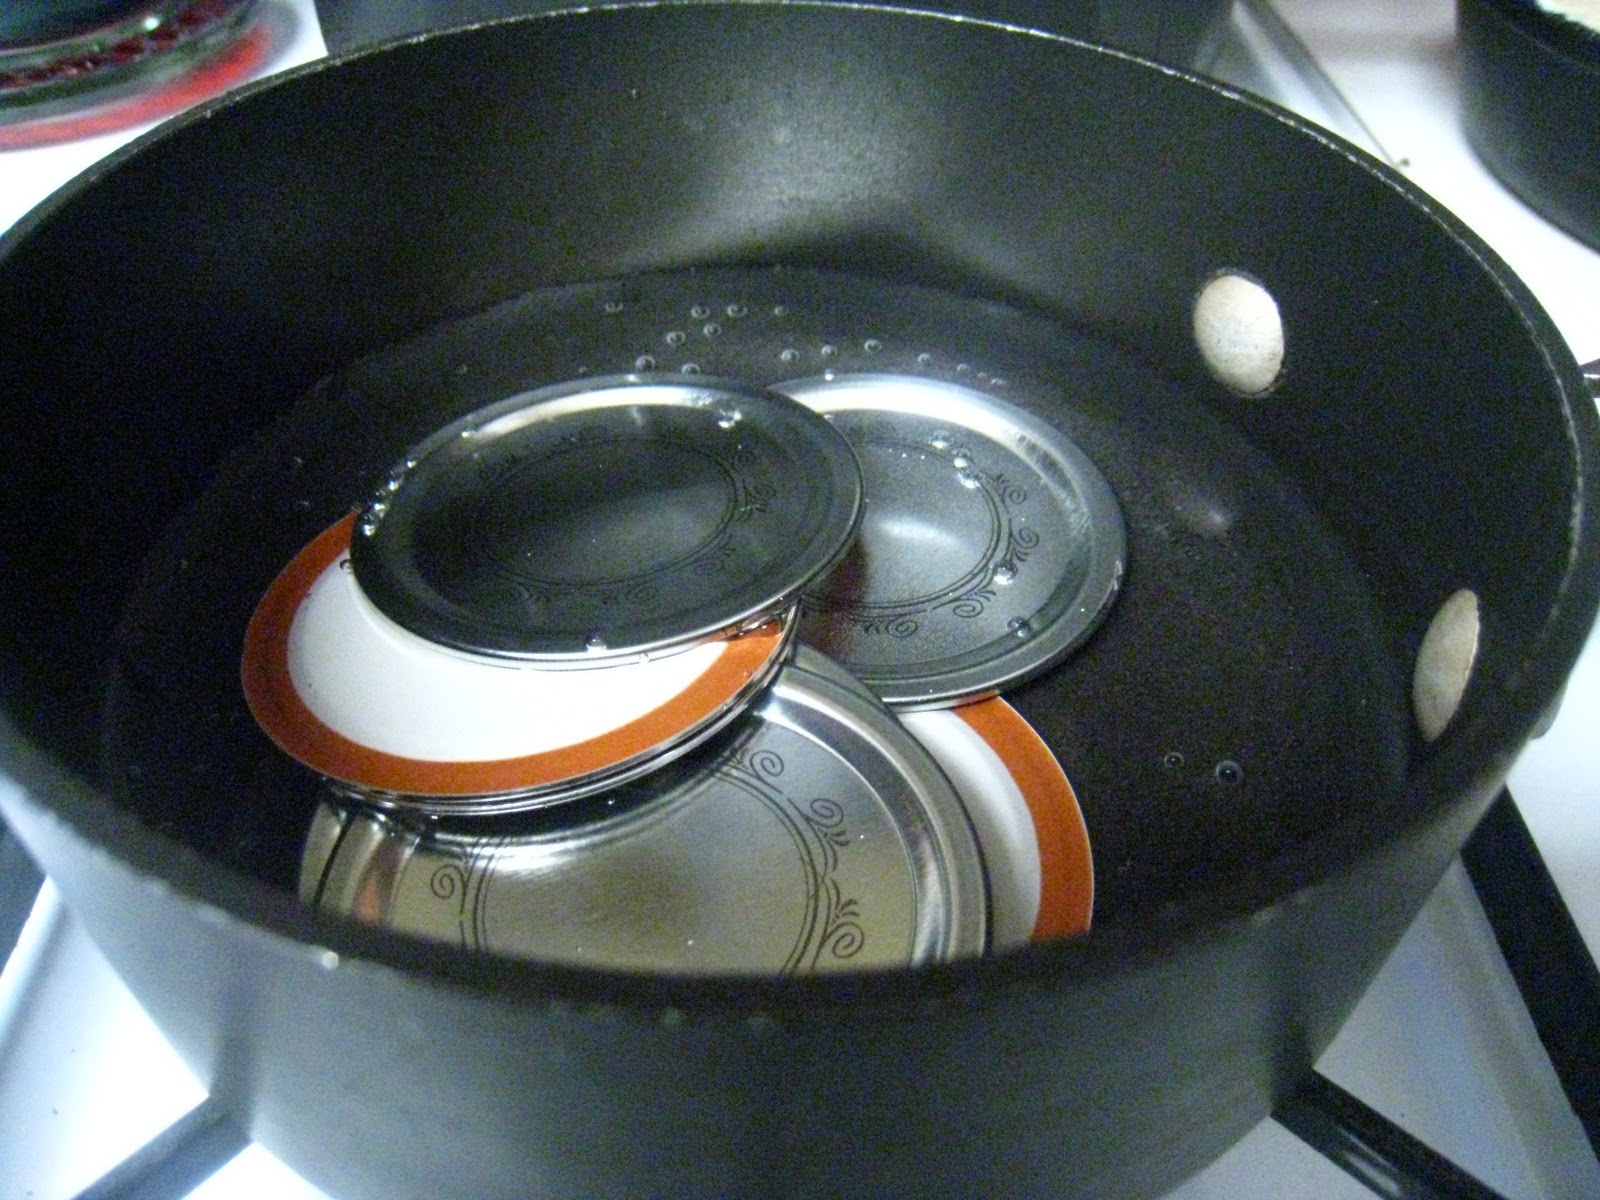
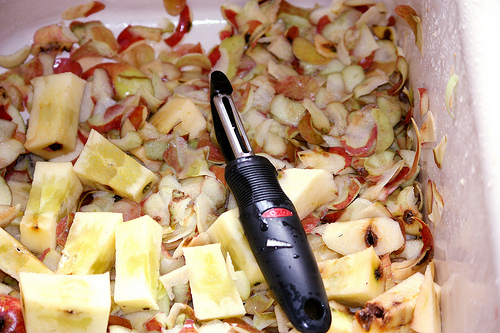
The process of making your own pectin is actually quite straightforward: simply cover a large amount of apple “leavings” (peels and cores) with water and then boil for several hours. Strain through a lined mesh sieve and store the remaining liquid in the freezer or in processed jars. If you would like more specific instructions, please see Fig Jam and Lime Cordial’s excellent tutorial on homemade pectin here.

How to Use Homemade Pectin

Using homemade pectin is not nearly as straightforward a matter as making it. That’s because the amount of pectin found in fruit varies greatly, and homemade apple pectin does not come with a chart to tell you how much you should use.

Another element of jam-making adds even more trickery to the issue, and that is sugar. You have to have the proper ratio of sugar to pectin if you ever want your jam to set.

Furthermore, you’re going to need a little bit of lemon juice, which is also essential to the gelling process.

And, of course, how much you use of each of these ingredients depends entirely on how much fruit you have and what kind it is.

Complicated much, yes?! Once again, I will refer you to Fig Jam and Lime Cordial and their Jam Making Primer. But to sum up, when making jam with your own homemade pectin, you need to combine the appropriate amounts of fruit, pectin and lemon juice into a pot and bring it to a full rolling boil. Once the fruit has softened, add the appropriate amount of sugar and bring it back to a boil. Boil the living daylights out of it until it sets. If it doesn’t set, add more sugar or pectin and boil it some more.

Why I Don’t Use Homemade Apple Pectin

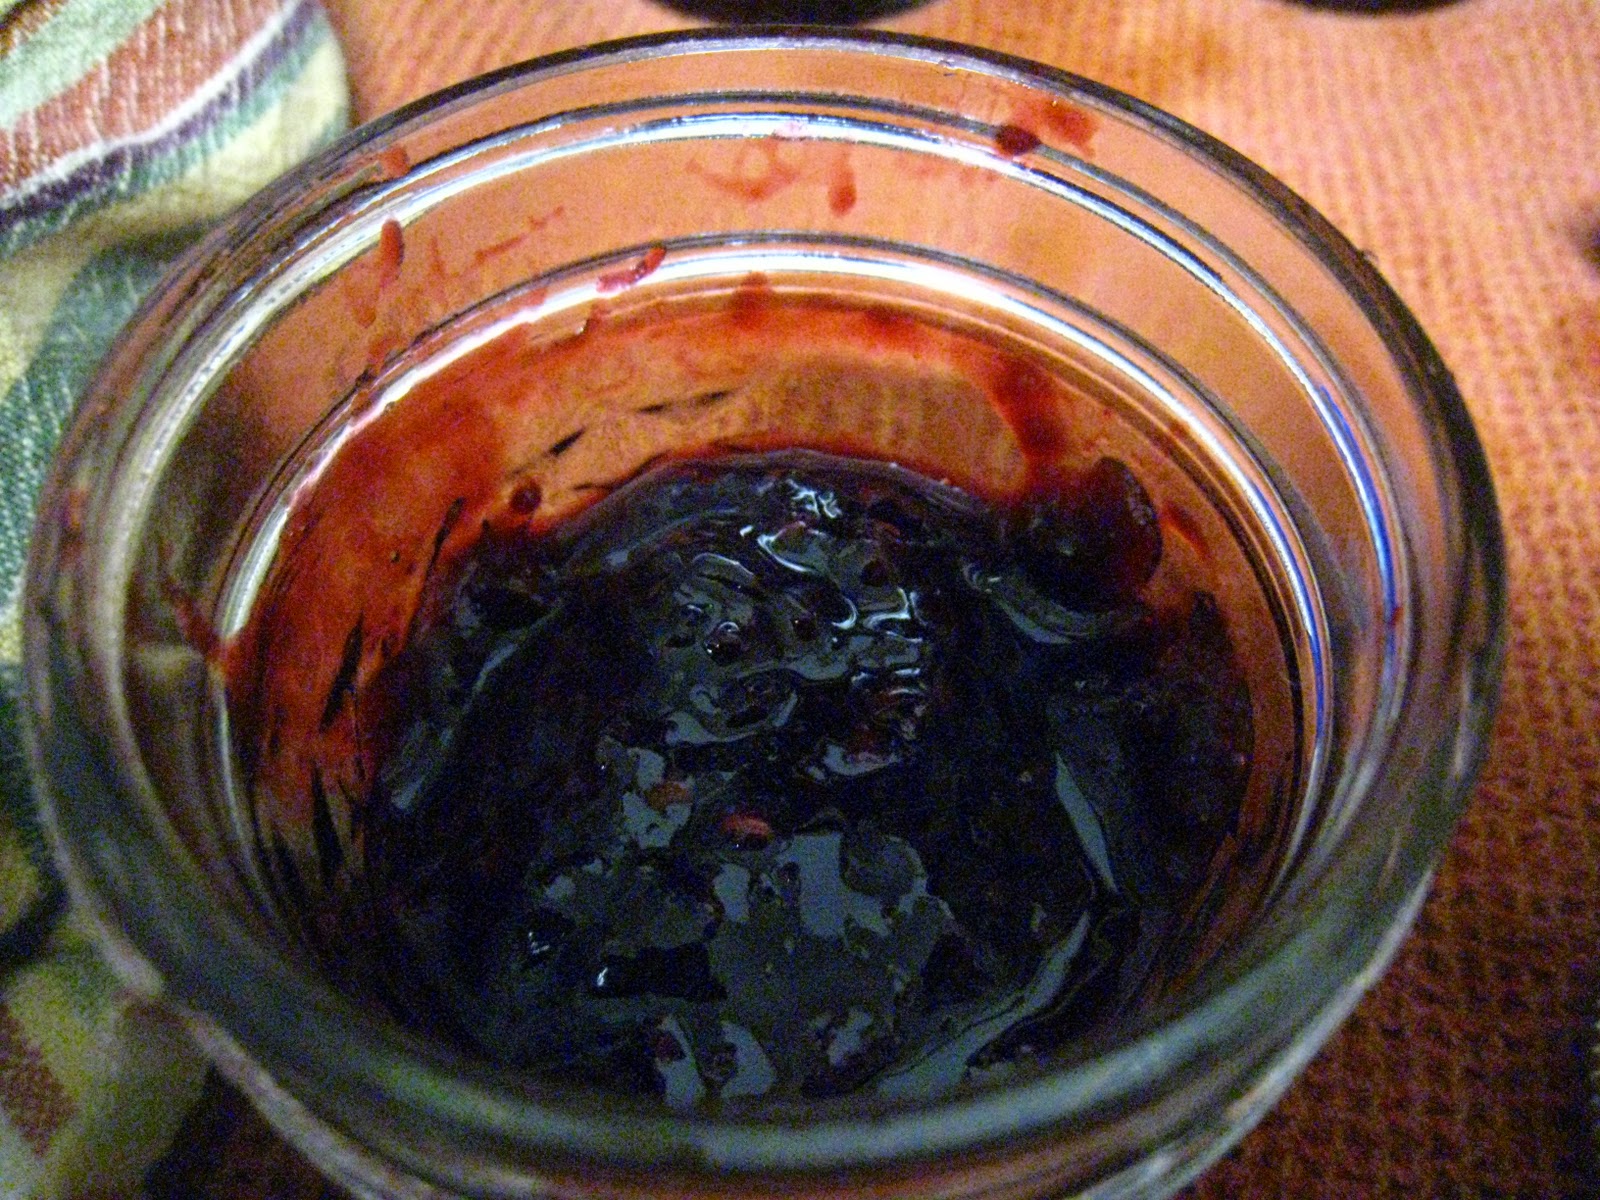
Homemade apple pectin seemed like such a frugal and healthy idea - an all natural, chemical free alternative to store-bought pectin that I could make from apple scraps I would normally throw away. Brilliant, right?! Once I read about it, I was determined to give it a go. After excitedly bottling up and freezing several jars of homemade apple pectin during the peak of apple season last fall, I was anxious to try my hand at jam made completely 100% from scratch with the onset of berry season this year.

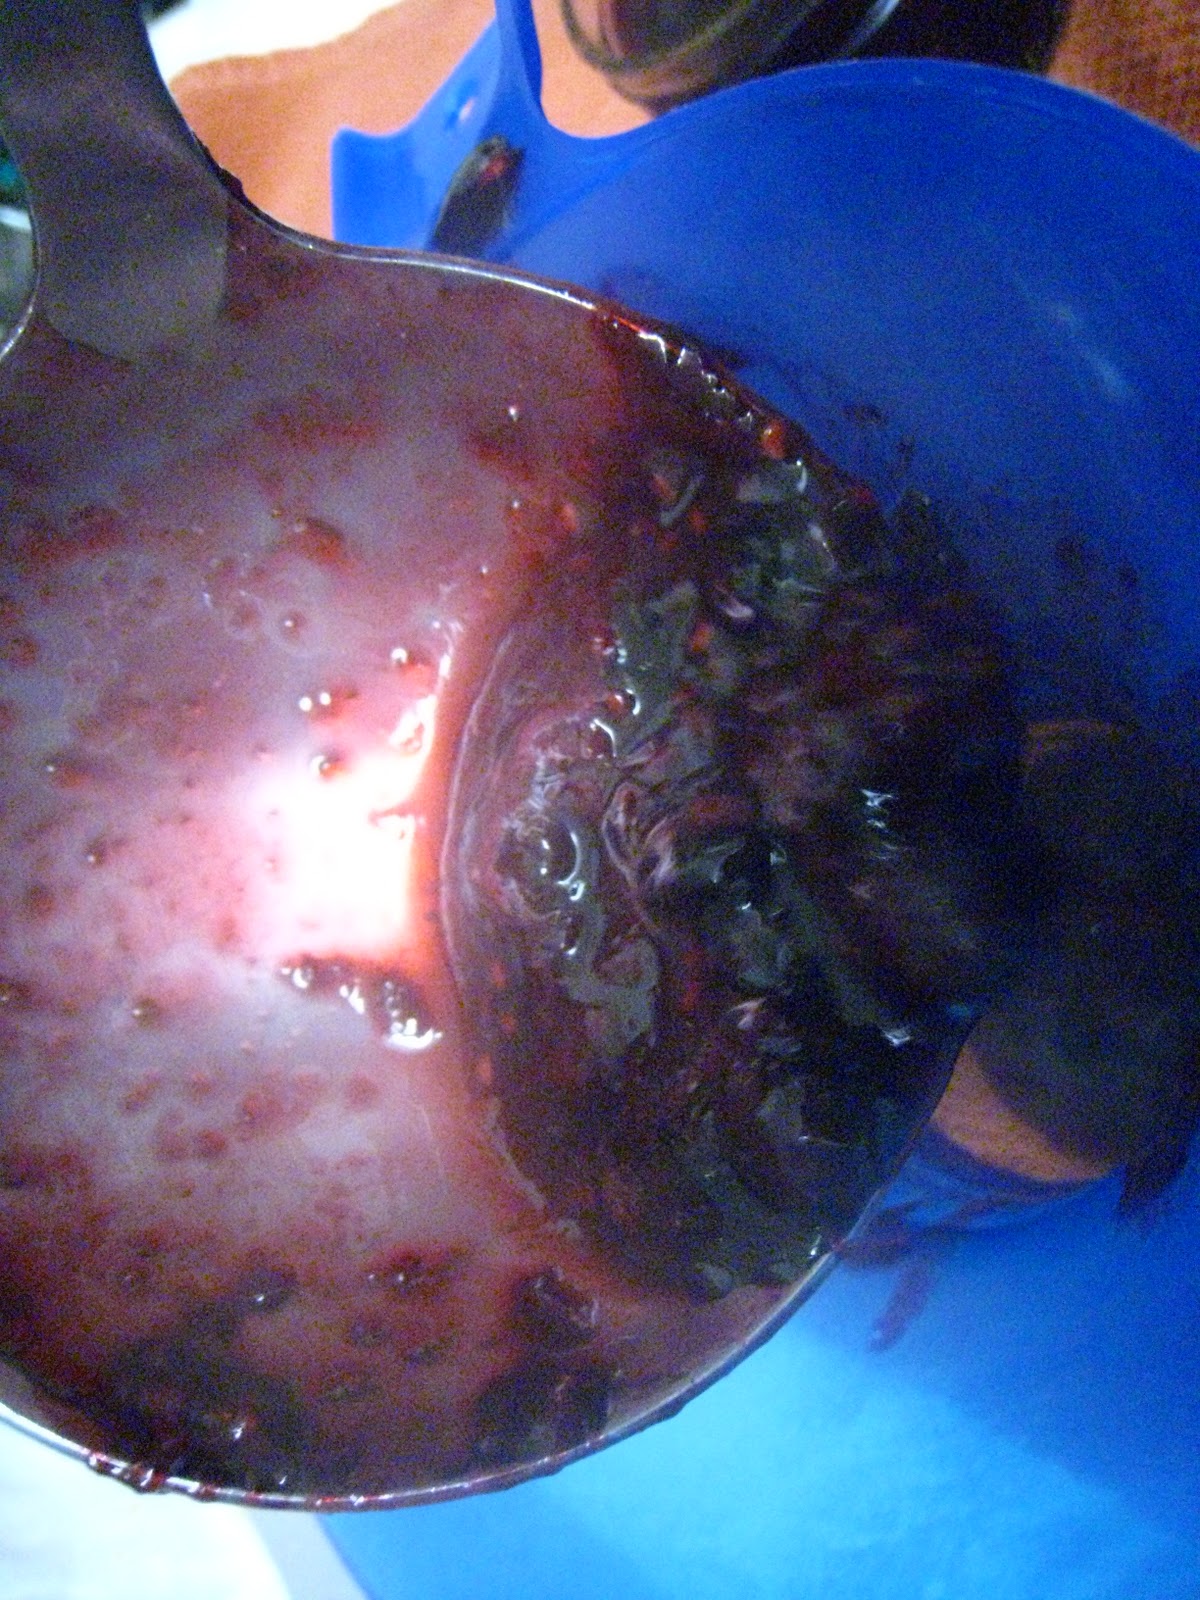
Imagine my dismay when my experiment was a complete and total flop. Oh, my jam “set” just fine. After I had almost completely boiled it away, that is. And added way more sugar than I usually do. And slaved over a hot stove for much longer than I usually do. And got spattered by hot bubbling jam more than ever before.

I decided that I would never bother with homemade apple pectin again. Why? Oh, let me just count the reasons why:

  1. Making the pectin was easy, but it was kind of time-consuming. And it took up valuable real estate in my freezer.
  2. I had to boil the jam for. ev. er. Usually, jam takes me about an hour, start to finish. With the apple pectin, it was easily twice that long.
  3. I started with four cups of mashed fruit, the typical amount used in an average batch of jam made with store-bought pectin. Typically, that amount will yield 3-4 pint jars of jam. How many pints did I get from my batch made with homemade pectin? One. Just one.
  4. The pectin I usually use requires only 1/4-1/2 cup of sugar (I usually use unrefined sugar) or honey. I can’t remember exactly how much sugar I used with the apple pectin, but it ended up being considerably more.
  5. I had to boil the fruit down for so long that I highly doubt any nutritional value is left.
  6. Also because of the lengthy boiling time, the resulting jam tastes cooked rather than fresh.
  7. Getting the jam to set when using apple pectin is much more tricky than when using store-bought pectins, because you have to get the ratio of pectin, sugar and acid just right or it won’t work. And you have to test it to see if it’s set, which is, in my opinon, a waste of good jam!

To sum up:

It’s not QUICK - it takes forever!

It’s not EASY - it involves a lot of work and a more knowledge of jam-making than I possess.

It’s not CHEAP - the pectin might be practically free, but if my yield is less than a quarter of what I would get otherwise, it is not at all worth it.

It’s not HEALTHY - all the nutrients are boiled away, so you’re mostly left with concentrated sugar held together by fruit juices and some pulp.

What I Use Instead

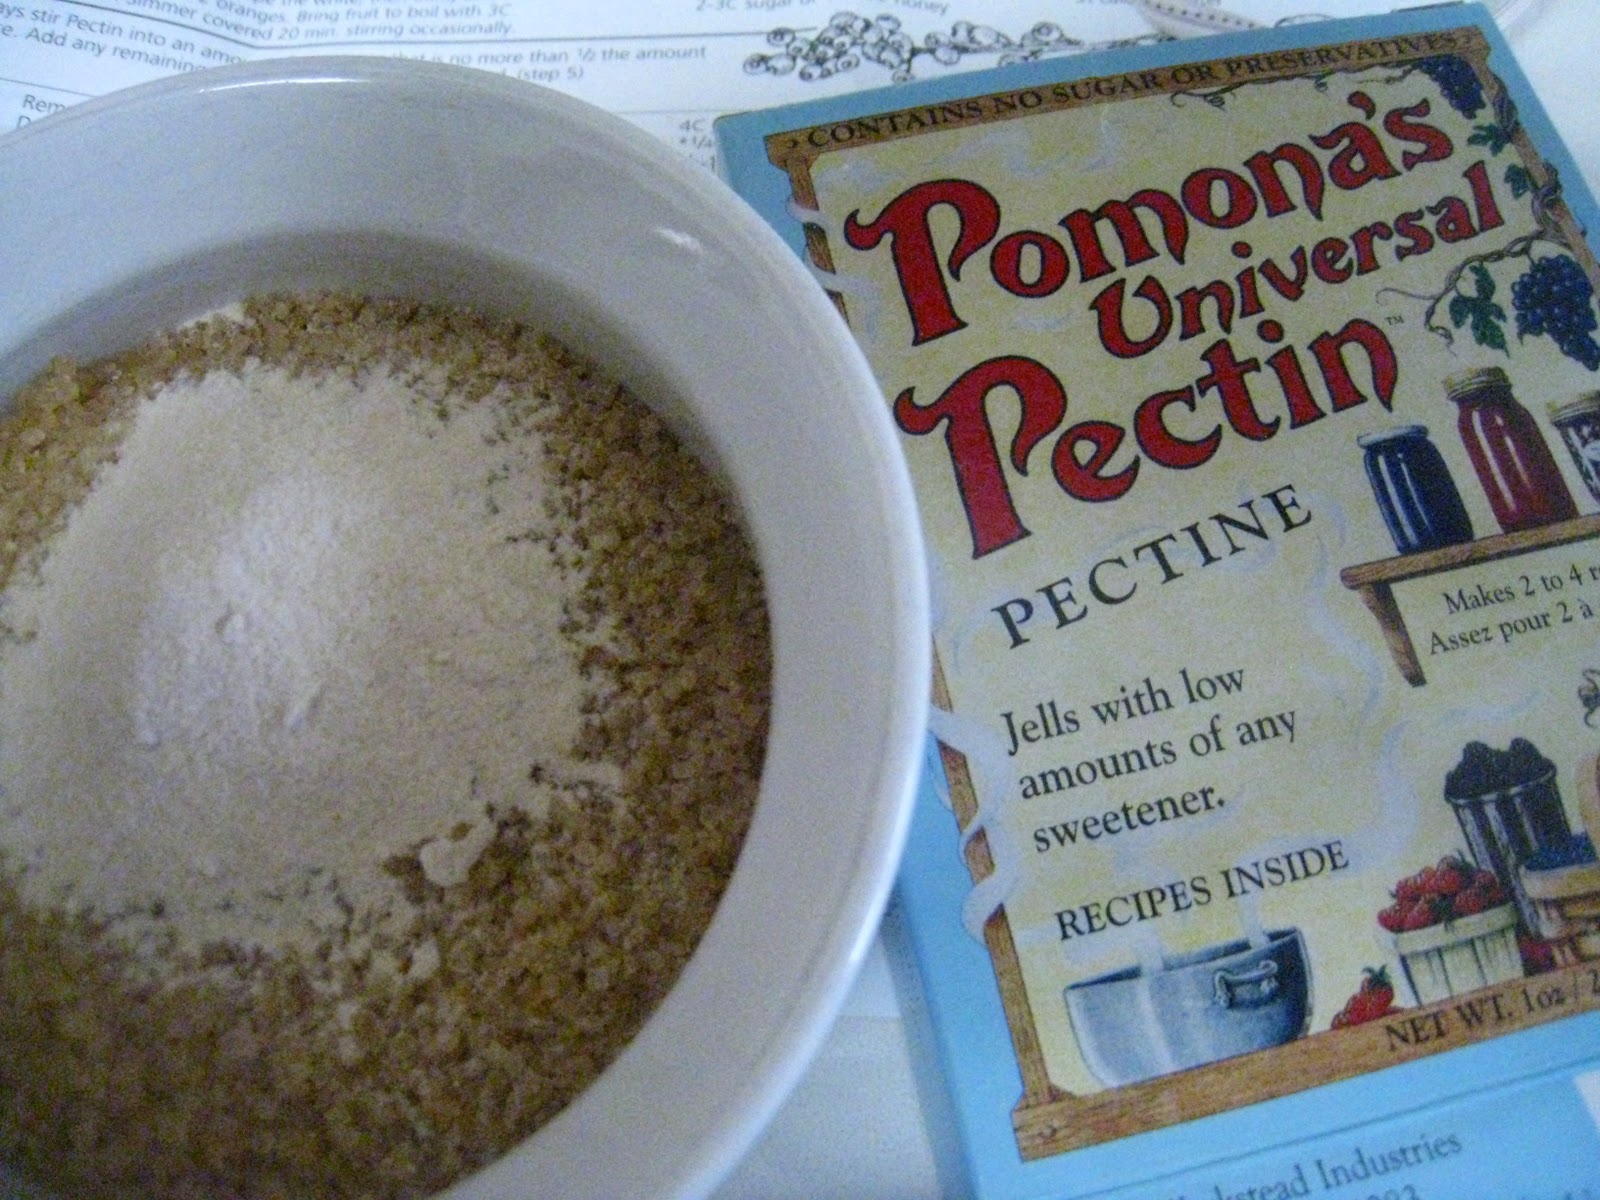
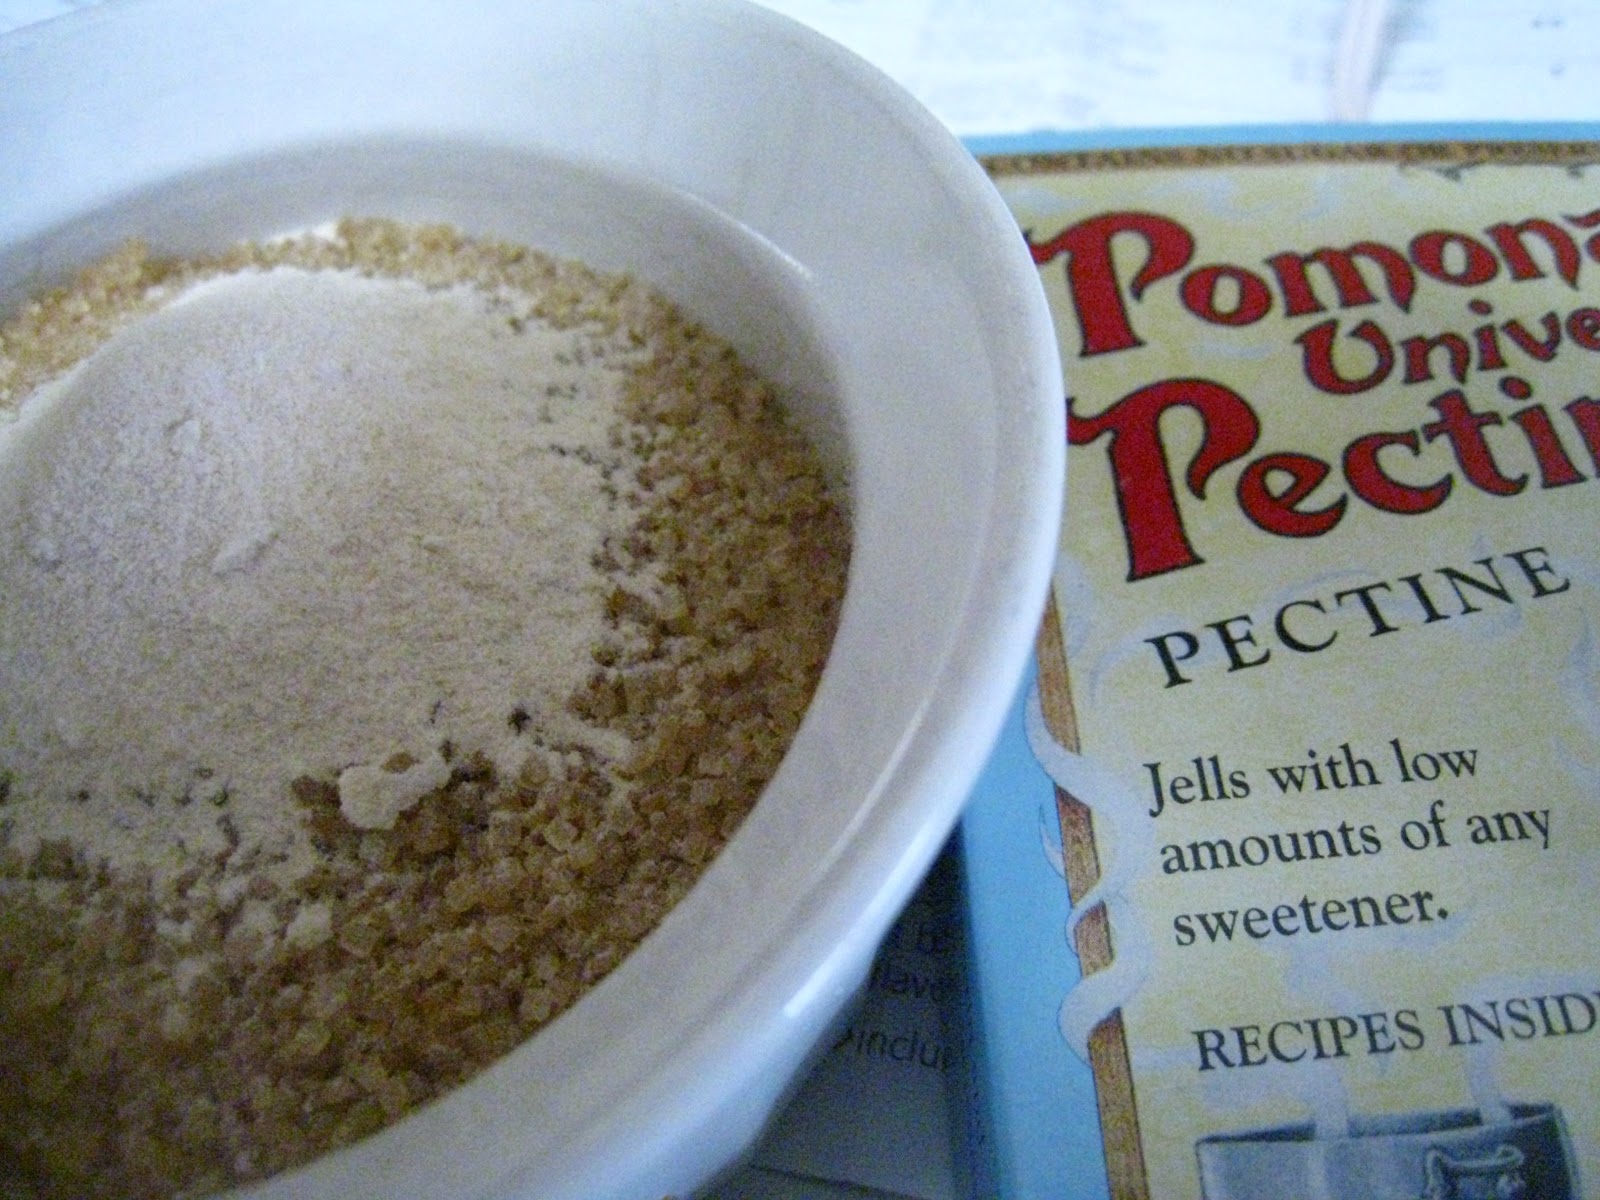
My one experience with apple pectin was enough to convince me to return to my favorite old standby, Pomona’s Pectin. Pomona’s Pectin is incredibly easy to use, is all natural, and requires only 1/4-1/2 cup sugar for most recipes. It also works with all kinds of sugar alternatives, including stevia and honey. I have never had a batch of jam fail in all the time I’ve been using Pomona’s Pectin, and it sets up very quickly - within a minute! No constant boiling, stirring, and testing for a proper set.

I wish Pomona were paying me to say this, but she’s not. The honest truth is: I LOVE THIS STUFF!

What kind of pectin do you like to use?

Sharing at Titus 2sday, Traditional Tuesdays, Homestead Barn Hop, Healthy 2Day Wednesday, Women Living Well Wednesday, Whole Foods Wednesday, Works for Me Wednesday, Real Food Wednesday, Frugal Days Sustainable Ways, Tastetastic Thursday, Simple Lives Thursday

BundleoftheWeek.com, 5 eBooks for $7.40!

Preserving the Bounty: Turning Berries into Jam

Of the many wonderful things you can do with strawberries, jam is one of the best. It’s kind of hard to decide, because there are so many delicious delicacies like strawberry shortcake, or strawberry ice cream, or strawberry syrup, or strawberry lemonade, or… Like I said, hard to decide.

Good thing it’s strawberry season, huh? Too bad the strawberry patches have suffered this year for a variety of reasons from flooding to heat waves. Thank goodness there are still enough strawberries to go around!

I’ve visited the topic of berry jam before, but now that we’re at the threshold of a delicious new berry season that will last us well into July (depending on where you are) with raspberries, blackberries and blueberries, I think it’s a topic worth revisiting.

If you’ve never made jam before and you’re not sure you want to try, please repeat after me:

Jam is not hard.

Jam does not take long.

One more time (let me hear it this time, folks!):

Jam is not hard.

Jam does not take long.

If you want specifics, it takes an hour or less from beginning (fresh dirty berries) to end (beautiful jars of bright red jam). If you’ve heard horror stories from seasoned cooks about jam that just won’t set - or whatever other complaint you may have heard - erase them from your memory, because I’m a total newbie, and every single one of my batches thus far has set without any particular effort or stress on my part.

If you can follow directions, you can make jam.

You will, however, need some equipment, or at least, equipment will make it easier. You can certainly improvise with what you have, but there are certain things that just make canning easier. Here are my recommendations:

Ball canning utensil set (with a wide-mouth funnel, tongs for picking up hot jars, magnetic seal lifter, and bubble remover/headspace measuring tool)

40z Jelly jars, or 8oz jelly jars (Must have both lids and rings; it’s a big no-no to use one-piece lids in canning and preserving. Also, you can re-use jars and rings, but not the lids. If you have jars from before, just purchase extra lids. )

a large stock pot or canning pot (Jam jars will fit in most stock pots, but for other canning, you’ll need a huge canning pot)

Pomona’s Pectin (my favorite) or Ball no-sugar pectin or Sure-Jell no-sugar pectin

Everything else you should already have in your kitchen.

So let’s get started…

Begin by cleaning approximately 2 lbs of berries.


I put mine in a large bowl, filled it with water, and allowed them to soak while I set up the stovetop:

The stock pot (with a hot pad on the bottom to hold the jars in place) filled with water and set to boil, another large pot filled with hot water and clean jars, and a small pot with the lids on a low simmer to keep them clean and sterilized. The last burner will hold the actual pot of jam.

Back to the berries now: As you remove them from the soaking bowl, remove the stems and place them in a colander. Once they’re all in the colander, rinse them well with running water.

Put the freshly cleaned berries into a 4-cup measuring cup and smash them (with a fork, with a pastry blender, with a potato masher, whatever works. Just try not to use a blender unless absolutely necessary because that will interfere with the setting of the jam).

At this point, you will need to follow the instructions for whichever pectin you buy. For Pomona’s Pectin, pour the 4 cups of mashed berries and required amount of calcium water into a pot and bring to a boil.

Add the 3/4 cup sugar and required amount of pectin, and return to a boil. Using the jar tongs, remove the jars, one at a time, from the sterilizing water, and fill them with the jam mixture, leaving 1/4″ headspace at the top. Wipe the top of the jar with a towel or paper towel (this helps keep things clean to prevent food poisoning).

Use the magnetic seal lifter to remove the lids from the simmering water and place them onto the jar. Top with the ring and tighten just a bit (not completely). Use the jar tongs to place the jars on top of the hot pad in the boiling water (it should be a full rapid boil). Cover and boil for 10 minutes (the amount of time depends on altitude, check pectin package for instructions). Using the tongs once again, remove the jam jars from the boiling water and set on a towel to dry. Leave undisturbed for 24 hours. You will probably hear a ping or pop from the jars, indicating that they are sealed. Label the jars with contents and date and store in the pantry. Refrigerate once opened.

I always have one jar that doesn’t quite get full to the top. That’s OK. I don’t bother processing that one in the water; I just put it straight in the fridge and use it up within a few weeks.

Once again, repeat after me:

Jam is not hard.

Jam does not take long.


In fact, jam is pretty QUICK: an hour or less, start to finish (not a day-long process like I once thought).

Jam is very EASY with the right equipment.

Jam is CHEAP, even after the initial investment for the jars and other equipment. I paid less than $2/jar for delicious, fresh (REALLY fresh - strawberries picked that day!) strawberry jam with minimal sugar and no additives. Can you say that about the average jar of store-bought jam with who-knows-what inside?

Making jam at home is HEALTHY because you can control the ingredients and sugar level.

Linking up at Simple Lives Thursday and

BundleoftheWeek.com, 5 eBooks for $7.40!

Gifts From Your Kitchen: Artisan Bread

I’ve mentioned the Artisan Bread in 5 Minutes a Day bread-making method before: it’s my go-to method for baking bread now and I almost always have a bowl of dough in the fridge. I love its simplicity, but also its versatility: it can be made into sandwich bread, free-form “artisan” loaves, rolls, pizza, and even pita bread. It is easy to adapt, as well, to create different flavors with different grains.

When thinking about what gifts to give my friends this year, I wanted to go a healthier route than usual, without being a Scroogy BahHumbug! Although I love making decadent and delicious Christmas treats to share, the truth is everyone gets more than enough of those this time of year. I just wanted to do something fresh and different this year for a change of pace.

After some thought, I decided to put two of my new kitchen skills - homemade jam and artisan bread - to the test and prepare them for my friends as gifts. I’ve been wanting to share both of these with you, as well, so it gives me the perfect opportunity!

You can find the Master Recipe for Healthy Bread in 5 Minutes a Day here. I cannot take any credit whatsoever for the brilliance of this method - that goes entirely to the authors and developers! I do want to share with you my slight adaptations to the recipe just to show you how flexible it really is.

For one thing, I adjusted the ratio of whole wheat to white flour, mostly for the benefit of my DH. I like a good crusty whole wheat bread, but he prefers it a little lighter. For another, I omitted the vital wheat gluten because that’s an extra grocery item I just don’t need to buy, and because I wonder how healthy it really can be when one considers the ever-increasing occurrence of celiac disease (perhaps we are a little overloaded with gluten?). I also sometimes like to use whey, the liquid drained from yogurt, to make a small part of the liquid (about 1/4 cup or less) called for in the recipe. This increases the health factor and adds a bit of a sour-dough-like tang to the taste.

And with my slight adaptations…

TIPS:


*I generally use slightly less than 4 cups of water in the dough because otherwise it is just too wet to work with.

*You don’t have to use a pizza peel and baking stone: you can bake the bread in a regular old loaf pan if you want. I find I get the best results, though, by following their method exactly.

*I used to (and sometimes still do) take the bread out of the oven way too early. The top looks done well before the dough inside is thoroughly baked. The biggest sign of readiness is the bottom: it shouldn’t be gooey or undercooked at all. Check the bottom of the bread before removing from the oven.

*The dough really is almost impossible to handle the first day. I have found it necessary to plan ahead and mix the dough the day before I actually need to use it.

*To make my Christmas gift loaves, I baked 3 small round loaves at once on a large baking stone. I cut an X shape into the top of each, just to make it pretty. One batch of dough makes 6 small round loaves of the size you see in my pictures.

To present the bread as a gift:

When it is thoroughly cooled, place in a large plastic baggie (not the zippered kind). Tape the excess plastic on the bottom where it won’t be seen.

Wrap a pretty ribbon around the bread and tie it in a bow in front.

Line a basket with a Christmas tea towel and place the bread inside. Add jam or other condiments or treats as desired.

This is a QUICK method of bread-baking, with some caveats. Hands-on time is definitely minimal: 5 minutes a day or less as the title indicates. However, there is a LOT of resting and rising time, especially if you want to make loaf bread (flatbreads do not require the resting time, which is why I’ll make a foccaccia or the like when I’m in a hurry). Plus, as I mentioned, it’s really best to make the dough the day before you need to bake it, so some planning ahead is involved.

It is super EASY, though. There is something of a learning curve, even if you’ve made bread before, and I will admit I’m still learning more about this process. But anyone can do it! I love that there is no kneading involved, which is often where many would-be bakers trip up.

What could be CHEAPer? When you omit the vital wheat gluten, the other ingredients are so basic that the cost is minimal. I even like to use more expensive flours (like white whole wheat), but it’s affordable enough that I make a batch at least twice a month, sometimes every week. And as a gift? Unbeatable!

In fact, I’ll break the entire gift down for you, so you can see how affordable it can be:

Basket (purchased used at thrift store): $0.50-$1.00
Tea Towel (purchased a package of 5 on sale and with a coupon at Hallmark for a total of about $2.50. Similar deals can likely be found at Bed Bath and Beyond): $0.50
Loaf of Bread: approximately $0.25
Jar of Jam: $2 or less
TOTAL: approximately $3.75

This is a great price to give acquaintances and people you want to acknowledge at Christmas time, but don’t have a large budget to spend on them. Teachers, party hostesses, hair stylists, mail deliverers, doctors, etc. all would love a homemade gift like this!

It is very HEALTHY, too. I’ve actually been reading in different places recently that some research suggests using half white and half whole wheat flour might be gentler on your digestive system than using strictly whole wheat. The jury’s still out on that one, but it makes me happy to hear, since that’s what I usually do! The book contains a recipe for an entirely whole wheat bread if that is what you are looking for, but I have to admit I’ve never tried it.

BundleoftheWeek.com, 5 eBooks for $7.40!

Gifts From Your Kitchen: Jam

Yes, jam is a Quick, Easy, Cheap AND Healthy gift you can give to friends and family this Christmas! For the longest time, I never made jam because it seemed like such a laborious, lengthy, and difficult task. This summer, though, when seeking for a way to preserve all the delicious fresh local fruit I was purchasing, I discovered that jam-making is actually rather simple, even when processing it in a hot bath. 
And it doesn’t take all that long to do one batch, either. If you’re like me, you had images in your head of 50′s era housewives slaving entire days over the stove to can their jam. Nope. It definitely doesn’t take that long. 

To be honest, the hardest part of it all is the prep, which takes the longest. Once you actually start mixing up the jam on your stove, it all goes by amazingly fast, so you have to be prepared. I’ll walk you through my own personal method that I developed over the summer and am now using to make Christmas gifts for friends from church. 
It is entirely possible to make jam without any special equipment, but as I walk you through the process, I’ll link you up to the equipment that I am currently using (none of which is expensive) to make the process go a little more smoothly. 
Set Up

 You will need approximately 6 4oz jelly jars for a batch of jam. (I used these Jarden 7061000104 4 Oz Decorative Jelly Jars, and I paid next to nothing because I used my Swagbucks Rewards!) Clean them and place them in a pot of hot water to keep them nice and sterilized.

Set out a towel on the counter beside your stove. I set out my Ball Utensil Set on the towel so the implements are ready to use when I need them.

Place the lids in a small pan of hot water. Keep it simmering on very low heat until you need them.

I currently just use my stock pot for canning, but it has its limitations. It’s just not big enough for quart-size jars, and it’s certainly not big enough for the canning rack I picked up at a thrift store a month or so ago. One of these days I’m going to buy myself a canning pot like this: Back to Basics 21-1/2-Quart Steel Water-Bath Canner with Rack. In the meantime, though, I just use my stock pot and place a tea towel on the bottom before filling it with water.

You will definitely want to set the canning pot going first, and get it to a full rolling boil before you even start making the jam. Believe it or not, this part takes the longest! Once the pot is boiling, everything else goes pretty quickly!


Making the Jam
Now that you are set up, you can begin making the jam.

Ingredients:
4 cups fruit
1/2 cup sugar
Pomona’s fruit pectin
1/4 cup lemon juice

In the summer, I like to use fresh fruit from the farmer’s market, but for my Christmas gifts, I bought a package of frozen mixed berries ($2.49) from the grocery store. I supplemented with a cup of frozen blueberries from my freezer to make 4 cups of fruit altogether.

For the sugar, I used raw sugar, but you could use any kind of sugar, as well as honey. And yes, 1/2 cup is all you need. I’ve seen jam recipes that call for almost as much sugar as fruit, and seriously, that’s not necessary! All that sugar covers up the taste of the jam.

I like to use Pomona’s Low Sugar Pectin, 1 oz. Box for several reasons:

  1. It costs pretty much the same (or less) than the leading conventional brand.
  2. BUT it has entirely all natural ingredients. 
  3. AND you can make it with limited amounts of sugar (like 1/2 cup). 
  4. Furthermore, it works perfectly. My jam has set up beautifully each time I’ve used this product. 
Pomona’s pectin comes in two parts: a calcium powder that you mix with water in a small canning jar, like so:

 And the actual pectin powder that you mix with your sweetener (sugar, honey, etc.):

Have your calcium-water and pectin-sugar combo close at hand, and then put your fruit into a pot on the stove. Pour 2 tsp of calcium water and lemon juice onto the fruit, and stir. Bring to a boil, stirring and mashing the fruit as it heats:

 Once the fruit has come to a boil, add the pectin-sugar mixture. Stir and return to a boil. Allow to boil for a couple minutes, stirring all the while, until mixture thickens.

Now… it’s time to can!

Canning the Jam

Use canning tongs to remove the clean jars from the hot water, making sure they’re empty.

Place them on the towel you prepared next to the stove, then pour the jam through the funnel into each jar, leaving appropriate head space (the canning instructions that come with the kit will tell you exactly how much head space you need for each type of jam. I threw mine away - haha! - so I can’t tell you how much that is but it’s usually 1/4″ - 1/2″).

Carefully wipe the top rim of the jar so that it’s clean (to reduce the possibility of bacteria growing inside your jar of jam, which you DEFINITELY don’t want!).

 Use the magnetic wand to remove the lids from the pot:

Place the lid on the jar. Then, holding the hot jar with a towel in one hand, carefully screw the seal over the lid until it is tight.

Use the tongs to lower your jar into the boiling pot of water.

Process (allow to boil) for about 10 minutes, then remove from the pot with the tongs and set them back on the towel to drip-dry and cool. Let the jars sit for about twenty-four hours before disturbing them. You will hear popping sounds as the lids seal.


I almost always have a little bit of extra jam left, so I put it in an extra jar and refrigerate it. Even though it’s not processed, it will last in the fridge for a couple weeks, so we can enjoy it right away!

And that’s it! You now have cute little jars of jam to give as gifts!

Really, jam is so much QUICKer than you might think. Give yourself 2 hours to make one batch, but you probably won’t even need quite that much. Hands-on time - the time that’s actually spent  making the jam and not the time spent watching the water come to a boil - is literally about half an hour. I know Christmas is busy, so if you don’t have even a couple hours to spare in the next week or two, plan on making some next summer. It will keep until Christmas (and well beyond!) so you can get a headstart on your Christmas gifting.

It really is EASY, too. Seriously, I always thought that jam was tricky and difficult to make, but that could not be further from the truth. This summer, I made all different kinds of jam, and each batch was a success. This from a beginner! If I can do it, you can, too.

It is a great CHEAP Christmas gift. After my Swagbucks Rewards, I paid a grand total of $2.30 for the jam jars. Even if you don’t have Swagbucks or gift cards to use, one dozen jam jars only costs about $15.00. The berries cost about $3.00, and I only used a portion of the pectin, which costs less than $5 for the whole box. According to my calculations, the total cost for each jar of jam is less than $2, even paying full price for everything. If you are short on money, and have some time to spare, it’s definitely worth it! Your recipients will LOVE your homemade jam; I guarantee it!

It’s also very HEALTHY, especially if you use the all-natural pectin and low-sugar recipe. It’s still sweet, but it’s a nice change from the overload of chocolatey gooey sweetness that is gifted with abandon this time of year (not that I am totally against chocolatey gooey gifts, mind you! I have both given and received such gifts with great joy!).

Disclosure: This post contains affiliate links.

BundleoftheWeek.com, 5 eBooks for $7.40!