This post contains affiliate links because every little bit helps!
 Chicken salad - especially one with cranberries, apples, and walnuts in it - is one of my favorite uses for leftover chicken. Unfortunately, I don’t get the chance to make it very often due to my Certain Little Someone’s dairy and egg allergies. I’ve tried making it with dairy-free products like coconut milk yogurt and the like, but it just doesn’t taste the same.
A while back, though, I hit upon a unique solution that offers up the chicken salad taste but doesn’t require any dairy whatsoever: instead of binding the salad together with a mayonnaise or yogurt based dressing, all you have to do is blend the chicken with a little bit of broth to create a consistency perfect for sandwiches or crackers! Whether or not you have a dairy allergy or sensitivity, you’ll love this delicious take on the traditional chicken salad.

While this particular recipe is more of a spread than a typical chunky salad, you can control how smooth it is by how long you process or blend the ingredients together. Alternatively, you could divide the amount of chicken in half and stir in the second portion after the first has been processed.
I make mine in the Vitamix, but I would assume you can accomplish the same thing in a food processor.

Recipe: Chicken Sandwich Spread
Ingredients
- 1 medium carrot, peeled and cut into 1/2″ rounds
- 1 stalk celery, cut into 1″ pieces
- 1/4 cup chicken broth
- 2 cups cooked chicken, cubed or shredded
- 1/2 t. salt
- 3/4 t. Herbes de Provence (or your favorite herb/spice blend)
- 1/4 t. garlic powder (or one garlic clove)
- 1/4 t. freshly ground black pepper
Instructions
- Place the lid on your Vitamix, but remove the stopper. Turn the dial up to “3″ or “4″ and drop the carrot and celery pieces in one or two at a time.
- Turn the Vitamix off and add the remaining ingredients in the order listed. Insert the tamper and turn the Vitamix on to “10″ and then to “High”. Blend until you have reached the desired consistency (it won’t take long at all), using the tamper as necessary to keep the mixture flowing through the blades.
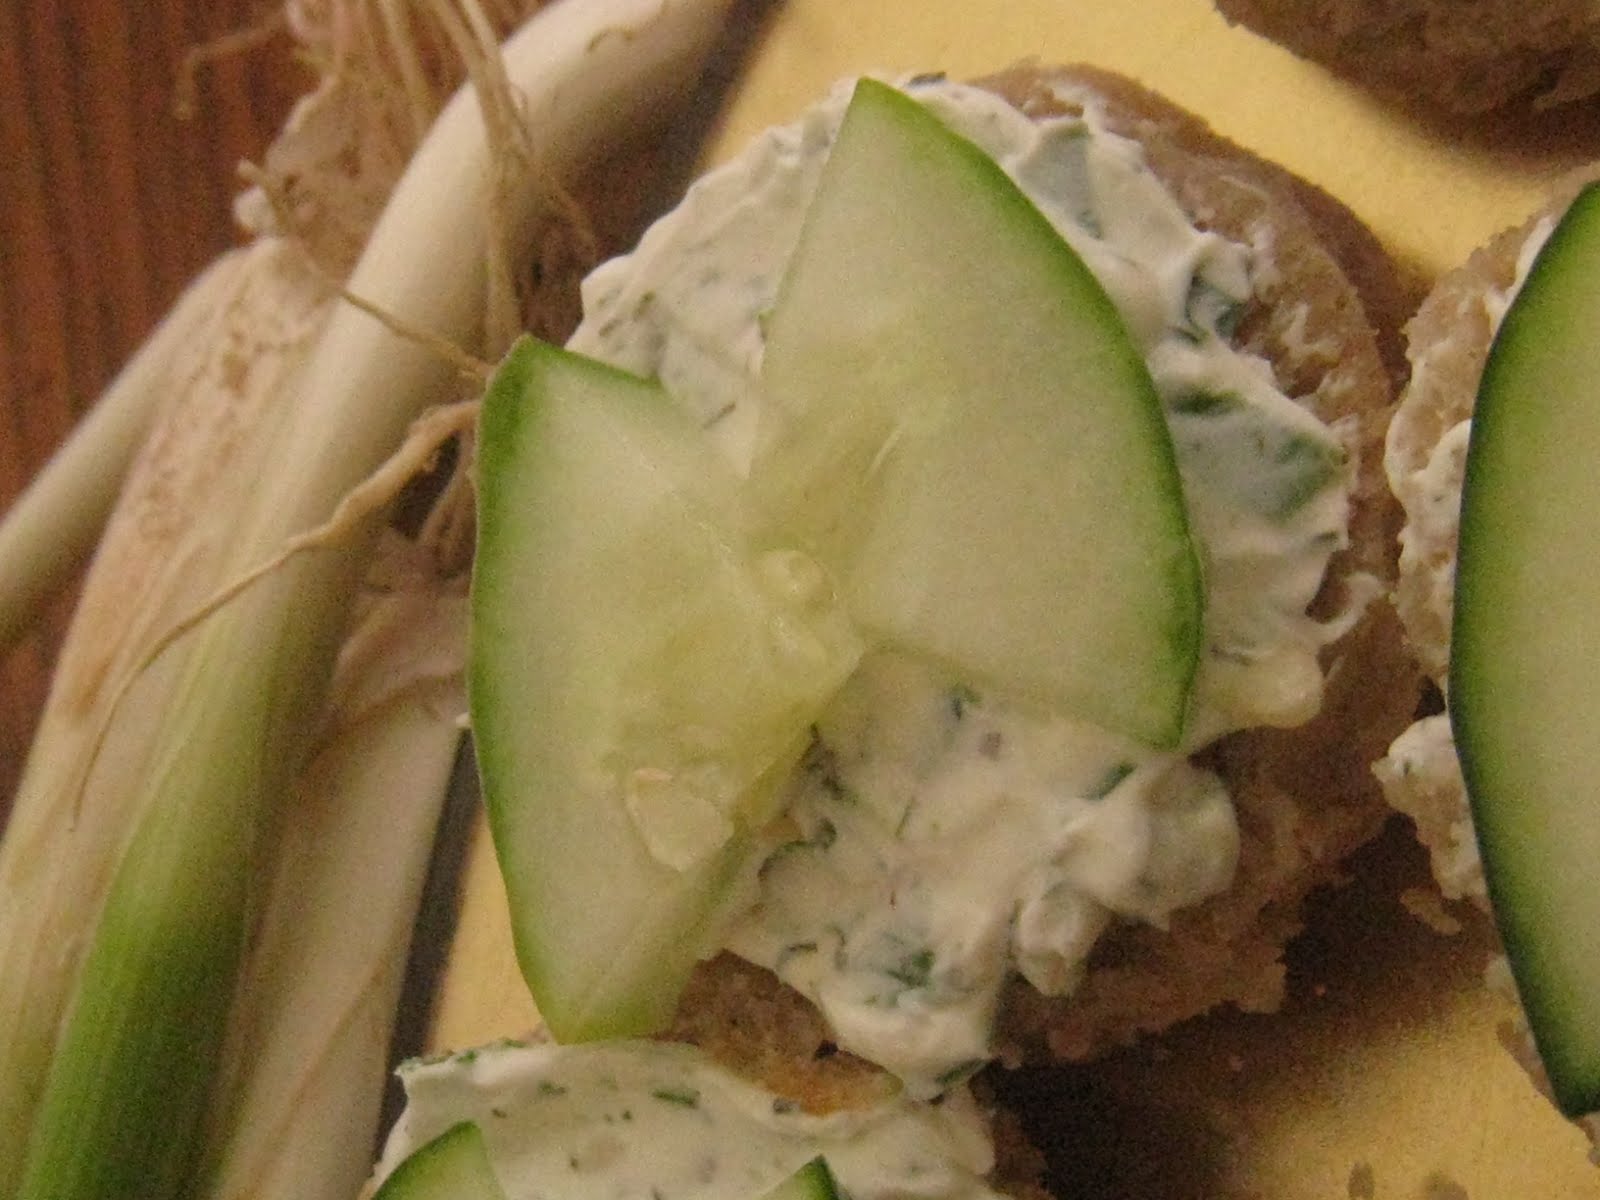
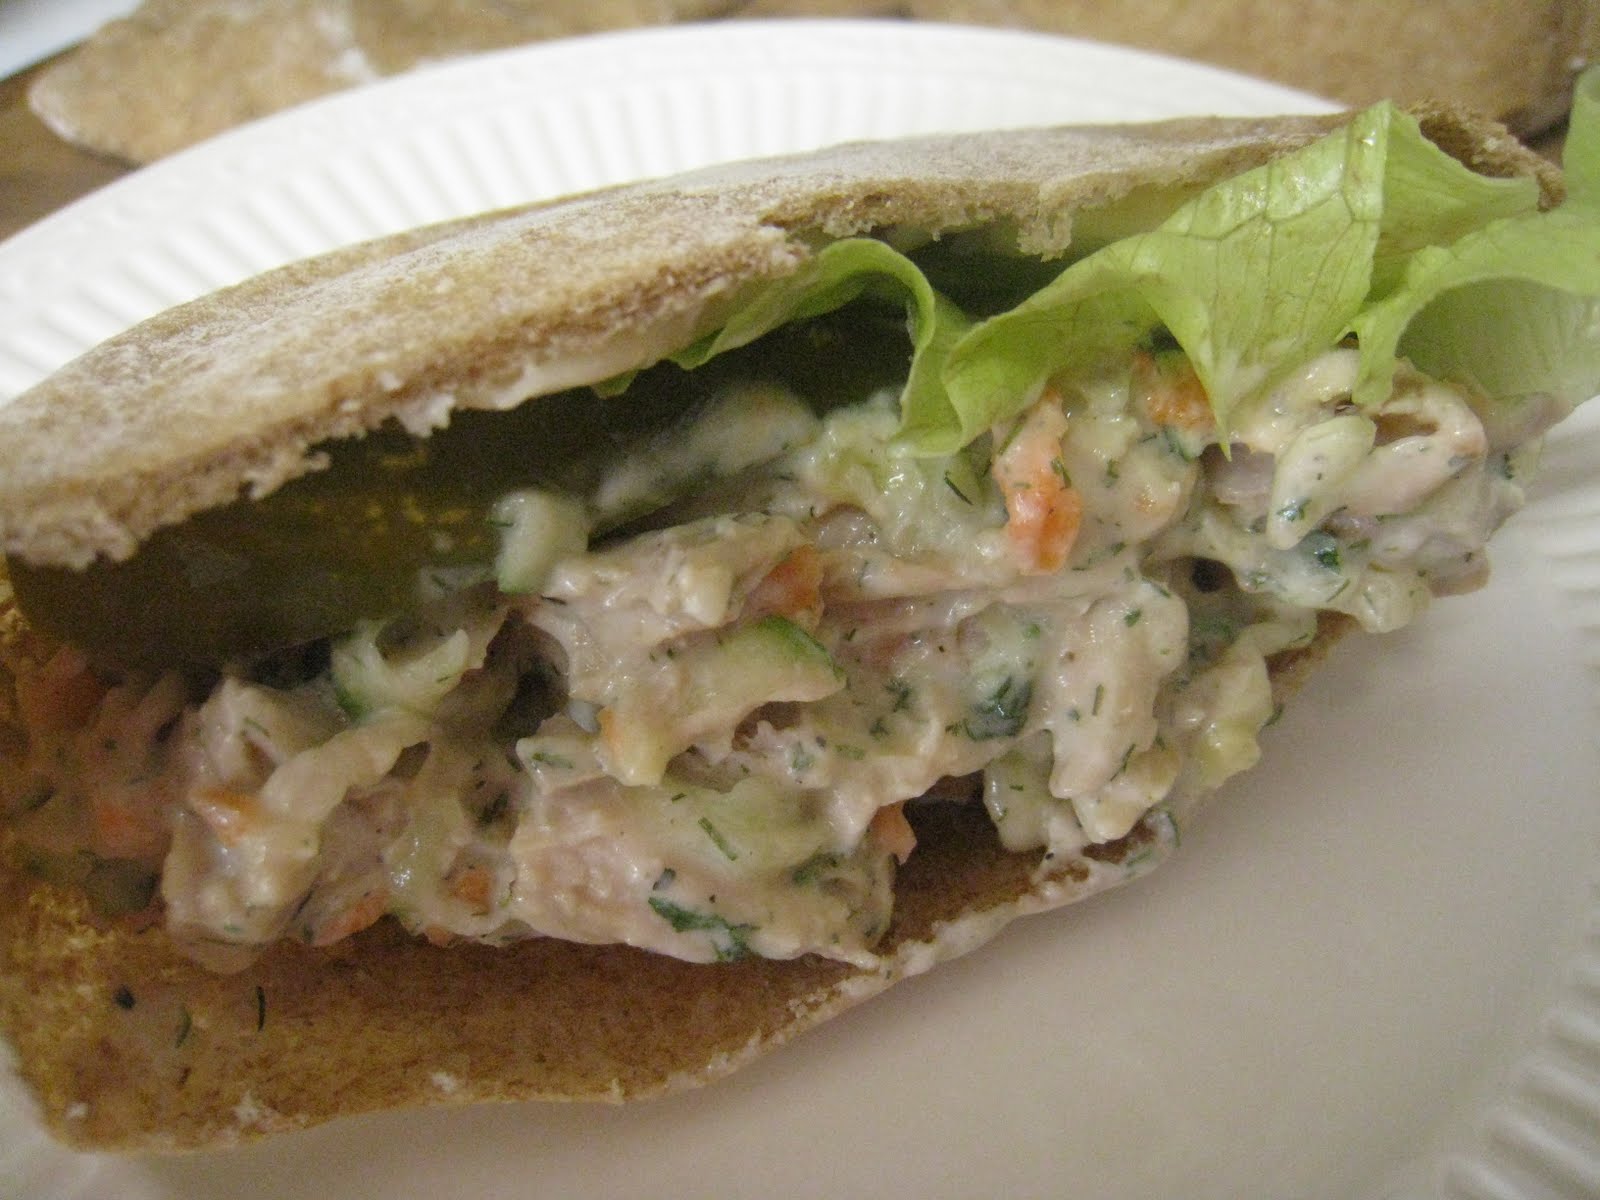
- Remove from the blender and spread on sandwiches or crackers, or use as a dip for crudites.
This makes a great addition to your child’s lunchbox… or even your own lunchbox at work! For more great lunchbox ideas, read my recent post, “No More Boring Lunches!”