I have a serious confession to make.
*Deep breath.*
Ok. Here goes.
The truth is. I’m addicted to fancy coffee shop coffee.
{insert shocked emoticon}
I know, right? The fact that it’s crazy expensive and that I would never consider spending that much money on anything else so trivial and transient does not deter me. The fact that it’s hardly good for me does not deter me. The fact that it doesn’t satisfy me as much as I think it will does not deter me. NOTHING deters me!
So I put myself on a coffee shop fast. I did it earlier this year in January, and it actually really helped! But then I fell off the wagon and I’m back to my usual tricks again.
{insert tragically sad emoticon}
So another coffee shop fast for me.
Thank goodness I have this amazing little diy coffee shop trick up my sleeve. It makes withdrawal so much easier.
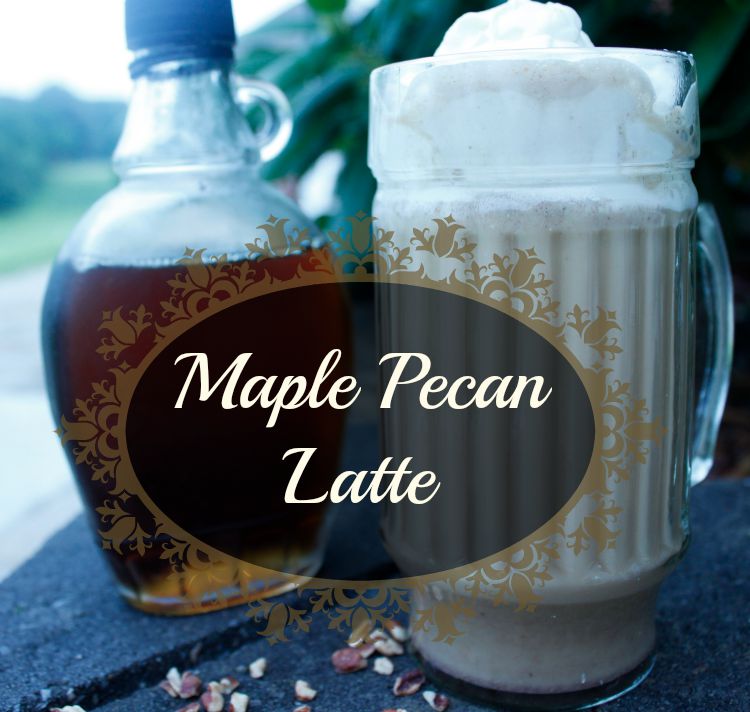
Recipe: Maple Pecan Latte
Summary: a DIY coffee-shop latte drink, completely natural and super easy
Ingredients
- 1 cup strong hot coffee (or serving of espresso)
- 1/2 cup milk
- 1-2 TBSP chopped pecans
- 1 TBSP maple syrup
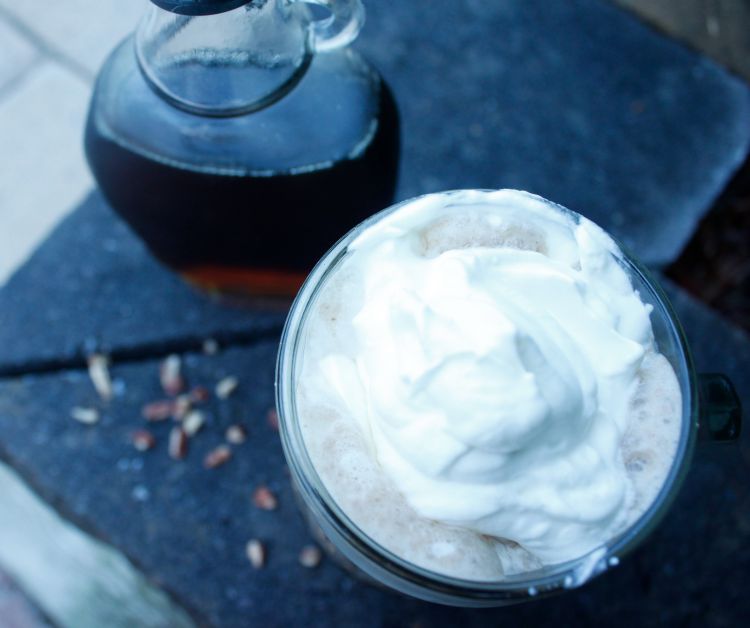
- whipped cream, optional
Instructions
- Place all the ingredients except for the whipped cream in a high-powered blender.
- Blend for 30 seconds to 1 minute, or until pecans are completely blended into the liquid.
- Strain if desired (depending on the quality of your blender and how long you blended it) to remove any remaining pecan parts, and pour into a large mug to serve.
- Top with whipped cream if desired.
 Are you also addicted to coffee shop drinks? Try my other DIY Coffee Drink recipes:
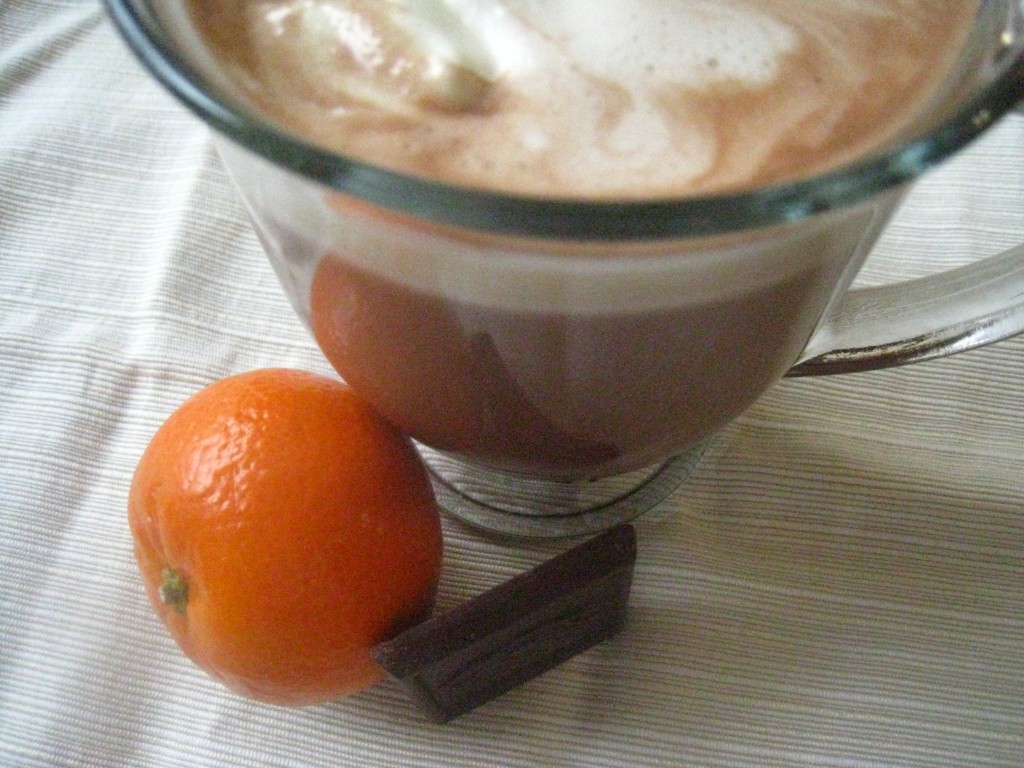
Chocolate Orange Coffee
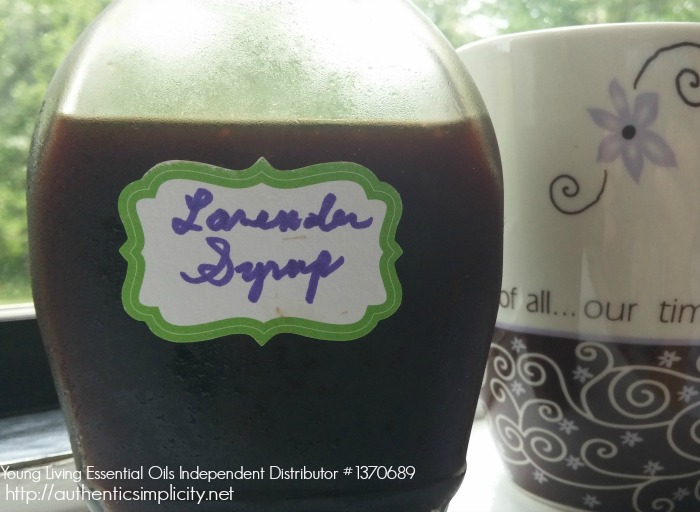
Lavender Iced Coffee #diycoffeeshop

Cold Brewed Coffee #diycoffeeshop
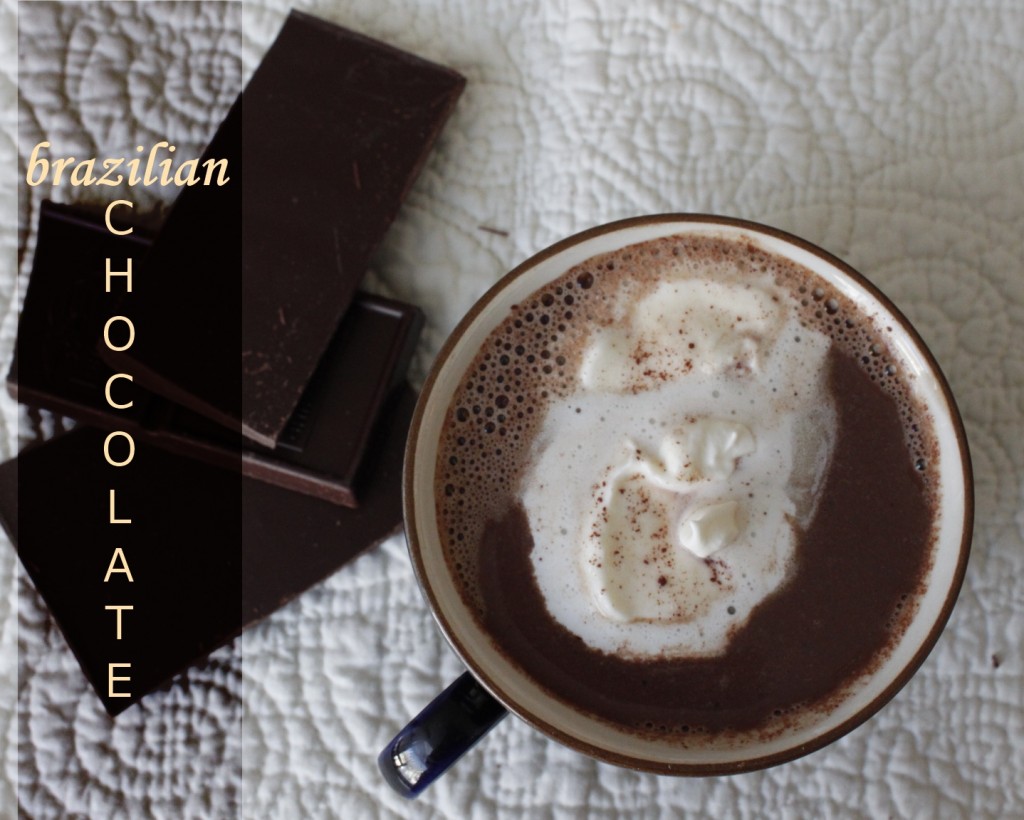
Brazilian Chocolate #diycoffeeshop