Learn How to Make a Simple Sourdough Bread

Sourdough is not as complicated as it seems. Once you learn the basic procedure, it’s actually – in my humble opinion - a super simple way to make a delicious and healthy loaf of whole-grain bread.

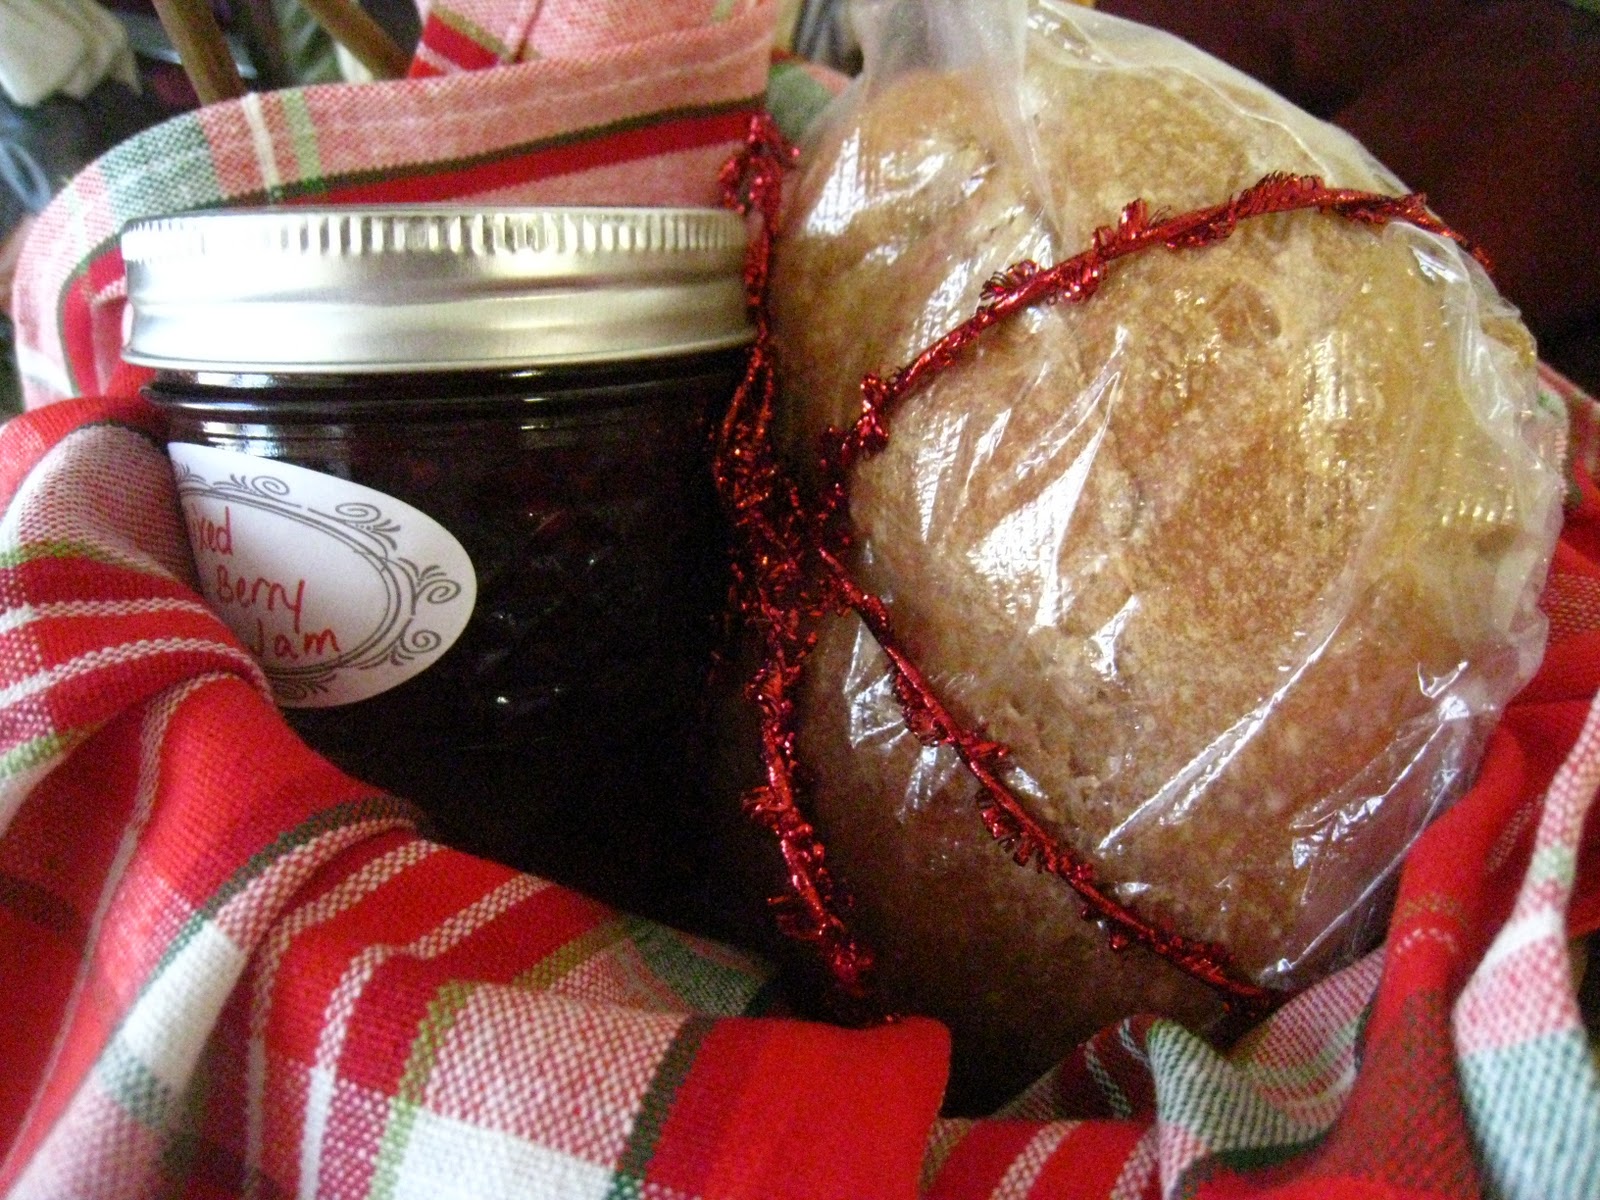
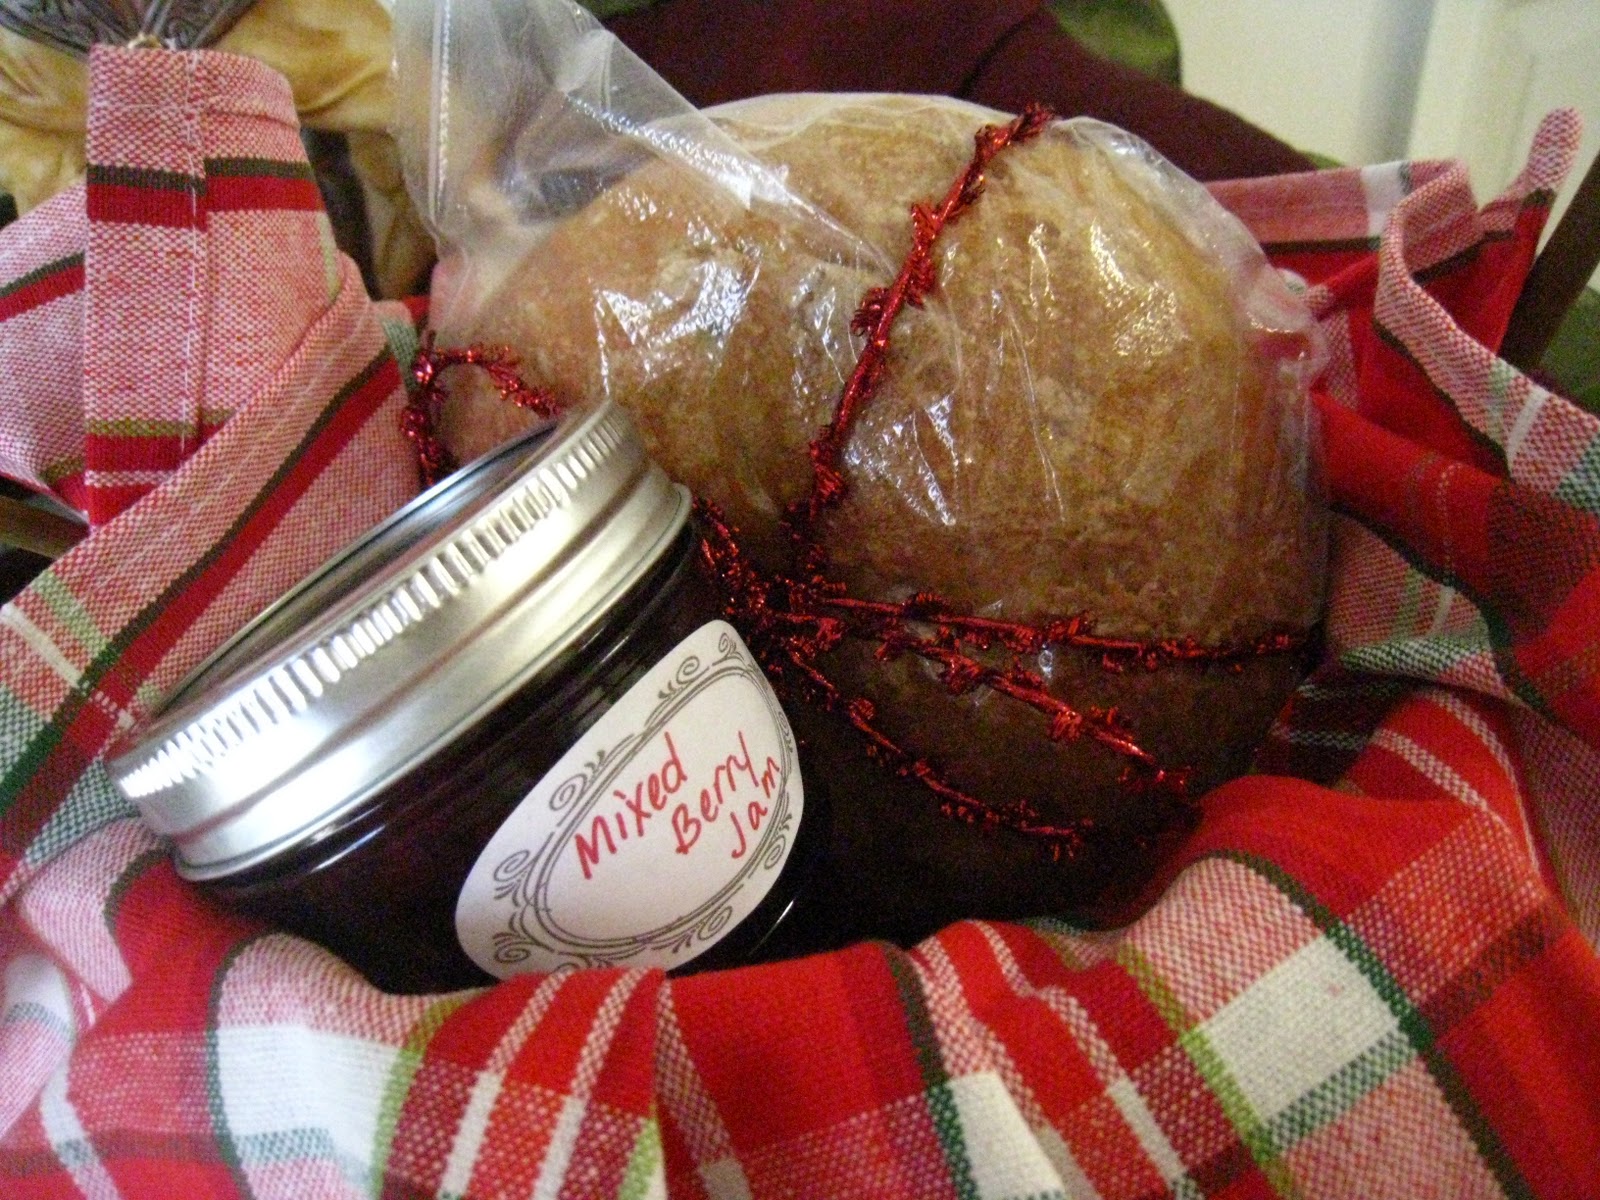
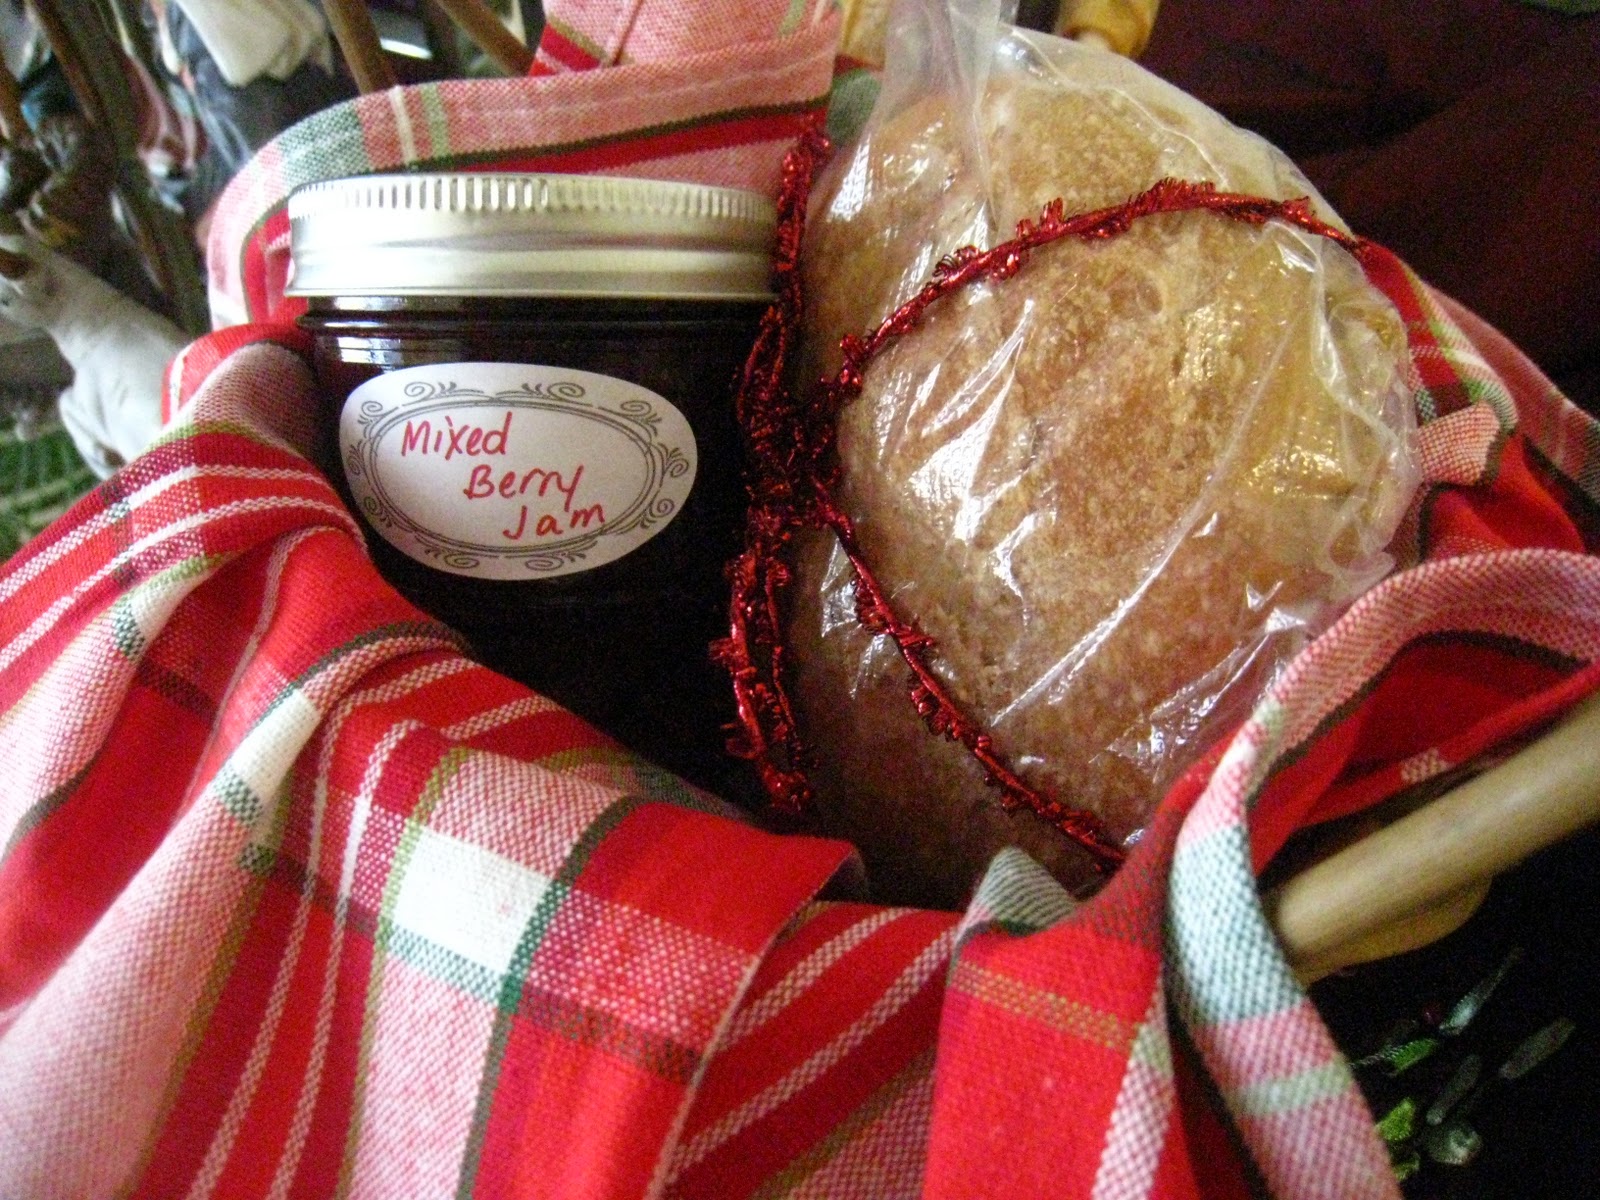
And today, I’m over at Baking Whole Grains with a super-simple method for baking delicious and healthy loaves of sourdough bread. This is the recipe I use every week (in fact, I have one in the process now!) to bake our bread, and it honestly could not be any more simple. Click here to find out how to make Super Simple Sourdough Bread.

BundleoftheWeek.com, 5 eBooks for $7.40!

Gifts From Your Kitchen: Artisan Bread

I’ve mentioned the Artisan Bread in 5 Minutes a Day bread-making method before: it’s my go-to method for baking bread now and I almost always have a bowl of dough in the fridge. I love its simplicity, but also its versatility: it can be made into sandwich bread, free-form “artisan” loaves, rolls, pizza, and even pita bread. It is easy to adapt, as well, to create different flavors with different grains.

When thinking about what gifts to give my friends this year, I wanted to go a healthier route than usual, without being a Scroogy BahHumbug! Although I love making decadent and delicious Christmas treats to share, the truth is everyone gets more than enough of those this time of year. I just wanted to do something fresh and different this year for a change of pace.

After some thought, I decided to put two of my new kitchen skills - homemade jam and artisan bread - to the test and prepare them for my friends as gifts. I’ve been wanting to share both of these with you, as well, so it gives me the perfect opportunity!

You can find the Master Recipe for Healthy Bread in 5 Minutes a Day here. I cannot take any credit whatsoever for the brilliance of this method - that goes entirely to the authors and developers! I do want to share with you my slight adaptations to the recipe just to show you how flexible it really is.

For one thing, I adjusted the ratio of whole wheat to white flour, mostly for the benefit of my DH. I like a good crusty whole wheat bread, but he prefers it a little lighter. For another, I omitted the vital wheat gluten because that’s an extra grocery item I just don’t need to buy, and because I wonder how healthy it really can be when one considers the ever-increasing occurrence of celiac disease (perhaps we are a little overloaded with gluten?). I also sometimes like to use whey, the liquid drained from yogurt, to make a small part of the liquid (about 1/4 cup or less) called for in the recipe. This increases the health factor and adds a bit of a sour-dough-like tang to the taste.

And with my slight adaptations…

TIPS:


*I generally use slightly less than 4 cups of water in the dough because otherwise it is just too wet to work with.

*You don’t have to use a pizza peel and baking stone: you can bake the bread in a regular old loaf pan if you want. I find I get the best results, though, by following their method exactly.

*I used to (and sometimes still do) take the bread out of the oven way too early. The top looks done well before the dough inside is thoroughly baked. The biggest sign of readiness is the bottom: it shouldn’t be gooey or undercooked at all. Check the bottom of the bread before removing from the oven.

*The dough really is almost impossible to handle the first day. I have found it necessary to plan ahead and mix the dough the day before I actually need to use it.

*To make my Christmas gift loaves, I baked 3 small round loaves at once on a large baking stone. I cut an X shape into the top of each, just to make it pretty. One batch of dough makes 6 small round loaves of the size you see in my pictures.

To present the bread as a gift:

When it is thoroughly cooled, place in a large plastic baggie (not the zippered kind). Tape the excess plastic on the bottom where it won’t be seen.

Wrap a pretty ribbon around the bread and tie it in a bow in front.

Line a basket with a Christmas tea towel and place the bread inside. Add jam or other condiments or treats as desired.

This is a QUICK method of bread-baking, with some caveats. Hands-on time is definitely minimal: 5 minutes a day or less as the title indicates. However, there is a LOT of resting and rising time, especially if you want to make loaf bread (flatbreads do not require the resting time, which is why I’ll make a foccaccia or the like when I’m in a hurry). Plus, as I mentioned, it’s really best to make the dough the day before you need to bake it, so some planning ahead is involved.

It is super EASY, though. There is something of a learning curve, even if you’ve made bread before, and I will admit I’m still learning more about this process. But anyone can do it! I love that there is no kneading involved, which is often where many would-be bakers trip up.

What could be CHEAPer? When you omit the vital wheat gluten, the other ingredients are so basic that the cost is minimal. I even like to use more expensive flours (like white whole wheat), but it’s affordable enough that I make a batch at least twice a month, sometimes every week. And as a gift? Unbeatable!

In fact, I’ll break the entire gift down for you, so you can see how affordable it can be:

Basket (purchased used at thrift store): $0.50-$1.00
Tea Towel (purchased a package of 5 on sale and with a coupon at Hallmark for a total of about $2.50. Similar deals can likely be found at Bed Bath and Beyond): $0.50
Loaf of Bread: approximately $0.25
Jar of Jam: $2 or less
TOTAL: approximately $3.75

This is a great price to give acquaintances and people you want to acknowledge at Christmas time, but don’t have a large budget to spend on them. Teachers, party hostesses, hair stylists, mail deliverers, doctors, etc. all would love a homemade gift like this!

It is very HEALTHY, too. I’ve actually been reading in different places recently that some research suggests using half white and half whole wheat flour might be gentler on your digestive system than using strictly whole wheat. The jury’s still out on that one, but it makes me happy to hear, since that’s what I usually do! The book contains a recipe for an entirely whole wheat bread if that is what you are looking for, but I have to admit I’ve never tried it.

BundleoftheWeek.com, 5 eBooks for $7.40!

Festive French Toast


Ah, December: my favorite time of year! For so many reasons:

  • the end of one year, signaling the beginning of another
  • Christmas music!
  • Christmas shopping (I actually really enjoy that part!)
  • dreaming up Christmas lists
  • get-togethers with family and friends
  • special Christmas performances and concerts
  • … and, of course, all the Christmas flavors, and the food, delicious food!
How about you? Do you enjoy December?

It doesn’t really matter, I guess, because ready or not, here it is! And here we go, into the frenzied but fun mad rush of a holiday season, hanging on by the merest thread of our sanity. I love it!

To celebrate the beginning of the season, here’s a great recipe you can try any day of the week, for breakfast or dinner. If it’s just too much to think about in the midst of all the craziness, save it for Christmas Day breakfast.
But really, I promise: it is SO easy. All you need is some healthy bread (homemade or storebought, doesn’t matter, but make sure it’s whole grain), a few eggs, and some healthy eggnog (homemade or storebought: I paid way too much for a carton of the good organic stuff, but I just couldn’t bring myself to buy those cartons with all the HFCS, preservatives, coloring, flavoring and whatnot).
Seriously, it couldn’t be easier: follow these directions for French Toast (or make them as you usually do), except swap out the milk for eggnog instead. See what I mean? Easy! A simple switch and you have a festive, ready-for-Christmas flavor that takes the ordinary into the realm of extraordinary.
And perfect for December.

You can top them with real maple syrup or honey, or to make them even more special, try enjoying them with this Cinnamon Syrup (I use 1 1/2 tsp cornstarch instead of the flour, and about 3/4 cup of raw sugar instead of the sugars). (Another fun idea would be cranberry sauce - not the canned kind.)
And for a really decadent breakfast treat, whip some cream up with another dollop of eggnog. I used about 1/2 cup of cream and a tablespoon of eggnog. Top with a dusting of cinnamon.
This is just as QUICK as regular French Toast. Making the syrup and whipped cream yourself will add a little bit of time, but not much - 10-15 minutes at most.
It’s so EASY, too. Anyone can make French toast, and anyone can make Festive French Toast!
Eggnog is not exactly CHEAP, I’ll admit. I paid more than I care to say for a small carton of the organic variety, but to be honest, regular conventional eggnog is not that much cheaper. Even if I made it myself, it would still be a seasonal luxury. But that’s part of what makes it festive and fun!
HEALTHY really depends on the quality of the components you use. If you use regular old store-bought bread (especially white bread), Aunt Jemima-type syrup, conventional eggnog and whipped topping, it will most definitely NOT be healthy. However, if you use:
  • whole-grain bread w/o artificial ingredients (I used homemade oat bread)
  • maple syrup, honey, or homemade syrup
  • real whipped cream
  • and eggnog without artificial ingredients or extra sugar
it can be a relatively healthy meal when rounded out with plenty of fresh fruit.
Enjoy; and Happy December!


BundleoftheWeek.com, 5 eBooks for $7.40!

International Fare: Russian Blini, Greek Yogurt and Cardamom Coffee

Every year in October, my church has a “Missions Banquet”, where, ideally, everyone brings a dish representing their ethnic background. Both my DH and I have a lot of mixed European blood, but we also each have a strong presentation of one particular European country that dominates the mix. My mom is 100% Finn, and my DH’s mom is mostly Greek, both of which provide a great deal of inspiration for a variety of delicious ethnic foods. On top of that, I spent some time in Russia in my teen years, and gained an appreciation for a variety of Russian foods, my favorite of all time being blini.

Blini are kind of like the Russian version of crepes, or very thin pancakes. They can be served with savory or sweet accompaniments. Caviar is a favorite (not for me, but for people who happen to like caviar!), and sour cream (or plain yogurt/kefir) is also very common. Smoked salmon is popular, and I recall once having them as a snack for tea in a Russian home, served with jam. In my brief research, it seems like there are about as many different recipes for blini as there are people in Russia, but I use a recipe very similar to what was taught to me by a friend in Russia.

I am no blini expert, so I will just give you the ingredient list that I used, and then direct you to this site, which has very specific instructions for the method that is a lot more precise and helpful than I would be. In Moscow, my friends would say that the first blin was for the cook, meaning that the first blin never quite turned out the way it should. When I make them, the first 2 or 3 are for the cook!

Here is the ingredient list that I used (more accurate, I think than the one in the link above. My recipe doesn’t have buttermilk or kefir, but you can certainly substitute part of the milk with either of those).

Russian Blini
2 eggs
1 TBSP sugar
1/3 tsp salt
3/4 flour
2 cups milk
1 TBSP oil

Whisk together the eggs, sugar and salt. Sprinkle the flour over the mixture, and then stir as you slowly add the milk. Mix until smooth and well blended - no lumps of flour. Stir in oil. Continue as directed here.

The other component of my international potluck offering was Greek yogurt. Oh. My. Word. I’d eaten Greek yogurt from the store before, but this was homemade, and WOW! It was sooooo good. The best yogurt I’ve ever had. I made my own yogurt with whole milk in my yogurt machine the day before, but you can use any plain yogurt.

Greek Yogurt with Honey and Vanilla
2 cups plain yogurt
1 TBSP honey
1/2 tsp vanilla

Line a strainer or colander with cheesecloth (or…. paper towels, she whispers embarrassedly. No cheesecloth here, so I had to make a quick substitute. And no, there were no flecks of paper in the yogurt!). Pour the yogurt into the colander or strainer and place over a bowl. Allow to sit for several hours to drain out all the liquid in the yogurt (I left mine in the fridge for a large part of the day). You should have almost a sour cream consistency with the remaining yogurt.

Remove yogurt to serving bowl, and stir in honey and vanilla until well blended. Prepare for bliss… and taste!

SOOOO EASY, and aside from the draining time, very QUICK too. It’s a great CHEAP dessert (or snack or breakfast) AND it’s very HEALTHY to boot. And did I mention that it’s fabulously delicious?! A winner in my book!

My final contribution was cardamom coffee, a nod to my Finnish heritage which I have already blogged about, so you can read here if you’re interested.

I think I have just given you the components for a yummy breakfast… Enjoy!

BundleoftheWeek.com, 5 eBooks for $7.40!

Interesting reads