The Great Chicken Breast Adventure: Pizza Pizza!

This is the fourth installment in my “The Great Chicken Breast Adventure” series.

To start at the beginning, read “Prepping the Chicken”.

Remember that small pile of chicken breast pieces I had leftover after making the Chicken Breasts with Orange Sauce? I panfried them with the rest of the chicken and saved them to use in this pizza, which turned out to be an excellent choice! This recipe also utilized some leftover cheese sauce from baked potatoes we had previously enjoyed, so it turned out to be a frugal meal all around. And delicious! I was quite pleased with my inspiration and am going to have to put it intentionally on the menu in the future.

Just in case you don’t have leftover cheese sauce lying around, here’s a great basic recipe . You can use the leftovers for baked potatoes!

It’s no secret that pizza is a great QUICK weeknight meal - and I don’t mean takeout! Honestly, it’s faster to make your own pizza than to wait for delivery.

It’s also super EASY! Even pizza dough is easy, and the toppings are a piece of cake.

Making your own pizza is definitely CHEAPer than takeout, no question. Utilizing leftovers like I did makes it even cheaper!

It’s also a lot HEALTHY-er to make your own pizza rather than delivery or takeout. One problem with pizza is that it is definitely carb- and protein- heavy and rather light on the veggies. I always serve it with fresh fruit and/or vegetables. A side salad is a perfect accompaniment to pizza, as well!

BundleoftheWeek.com, 5 eBooks for $7.40!

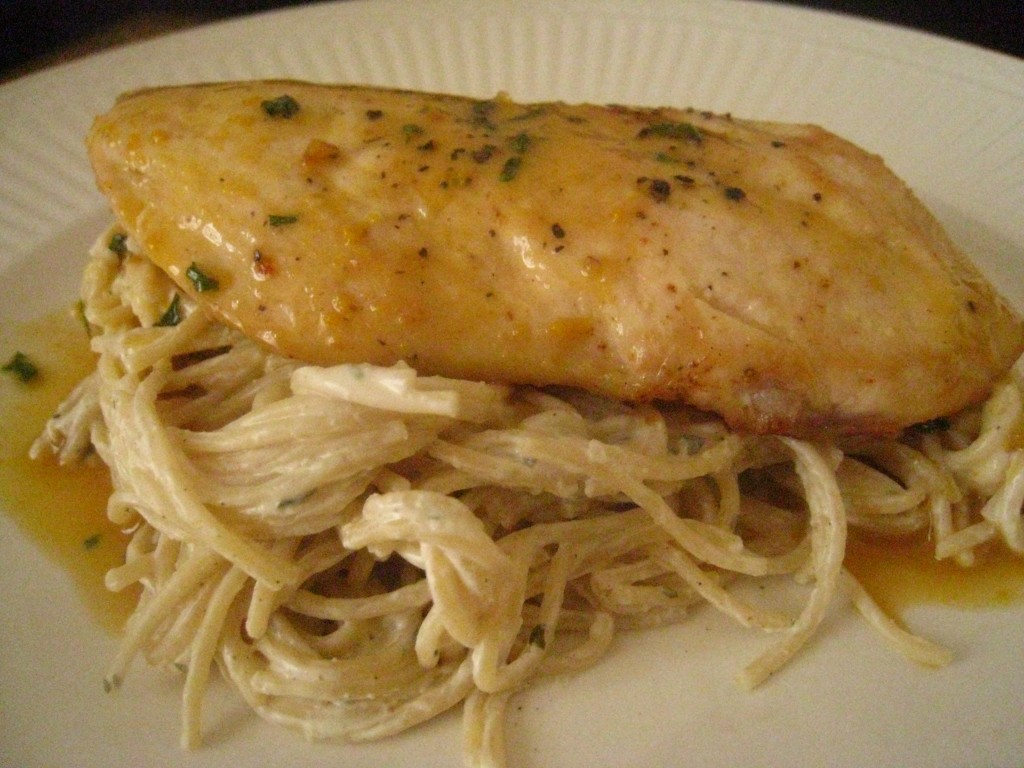
The Great Chicken Breast Adventure: Chicken Breasts with Orange Sauce

This is the third installment in my “The Great Chicken Breast Adventure” series.

To start at the beginning, read “Prepping the Chicken”.

So, the chicken is prepped, and the shreds were made into pocket sandwiches. Now you can see what I did with the actual chicken breasts!

Of the three bone-in breasts that I bought, I was able to divide 2 of them into 2 chicken breast portions each. Of those, one didn’t quite divide as evenly as I would have liked, so I lumped the smaller piece together with the two tenders I had cut, which left me with 4 chicken breast portions and a small pile of small chicken pieces.

I pan-fried it all when making this recipe, but only used the actual 4 breast pieces for the meal itself, and saved the small pieces for the last meal.

I clipped the original recipe from an All You magazine, and didn’t really change it much (surprise surprise!). It was very good as is, I only made some minor changes based on the ingredients I had at home . It really is a super easy recipe that is incredibly delicious. I love the fresh orange flavor in the sauce.

Panfrying is a great QUICK weeknight dinner method. If the meat is thawed and ready to go, the actual cooking part takes less than 15 minutes.

It’s also very EASY. Reducing a sauce sounds like quite the chef-y thing to do, but it’s really pretty simple.

This is pretty CHEAP, too, especially if you use homemade broth, and if you normally have orange juice in the fridge. I don’t always have orange juice on hand, so I probably wouldn’t buy it just for this recipe.

The orange juice and broth add some great nutrients to this recipe, making it a very HEALTHY choice.


Hearth and Soul Hop at the 21st Century Housewife

BundleoftheWeek.com, 5 eBooks for $7.40!

The Great Chicken Breast Adventure: Pocket Sandwiches

This is the second installment in my “The Great Chicken Breast Adventure” series.

To start at the beginning, read “Prepping the Chicken”.

Pocket sandwiches are not a new idea by any means; in fact, they go way back. You can find a variety of them in almost any culture: pasties from England, calzones from Italy, empanadas from Spain, pierogies from the Eastern block, and the list goes on and on and on. It seems that everybody needs a delicious portable food on occasion.

Mine are the purely American kind: you know, the kind that break all the rules and defy definition. The good ol’ American way! They follow the basic procedure of all the aforementioned - bread dough of some sort wrapped around a filling of some sort - but the type of bread and the type of filling don’t fit into any one category. So pocket sandwiches it is. If you can think of a better moniker, please let me know!

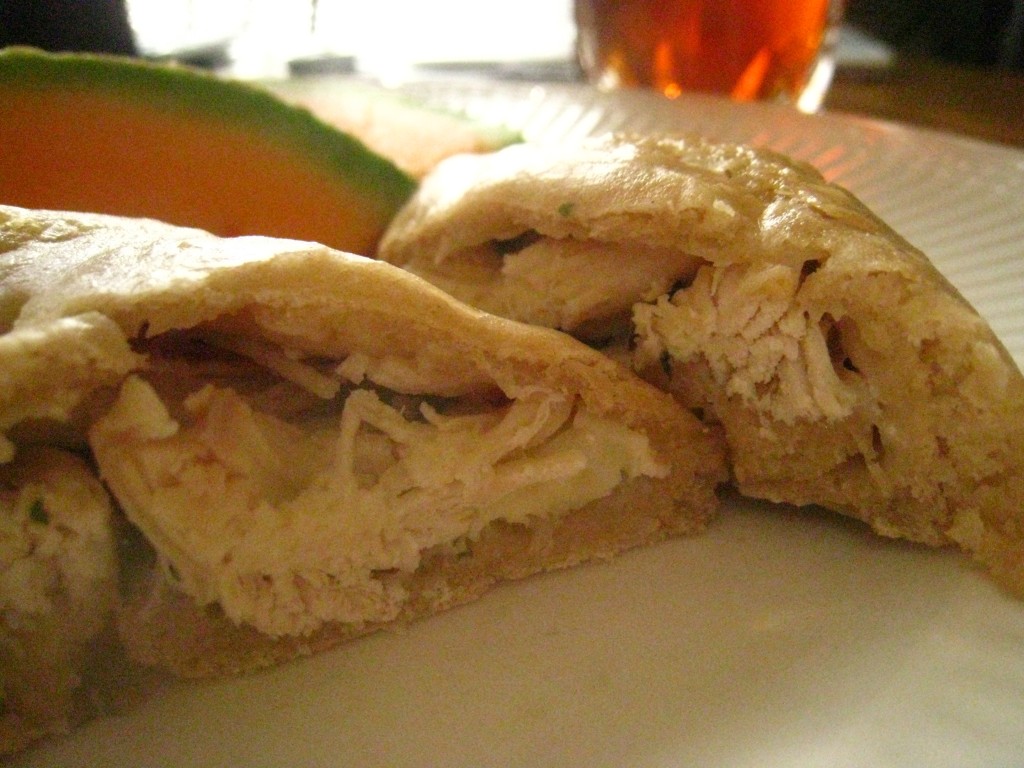
I used the shredded chicken I removed from the cooked chicken rib bones to make these chicken pocket sandwiches. Simply by changing the sauce and the cheese, you can create two very distinct tastes, as I will show you. I’m sure you can come up with a million different versions of your own once you have the basics down.

{Scroll down for a printable version of the recipe.}

To make your pocket sandwiches, you will need a pound of bread dough of some kind. Try the 5 Minute Artisan Bread, or a pizza dough. For Chicken Ranch Pockets, you will need ranch dressing , mozzarella cheese, and of course cooked chicken. Fresh parsley or other herbs are a delicious addition. For the Barbecue Chicken Pockets, you will need barbecue sauce, chicken, and cheddar or monterey jack cheese. In either case, a sprinkle of flour is also helpful to keep the cheese from disappearing into the bread, and additional seasonings or herbs are always tasty.

Here’s how to assemble and cook them:

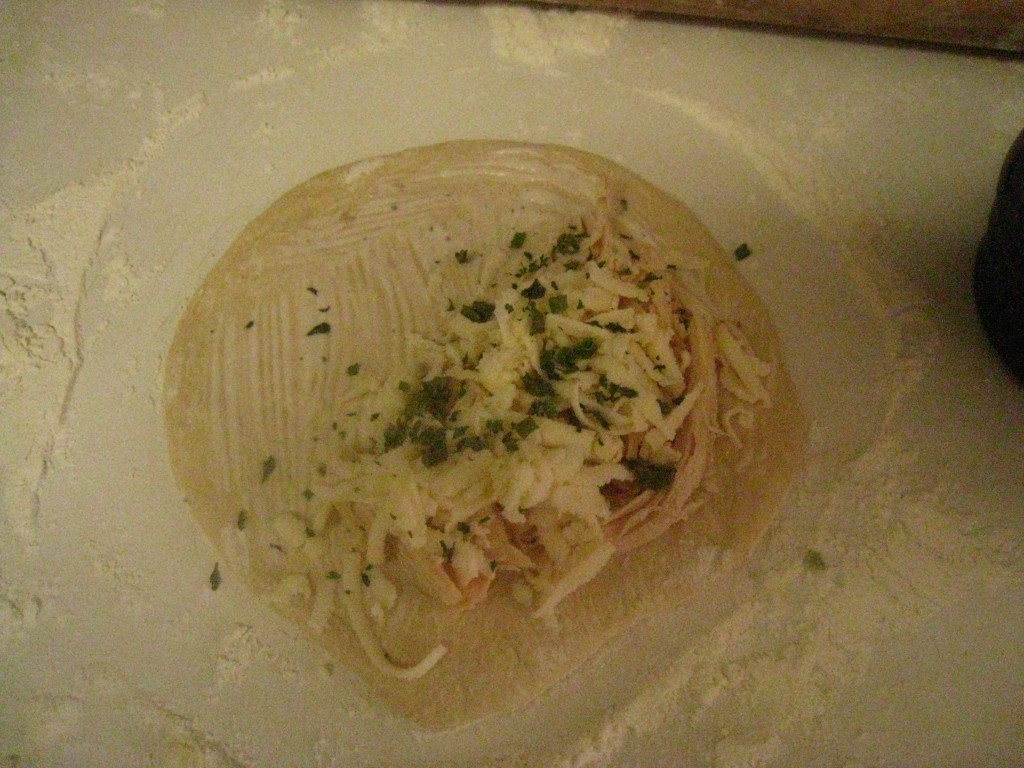
Divide your pound of dough into 6 equal portions. Roll out each portion into a 5″ circle. Spread 1 TBSP of sauce on the circle, and place the chicken cheese and any other seasonings on one side of the circle.

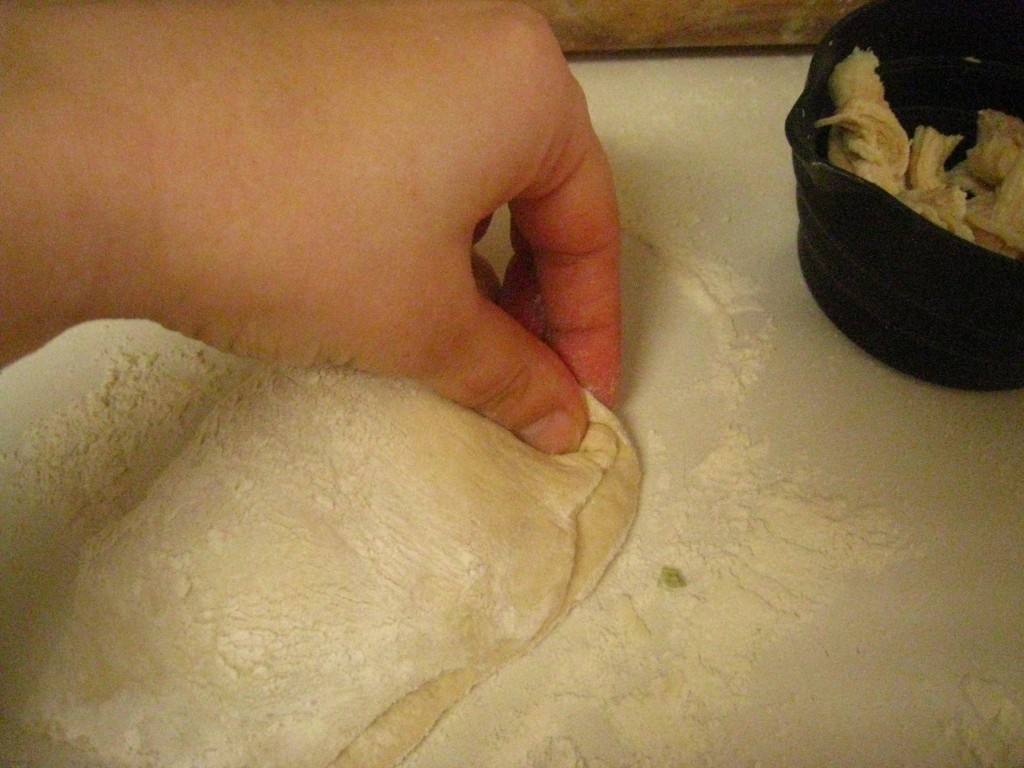
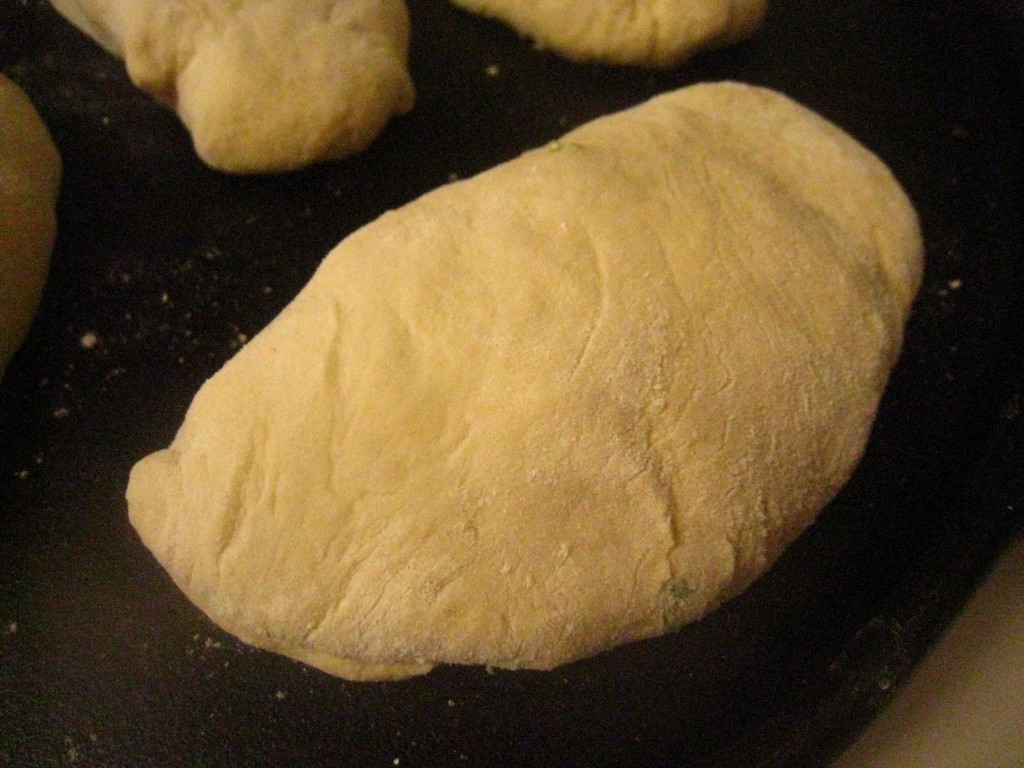
Fold the other half of dough over, and seal the edges. You can crimp them like a pie crust or the like and leave it at that…

…or you can work the seam until it smooths and practically disappears, which is my preference. Place the pockets on a pizza stone or cast iron pan. Brush the tops with water, and then use a knife to slash a line through the top. Bake at 450F for about 10 minutes, until bottom crust is golden and cheese is melted.

Provided you have all the ingredients in place (i.e. bread dough at the ready, chicken cooked and cheese shredded), this is a very QUICK recipe. It was quick for me because I had the artisan bread dough in the fridge and had previously prepped the chicken. Shredding the cheese took only a couple minutes.

It’s certainly EASY! And it makes a great easy lunch: fix up a batch of these to store in the freezer for an easy lunch option.

It’s definitely CHEAPer than buying a similar item at the store in the freezer section. Save some moula and make it yourself!

It’s also a good HEALTHY option, even healthier if you add some vegetables like chopped green peppers or tomatoes, or even broccoli. I like to serve it with fresh fruit for a well-rounded meal.


BundleoftheWeek.com, 5 eBooks for $7.40!

The Great Chicken Breast Adventure:Prepping the Chicken

I was literally in awe when I read this post from JessieLeigh of Parenting the Tiniest of Miracles. Jaw-dropping awe, I tell you. She fed her family of 5 with just 5 bone-in chicken breasts that made 5 - yes, 5! - meals! Is your jaw dropping, too?

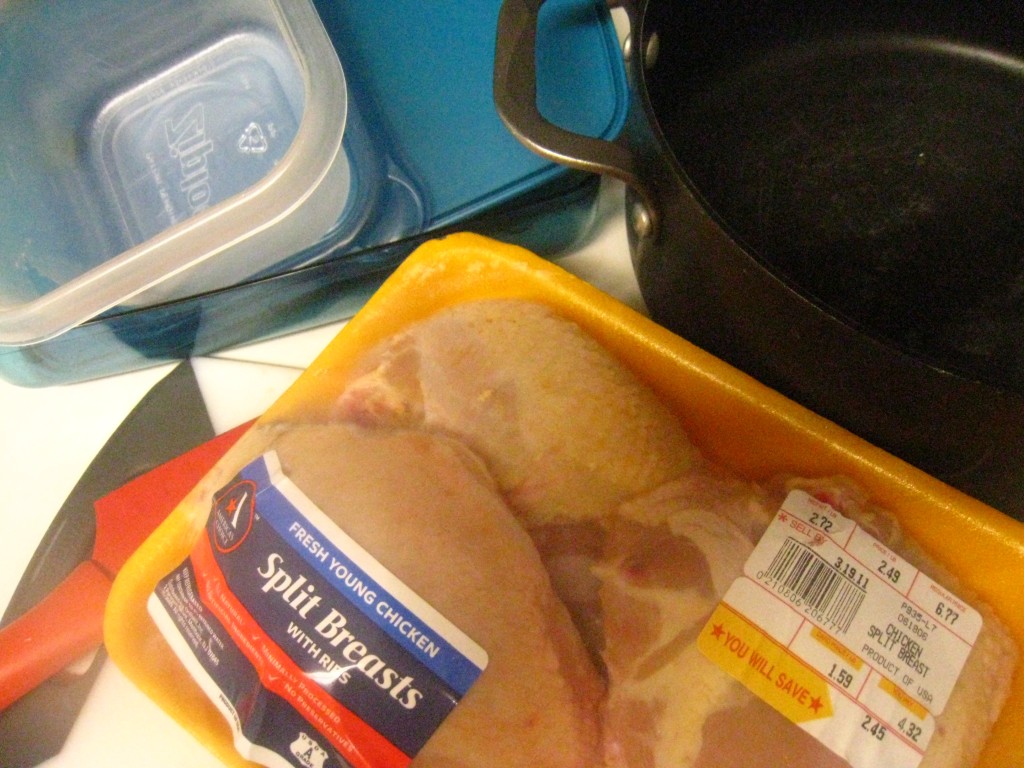
I realized I could learn something from her, and decided to challenge myself similarly. Lucky for me, split chicken breasts went on sale the very next week, so I picked up a package, eager to try and see if I could feed my family of 3 (because Baby Boy does not eat chicken breasts so he doesn’t count in this instance) 3 different meals with just 3 chicken breasts.

Come on, now, reach deep down inside and pull out your inner Bob the Builder: “Can she do it?” “Yes, she can!” Yessirree, Billy Bob, I made 3 different meals for my family with just 3 chicken breasts! Wanna see how? All this week, my posts will feature the Great Chicken Breast Adventure, detailing exactly what I did with those 3 chicken breasts.

First off, the prep. I am learning over and over that the biggest key to successfully having a “QECH” kitchen is a little advanced prep. Advanced prep usually takes only a portion of your time, but saves you oodles of time later when it counts. One great advantage is that you can choose when to do your prep, so you can maximize the time that you have.

You will need:

  • bone-in chicken breasts
  • a sharp knife
  • a cutting board
  • a large pot or stock pot
  • containers or bags for freezing

Prepping the chicken breasts didn’t take very long at all, and it was great to have the chicken ready-set-to-go in the freezer for quick weeknight meals. Here’s how I did it, per JessieLeigh’s instructions:

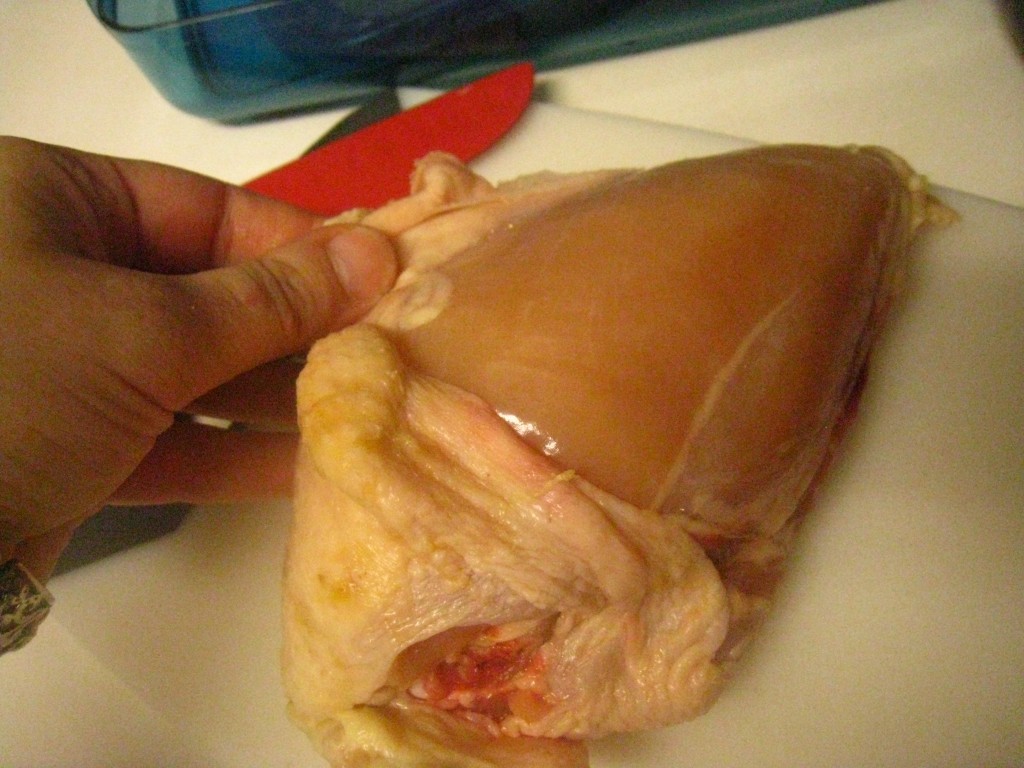
First, peel the skin off the breast, using a sharp knife to help where necessary. Keep the skins to help make a deliciously flavored broth later.

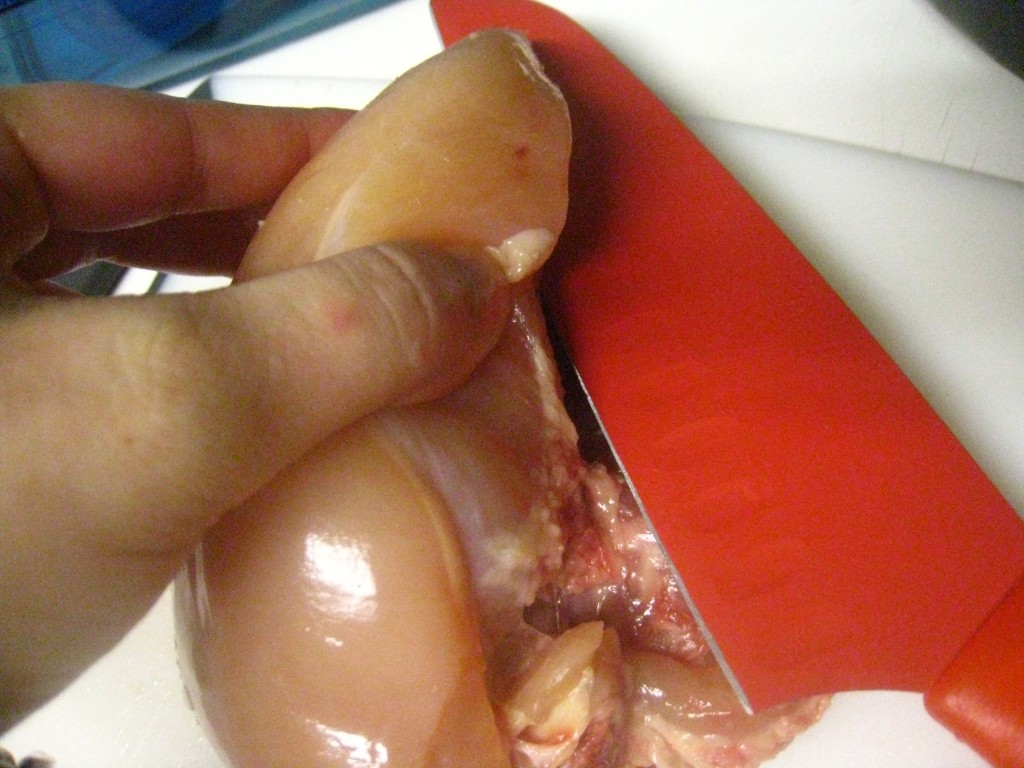
Next, slice the fatty meat portion off the bone with a sharp knife. Try to cut as close to the bone as possible, but don’t worry about perfection (unless you plan to serve the president. Or your mother-in-law.).

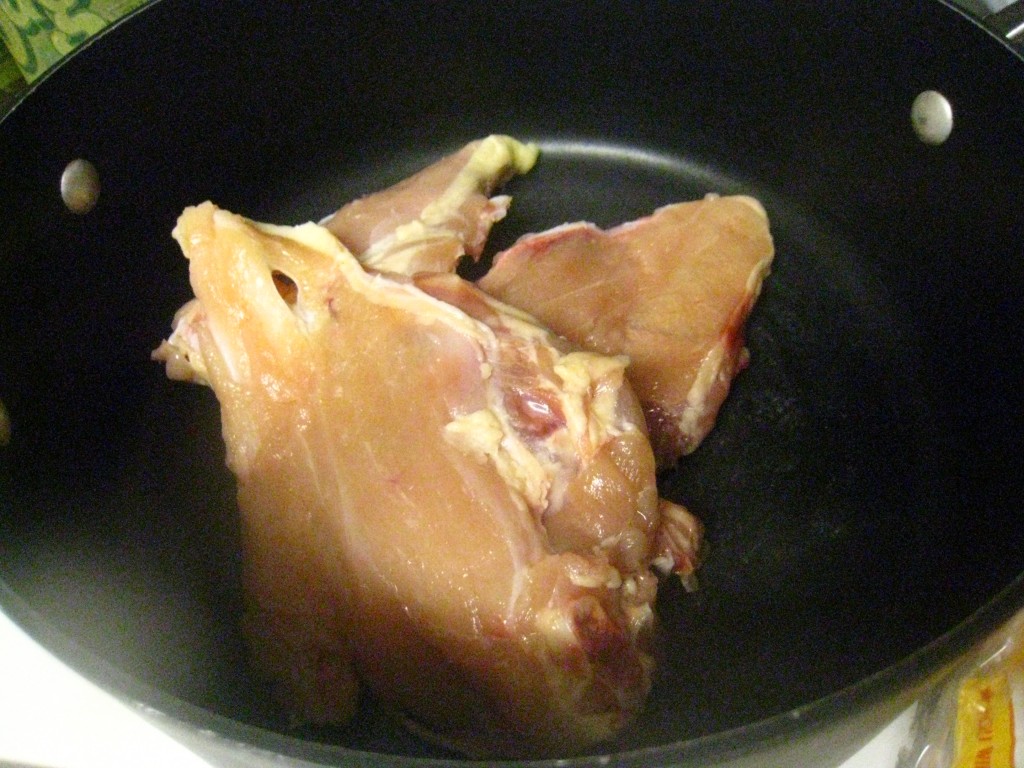
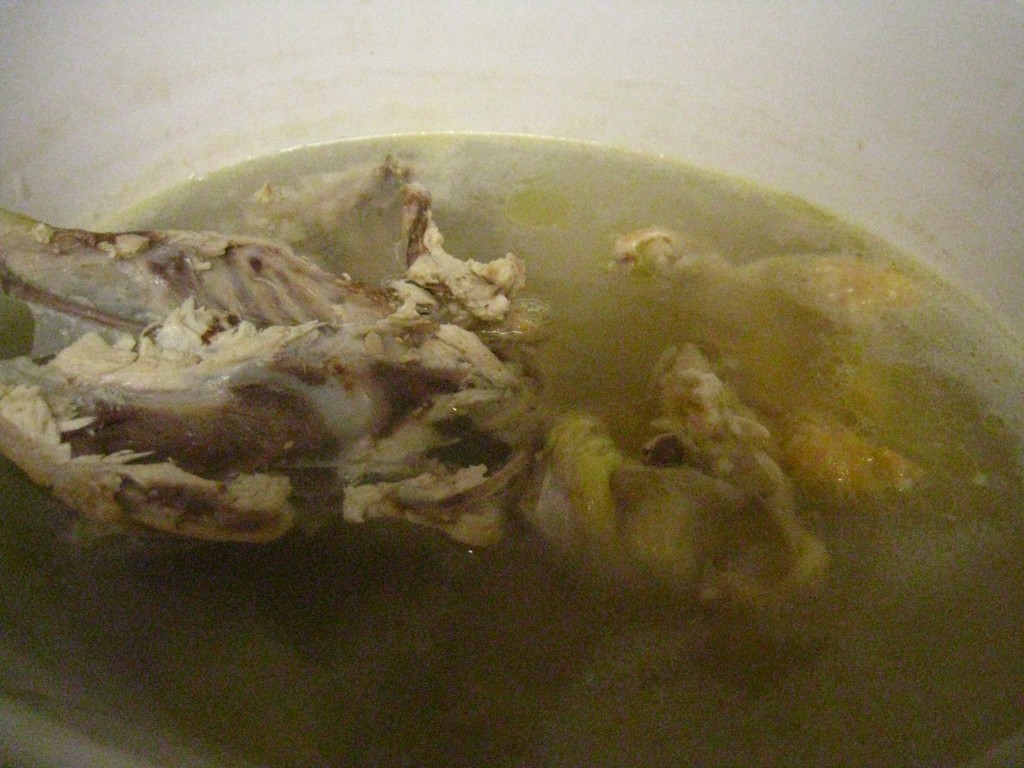
Place the bones with remaining bits of flesh into a large pot and cover with water. Bring to a boil and boil for 20-30 minutes or until cooked through. While they’re cooking, continue with the chicken breasts:

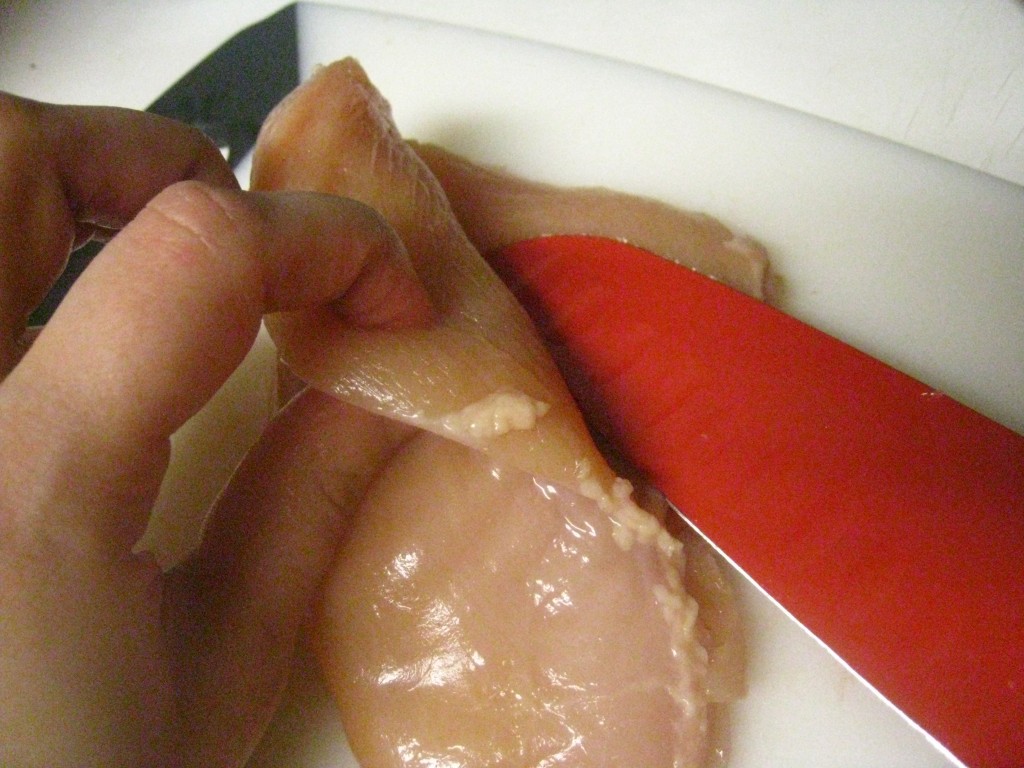
If any of the breasts are large enough, take advantage of their size and slice them in half to make 2 thinner chicken breast portions. This will stretch the meat even further!

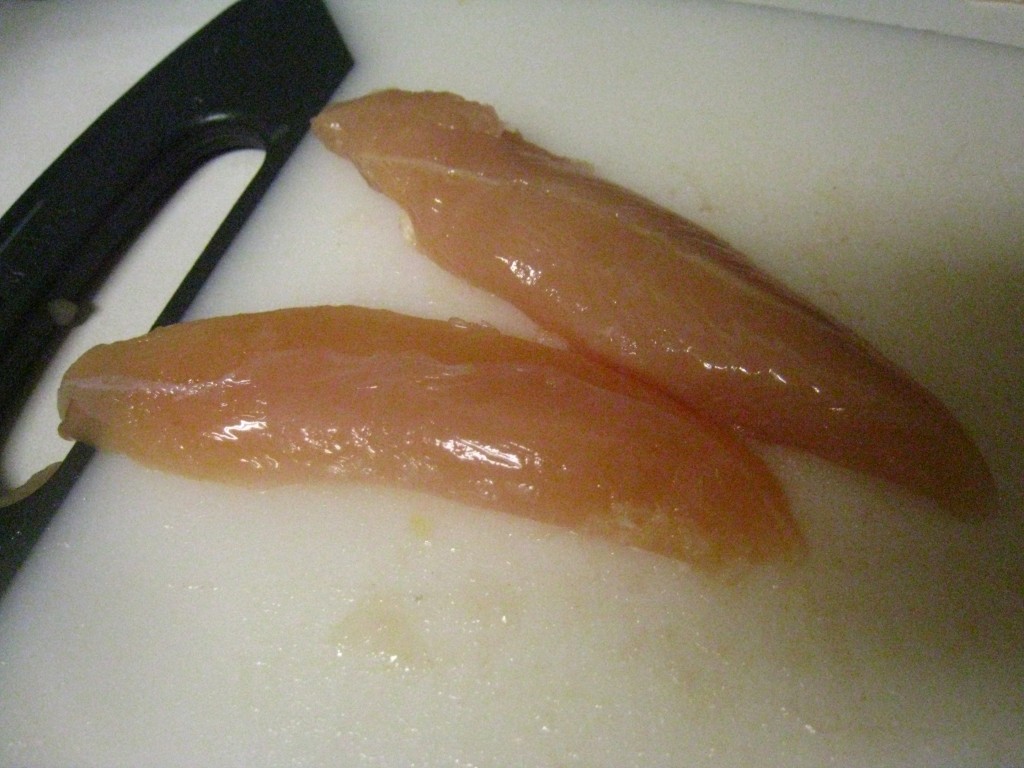
Slice off the tenders. I only got two; I think I did something wrong!

The main portion of the meat is now ready. You can either cube the chicken breasts (or a portion of them) and tenders or freeze them as is, depending on your intended use. I froze them all whole because I wanted to cook them in their entirety later on.

Now back to the bones you set to boiling.

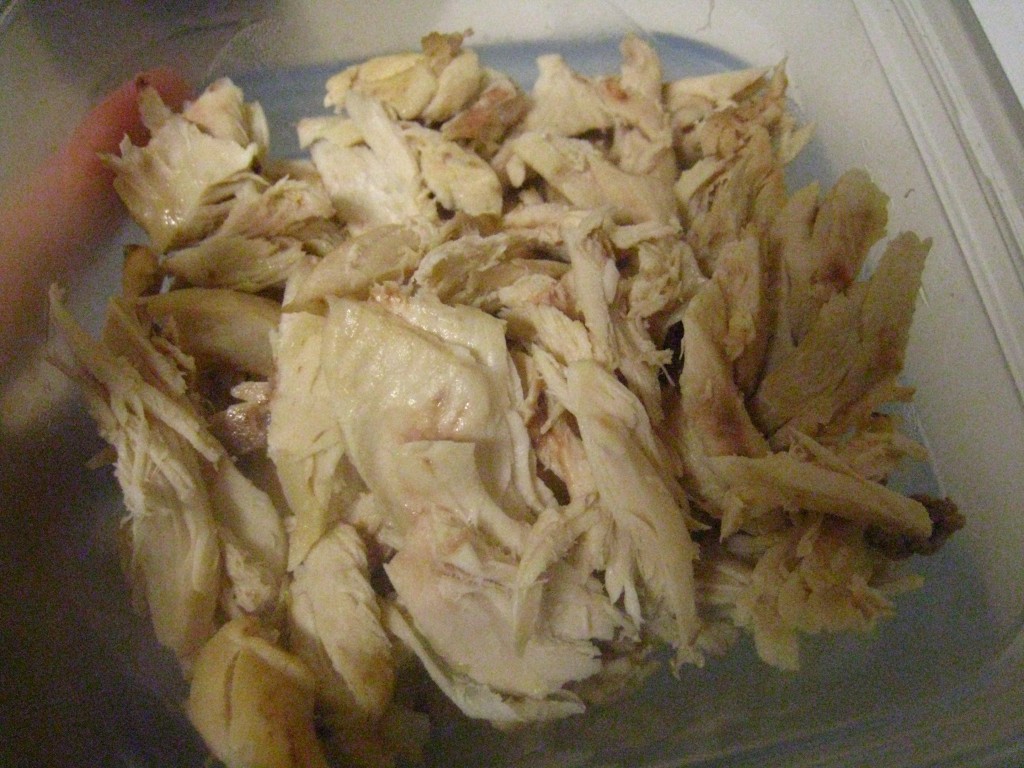
Remove them from the water (and don’t dump out the water!) and allow to cool until safe to handle. Using your fingers or a fork or knife, remove all the remaining now-cooked bits of chicken meat from the bones. I got about 1 1/2 cups. Use right away or freeze for a later meal.

Place the bones, the water from cooking the bones, and the skins from earlier into a slow cooker. Add more water if necessary to cover everything and cook on low for 8-10 hours or on high for 4 hours. (I like to do this overnight so I choose the low option.) You can also add vegetables (like carrots and celery) or even vegetable peels and ends. I also like to add some salt, whole black pepper, bay leaves, allspice berries and even some dried lemongrass for added flavor.

After it cooks in the slow cooker for a nice long while, strain and store your homemade broth in the fridge to use for yet another meal!

That’s right: not one piece of this baby goes to waste!

I never wanted to de-bone and de-skin my own chicken breasts before, thinking it was just to much work, but then I read JessieLeigh’s post and changed my mind. It’s really very QUICK and doesn’t take much time at all.

I was also leery of the whole procedure, thinking that it required some knowledge of butchery. Nope. EASY as it comes!

It is no secret that bone-in, skin-on chicken breasts are a LOT CHEAPer than the bone-less, skin-less variety. Now you know what to do with them! Maximize the money you spend on them by using the skin and bones to make a savory broth.

And it’s so much HEALTHY-er to do your own prep instead of relying on pre-prepped packaging, because that usually requires some sort of stabilizer or preservative and flavoring or even coloring. And making your own broth is such an easy thing to do that adds so much nutritional benefit to your diet.

So what did I make with the chicken?

Barbecue Chicken Pocket Sandwiches

Chicken with Orange Sauce

Double (Triple?) Cheese Chicken Pizza with Broccoli


Find more frugal recipes at: Frugal Food Thursdays.

BundleoftheWeek.com, 5 eBooks for $7.40!

Interesting reads