SRC: Roasted Banana Ice Cream

Welcome to Ice Cream Week here at Quick and Easy Cheap and Healthy!

Ice cream is the topic of the hour, all week long. I’ve got some sorbets to share, plus some fun ice cream flavors I’ve been experimenting with, and some other ideas for what to do with all the ice cream you make.(Note: All the recipes are intentionally dairy-free; but with the exception of the sorbets can be made with regular old cow’s milk and cream should you desire.) Come back every day this week for a new recipe!

~~~~~~~~~~~~~~~~~~~

It’s time again, folks, for the Secret Recipe Club, something I’ve looked forward to all month long! If you weren’t around for the last one, the Secret Recipe Club is where we are each secretly assigned another blog to browse, choose a recipe, make it and post about it. Kudos to Amanda, who organized this great event and manages it so well every month!

I do apologize, but this is another series of pictures I took that is on a memory card in a location yet to be determined. Which stinks, because those pictures were pretty good if I remember correctly!

My assigned blog this month was Join Us Pull Up a Chair (love the name!). I did indeed pull up a chair and enjoy myself browsing through Heather‘s collection of recipes, pulled from her “stacks and stacks” of magazines (I can so relate, Heather!). Although I drooled (at least mentally) over many of her recipes, I finally decided to go with her Bananas Foster Ice Cream Recipe, which is, in fact, what got me started on Ice Cream Week this week (Thanks, Heather, for the inspiration!).

I have decided that bananas in ice cream really add such a creamy quality, even after the ice cream has been sitting in the freezer for a few days. Most homemade ice cream tends to be rock hard, but I find that ice cream with bananas can be so creamy and delicious no matter when you decide to dig into it. It’s too bad that bananas have such a distinctive flavor, or I would add them to every batch of ice cream!

The good thing about this ice cream recipe is that the bananas are the star, so you can let their flavor shine unabashedly. I stuck to Heather’s basic recipe, but I used coconut milk (because of Baby Boy’s allergy) and added some chocolate. Because as good as banana ice cream is, it’s even better with chocolate.


Roasting bananas adds a little time to this recipe, so it’s not the QUICKest one in my repertoire. If you have a little extra time, however, it’s totally worth it, both for the texture and the taste.

It does have added steps of melting chocolate and roasting bananas, but it’s still pretty EASY. Roasting bananas and melting chocolate chips are not complicated tasks.

It’s pretty CHEAP, though, especially if you have some extra bananas that need eating before they go bad (which to be honest, is rarely a problem around here because the 4 people in this house go through bananas like crazy!).

It’s a pretty HEALTHY ice cream recipe: not THE healthiest, but fairly healthy. I did reduce the sugar by just a bit, but then I totally ruined that by adding chocolate chips. Chocolate has antioxidants, though, so it’s all good.


BundleoftheWeek.com, 5 eBooks for $7.40!

ICE CREAM {hold the cream}

Welcome to Ice Cream Week here at Quick and Easy Cheap and Healthy!

Ice cream is the topic of the hour, all week long. I’ve got some sorbets to share, plus some fun ice cream flavors I’ve been experimenting with, and some other ideas for what to do with all the ice cream you make. (Note: All the recipes are intentionally dairy-free; but with the exception of the sorbets can be made with regular old cow’s milk and cream should you desire.) Come back every day this week for a new recipe!

Since peaches are at their peak (at least around here), I figured peach sorbet would be the perfect recipe to begin our ice cream adventure. This one is pulled from my allergy-free recipes blog. It’s not just for those with food allergies, though: if you love peaches, you will love this sorbet, guaranteed. It is so luscious and delicious, you won’t even miss the dairy, guaranteed.

Here’s what I said about this recipe last year:

This particular recipe, made with peaches, resulted in a sorbet so smooth and creamy, you’d swear it was really ice cream! And, despite a lot less sugar than most recipes call for, it’s perfectly sweetened and bursting with lots of peach flavor. A lot of credit goes to the fact that the peaches are almost as fresh as you can get - we picked them right off the tree over the weekend.

You can fiddle around with the amount of sugar, depending on your taste, but I thought it was plenty sweet, and I think I even used less sugar than is written here. So haul out the ice cream maker and get busy! Your efforts will be well rewarded in the end.

And here’s the recipe:


Sorbet is a pretty QUICK type of ice cream, because it mostly involves blending the ingredients together and then freezing (using a machine for the best texture). You do have to add in a few hours’ freezing time, but that’s true of any ice cream recipe.

Some types of fruits might require a little more effort, but peaches are EASY to make into sorbet, so this recipe is an excellent choice.

Right now, peaches are super CHEAP, so it’s a perfect time to make this recipe! Lately, I’ve been buying a peck of seconds peaches every week at the farmer’s market for $3.50! I haven’t made ice cream yet this year, but that’s on the docket for this week’s batch of peaches.

Use a little less sugar (try half a cup) if you want an even HEALTHY-er treat. Depending on how sweet your peaches are, you may be able to get away with even less. Even as it stands, though, this is a pretty healthy dessert or summertime snack.

BundleoftheWeek.com, 5 eBooks for $7.40!

Wacky Cupcakes for Wacky People


And as Mark Twain said, “In one way or another, all men are mad.” Mad, crazy, wacky, unstable, however you want to put it, we all suffer a bit from that malady. It shows up differently in different people, but no one is free from the condition!

Therefore, since we are all Wacky People, we are all qualified to enjoy Wacky Cupcakes.

Wacky cake was invented during the world wars, when butter, eggs, milk, and sugar were rationed due to shortages. Thanks to the inventive generations preceding us, we have a reliable and easy recipe to use during times when we have:

  • no money left in the grocery budget, and no eggs or milk in the fridge
  • intolerance or allergy to eggs or dairy
  • a desire to eliminate animal products from our diet.

One thing I find amazing about this recipe is its adaptability; I have used this basic framework to make spice cake or plain old vanilla cake, and even gluten-free cake. This time around, I turned it into a mocha cake with great success! It hasn’t failed on me yet. Some people say you have to mix the ingredients right in the pan, or make wells in the dry ingredients for each of the wet ingredients, but I never do those things and it always turns out.

And the above-referenced, ever-knowledgeable Cooks’ Country folks say you absolutely have to add the wet ingredients at the very last minute before baking in order for it to rise, which is why they recommend stirring it in the baking pan. That’s simply not an option, though, if you want to make cupcakes. It’s true, they may not rise as high as conventional cupcakes, but a simple remedy is to make a few less cupcakes (perhaps 9 instead of 12). I made the usual 12 cupcakes with my batch, and I was satisfied with both the height and texture of the finished cupcakes, so that call is up to you.

*Note: The sugar is reduced as much as it can be for a successful recipe.

I frosted these cupcakes with 1 1/2 batches of a slightly healthified frosting recipe. I wanted to try making my own powdered sugar from my raw sugar, but my food processor is just not strong enough. I need a VitaMix! So I had to resort to plain old powdered sugar, because I simply cannot find any edible dairy-free frosting recipes that are also powdered-sugar free. However, I did use some coconut milk, and some palm oil shortening instead of plain old vegetable Crisco.

You can add 1 TBSP of cocoa to make chocolate frosting. I used 1 TBSP of Ghirardelli mocha powder (given to me by my Certain Little Someone for my birthday) to make a delicious mocha flavor (You could probably achieve something similar by using coffee instead of coconut milk, and adding the cocoa powder).

This recipe is as QUICK as any cake mix, I promise!

It is also just as EASY, if not easier.

It is most certainly CHEAPer than purchasing a mix, especially since you don’t even have to add eggs.

HEALTHY? No. Unfortunately, removing eggs and dairy also removes some nutritional value, leaving the cake even more nutritionally bankrupt than usual. Ah, well. At least my Baby Boy won’t have eczema after I eat it! That is HEALTHY for him.

BundleoftheWeek.com, 5 eBooks for $7.40!

Better than the Box: Gingersnaps!

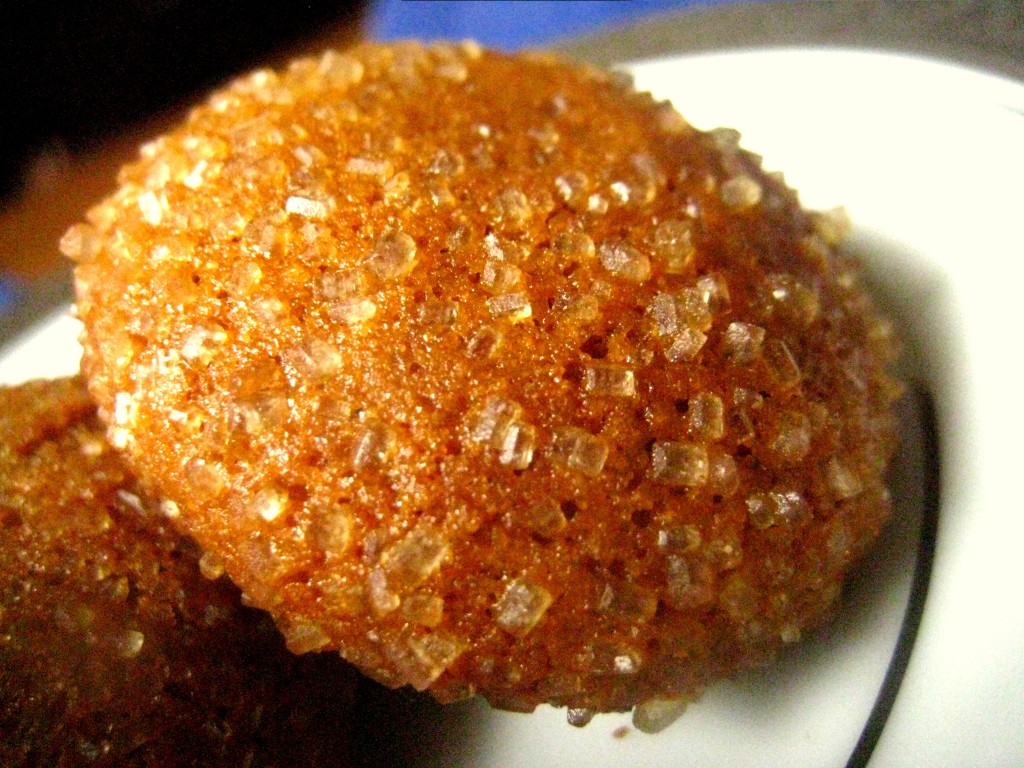
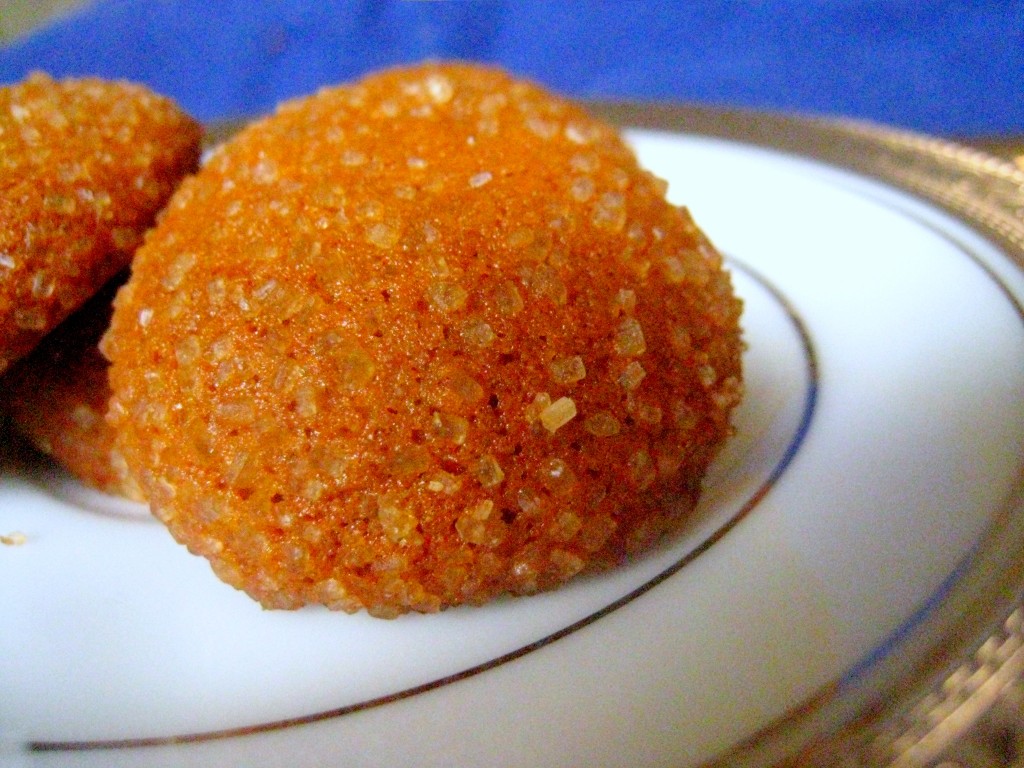
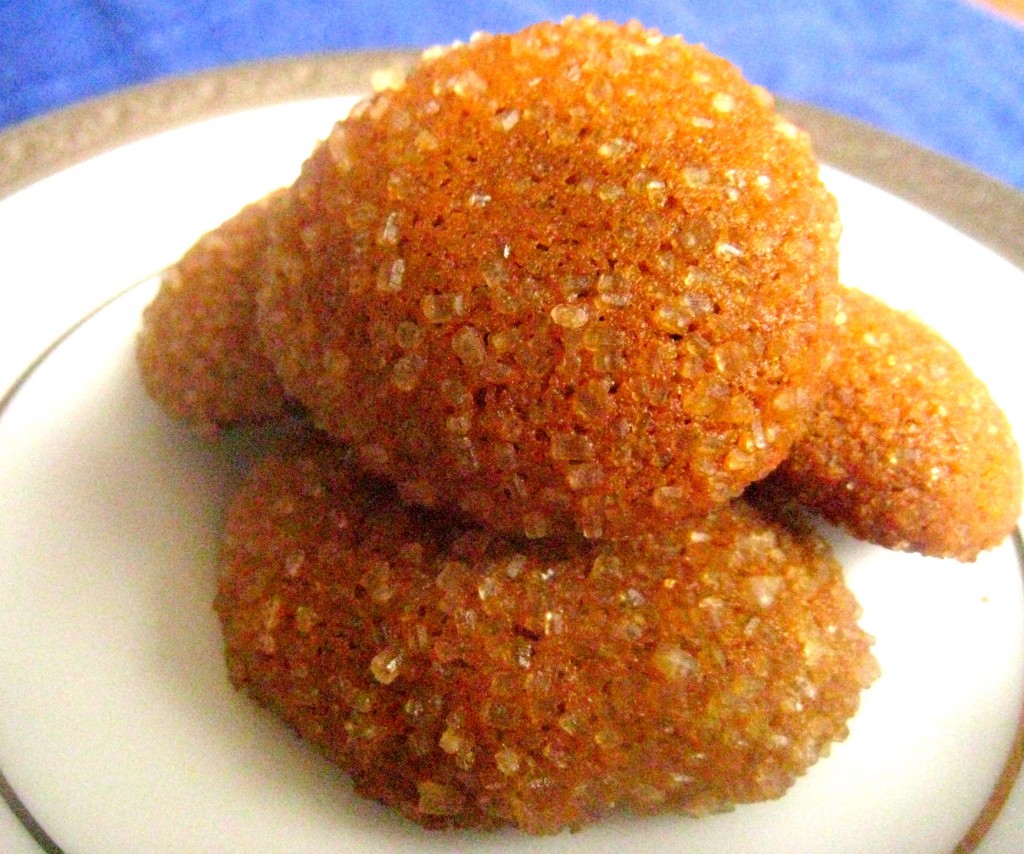
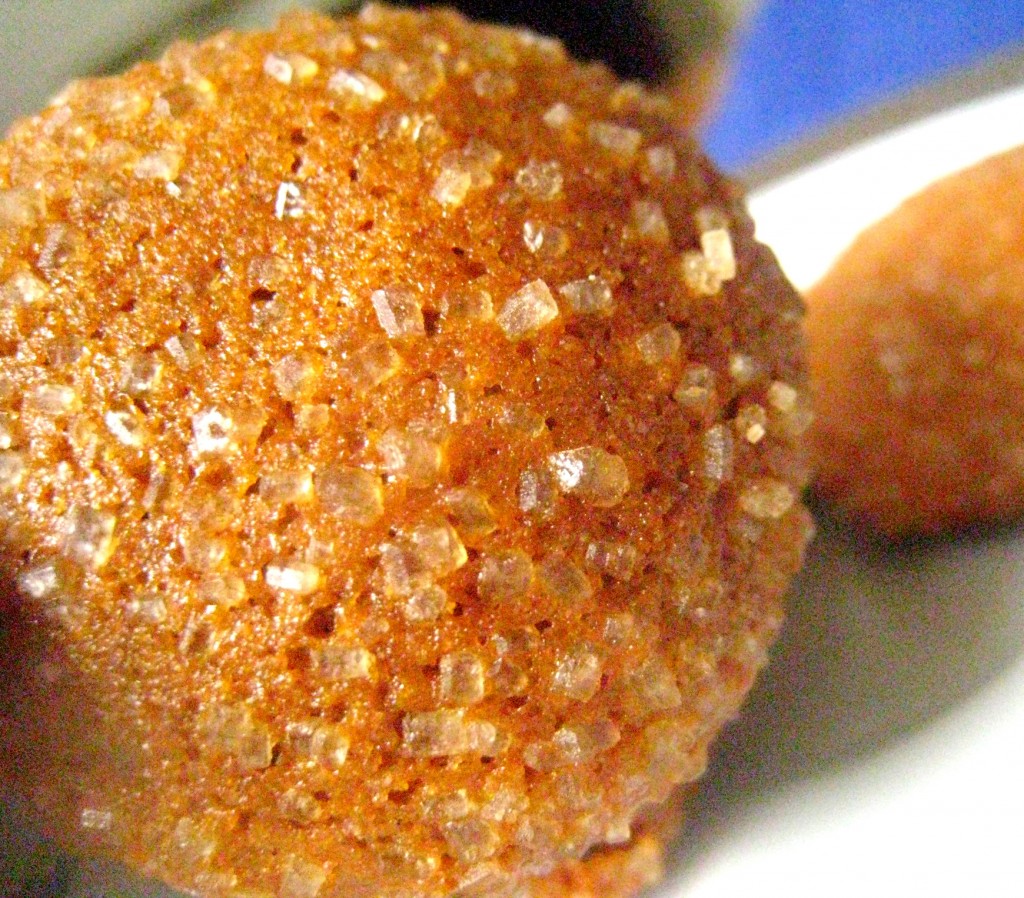
Bad camera + bad photographer = terrible pictures.

*sigh*

I took 64 pictures of these stupid gingersnaps in the mid-afternoon when the lighting was perfect, and this is all I got.

*sigh*

I wish I had a better camera and some lighting equipment. But as my mother would say, “If wishes were horses, beggars would ride.” I don’t know exactly what that means, except that we don’t always get what we wish for. Oh, and another appropriate favorite saying of hers, “Beggars can’t be choosers.” Yup, definitely applicable.

So, even if they don’t look all that great in the pics, take my word for it that these gingersnaps are just as good as any you’ll buy at the grocery store. And I should know - we love gingersnaps around here, ginger being a favorite flavor of every member of the family, so we’ve tried a few. I can highly recommend Trader Joe’s Triple Ginger Snaps, which also have candied ginger in them… mmmmm! I’d have added candied ginger to these, but I don’t have any on hand. Next time!

I don’t know why, but despite our love for all things ginger, I have never once attempted to make gingersnaps until recently. I’ve made gingerbread bears for Christmas many years in a row, and I’ve even made soft ginger cookies, but never gingersnaps. I guess I figured they were easier to buy, so we only ate them on a rare occasion.

Once I tried it, though, we were hooked. I’ve made 2 batches in as many weeks, and we’ve eaten them like they’re going out of style. It might seem strange to talk about gingersnaps - a Christmas-y kind of treat - at Easter time, but perhaps you’ll change your mind when I tell you that they go oh-so-fabulously with my Coconut Lime Mousse. In fact, that is how I’m going to serve the mousse: in a teacup with a little gingersnap for decoration.

Won’t that just be so cute?!

There’s a lot to love about these little babies - their taste, the fact that they’re so easy to make, and their cute little size - but one of my favorite things is that they are naturally dairy-free and egg-free, and are easily made gluten-free. That means a delicious little snack my entire family can enjoy, which is a huge victory around here!

From start to finish, the entire batch takes half an hour or less, so I’d say it’s a pretty QUICK cookie recipe.

And all in one pot: can we say EASY?!

No eggs, no dairy not only means allergy-friendly, but CHEAP! Granted, the good shortening is very expensive, but this recipe uses less than a 1/4 cup.

I love that it uses little to no sugar, which makes it a HEALTHY-er cookie option. Molasses is still a sweetener and so should still be used sparingly, but it does offer nutrients, like iron, which you cannot find in even the best kind of cane sugar. I also love that whole grains - like brown rice, and whole wheat flour - go so well in this recipe. And you can totally omit the sugar, if you prefer - I just think it looks pretty - they taste just fine without it. Mind you, it’s essential to use organic palm oil shortening - none of that yucky vegetable Crisco stuff.

Berk's Girl: Sweets, Eats & Life's Treats

BundleoftheWeek.com, 5 eBooks for $7.40!

Coconut Lime Mousse, aka “Heaven in a Cup”

Coconut Lime Mousse
I spend a lot of time experimenting in the kitchen and tinkering with recipes, and I have to say that 90% of the time, my tinkering turns out okay. Just okay, though. Usually nothing fabulous, usually nothing to write home about, usually nothing to blog about.

Then, 9.9% of the time, it’s a total failure that has to be dumped in the trash, never to be spoken of, at home, on the blog, or anywhere.

That remaining .1%? It happened yesterday. That one moment, when I took the tinkering to extreme levels, crossed my fingers, squeezed my eyes shut real tight… and. Wow. Perfection. Deliciousness. Amazing yumminess.
Coconut Lime Mousse
It all started with a recipe I clipped from a Giant Food magazine (that I only grabbed because it had a few coupons… cheapskate me!). The gorgeous picture that went with the recipe kept enticing me, but I was put off by the ingredients, like fat-free milk, reduced-fat whipped topping and yellow food coloring. For one thing, I don’t do fat-free; for another, I’m not consuming dairy at the moment to see if it helps Baby Boy’s eczema. For another… food coloring? Really? Is that necessary?

I couldn’t resist the draw of the picture, though, so I determined to see if I could make it with coconut milk products instead of the dairy. I also chucked the whole concept of food coloring, and used limes instead of the lemons called for, simply because I had picked up a whole bunch of reduced limes at Harris Teeter over the weekend.

And so… Coconut Lime Mousse was born!

To replace the whipped topping in this recipe, I made some coconut whipped “cream”. It’s SO easy, and SO delicious, and you’ll definitely want to use it for the coconut flavor. It requires a bit of planning: pop a can of coconut milk in the fridge the day before you want to try the recipe.

How to Make Coconut Whipped “Cream”

You will need:

1 can (not lite) coconut milk

Place the can in the fridge overnight. Upon opening the can, you should have a rather thick layer (several inches thick) of solid coconut milk fat (for lack of a better word). Solid Coconut Scoop out that solid coconut into a mixing bowl, and beat on high until it develops the consistency of a heavy whipped cream (this doesn’t take long). Coconut Whipped "Cream" Coconut Whipped "Cream" Use the remaining liquid in the can as part of the coconut milk called for in the recipe below.


Coconut Lime Mousse
As far as fancy recipes go, this is a QUICK one! It’s also perfect for Easter - you can make it on Saturday and refrigerate it until after your Sunday brunch or dinner, so you don’t have to worry about baking or preparing anything on Easter day itself.

Don’t be put off by the “mousse” word: it really is so EASY. Probably the trickiest part is getting the right consistency of the initial milk/sugar/cornstarch mixture, but if you’ve ever made pudding, that should be easy.

It’s not exactly CHEAP; that’s another reason why it’s perfect for a special celebration like Easter! As I mentioned earlier, the limes were reduced in price, so I paid pennies for them, but the coconut milk (both kinds) can be pricey. Even at that, it totals between $3-$5, depending on the prices you have to pay, so it’s not bad, all things considered.

I am pleased with how much more HEALTHY this recipe is than the original. I reduced the sugar by a bit, and eliminated the food coloring, which makes it considerably healthier than it would be otherwise. Also, coconut milk is a very healthy alternative to dairy, and coconut products are popping up everywhere as testament to this fact.

Did I mention that this was DELICIOUS!?
Coconut Lime Mousse
Enjoy, and have a very Happy Easter!


BundleoftheWeek.com, 5 eBooks for $7.40!

Bacteria is the only culture some people have

Edited to add: Since this post was written, I’ve acquired a Vitamix and begun making my own coconut milk, which I now use to make the coconut milk yogurt. I am also experimenting with other ways to culture the yogurt (like using probiotics instead of yogurt as a starter), and ideas for thickening (as homemade coconut milk does not have the thickeners in it that the canned coconut milk does). Once I have perfected my recipe, I’ll post a new one!

First of all, I need to say that my new camera does not work nearly as well as my other one. And the only reason that I have a new camera is because a Certain Little Someone knocked it out of my hand as I was taking a picture and it fell to the floor lens down. End of camera. So we bought a cheap-o replacement which is not nearly as nice! So sorry about the pics.

Above is a picture of my homemade yogurt, mixed with fresh blueberries and banana. Mmmm… despite what it looks like, it really is delicious!

I never ever would have dreamed of making my own yogurt at home, although I LOVE yogurt and eat it every day if I can. But upon discovering that the aforementioned Certain Little Someone was allergic to dairy products, I had to replace a lot of my favorite foods with other things. At first, I just gave up on yogurt, until I saw coconut milk yogurt in the store. That is, yogurt made from coconut milk. I bought one container, but it was almost $2.00, and I NEVER pay that much for a 6oz container of yogurt! NEVER! I stumbled over an online blog entry that mentioned making your own coconut milk yogurt. The instructions called for a stock pot, two Mason jars, warm water, coconut milk and dairy-free starter. It seemed relatively easy, if somewhat primitive and time consuming, but I thought, “I can do this!”

I was telling my husband about it and he said, to my great surprise, “Oh yeah, some people at work make yogurt all the time! But they use yogurt machines.” A yogurt machine? So I got back online, and discovered that yogurt machines only cost $20 or so… my wheels started turning and I quickly realized that I could make my OWN coconut milk yogurt for a fraction of the grocery store price.

I bought this EuroCuisine yogurt machine:
It makes 7 individual 6oz glass containers of yogurt, and works by incubating the milk and starter for at least 12 hours in the same temperature to allow the cultures to develop. The finished product closely resembles what you buy in the store, but is not as thick or creamy (is more liquidy) and is much more fresh, and therefore probably has more healthy cultures!

Homemade yogurt is QUICK. I never would have thought so, but as you will see from the instructions that follow, all you have to do is mix the stuff up and put it in the incubator and let it sit all day.

It’s also EASY. No stock pots or Mason jars involved, just let the machine do the work.


It’s CHEAP, too. I buy a large can of coconut milk for $3.19 and a starter container of yogurt for $1.79 (You do not have to buy this every time. Once you’ve made a batch, you can use one of the jars to make the next couple batches.) That’s $4.98 and it makes 6 6oz containers, which equals .83 ea. A little less than half the price of the store-bought variety. If you use regular cow’s milk and cow’s milk yogurt, your cost per container will be minimal.

It’s HEALTHY for sure. Yogurt has live cultures that your digestive system uses to help keep you healthy. Our digestive tract is supposed to have an 80:20 ration of good vs. bad bacteria, but most people have the opposite. Eating yogurt helps keep this balance intact.

Here’s how I made it.
First, I heated the coconut milk in a metal saucepan, using a metal spoon (wooden or plastic would introduce bad bacteria, not a good idea), until it was just starting to bubble. I let that cool for 10 min or so.

Then I poured the store-bought container of yogurt into a glass dish (again, no plastic or wooden) and added some of the heated milk, stirring it until there were no lumps. I usually use a container of yogurt as my starter but this is not necessary. I could purchase yogurt starter (even a dairy-free variety), or I could use a jar from a previous batch of yogurt.

Then I added that back into the pan of heated coconut milk, stirring it all thoroughly.

Then I divided the contents evenly between 6 glass jars and placed them in the yogurt machine (without the caps), covering with the lid and leaving it for 12 hours. I did this around 9 in the morning, so in the evening, before I went to bed, the yogurt was done!

My machine has individual glass jars, but you can also buy machines that make one entire quart of yogurt. That would probably work for me also, but I thought I would like the individual jars, so I could add whatever mix-ins I wanted to each jar, and not have to stick with one kind for the whole week.

I’ve tried the following:

*cocoa (mmmmm)
*jam
*blueberries (I like to mash them up just a bit before mixing them in.)
*mashed bananas
*honey

I frequently throw about half a container of yogurt into the blender to make smoothies for myself in the morning. I also have used this yogurt as a replacement for sour cream, mayonnaise or regular yogurt in recipes. Works great!

BundleoftheWeek.com, 5 eBooks for $7.40!

Interesting reads